KO
|
EN
gitlite — search
Search
#python
#java
#python3
#arduino
#golang
#machine-learning
#rust
#html
#flask
#javascript
#seismology
#nodejs
name-badge
★ 17
Open GitHub ↗
Code for ATTiny85 on name badges
Download README (.md)
Explore Similar Repositories
react-alert-notifications
:
React - Alert (Toaster) Notifications
eSpy
:
No description available.
ros-carla-msgs
:
Official ROS messages for CARLA
laravel-performance
:
Discussing Laravel performance in Arabic (Video)
strava-github-like-graph
:
A Github-contributions like visualisation for Strava activities
// repository documentation
Was this content helpful?
★ 0
(0 ratings)
Select Rating:
★
★
★
★
★
Submit Feedback
Recent Feedback
×
Download README
Do you want to download the
README.md
file for
name-badge
?
Download (.md)
# Name+ Badges 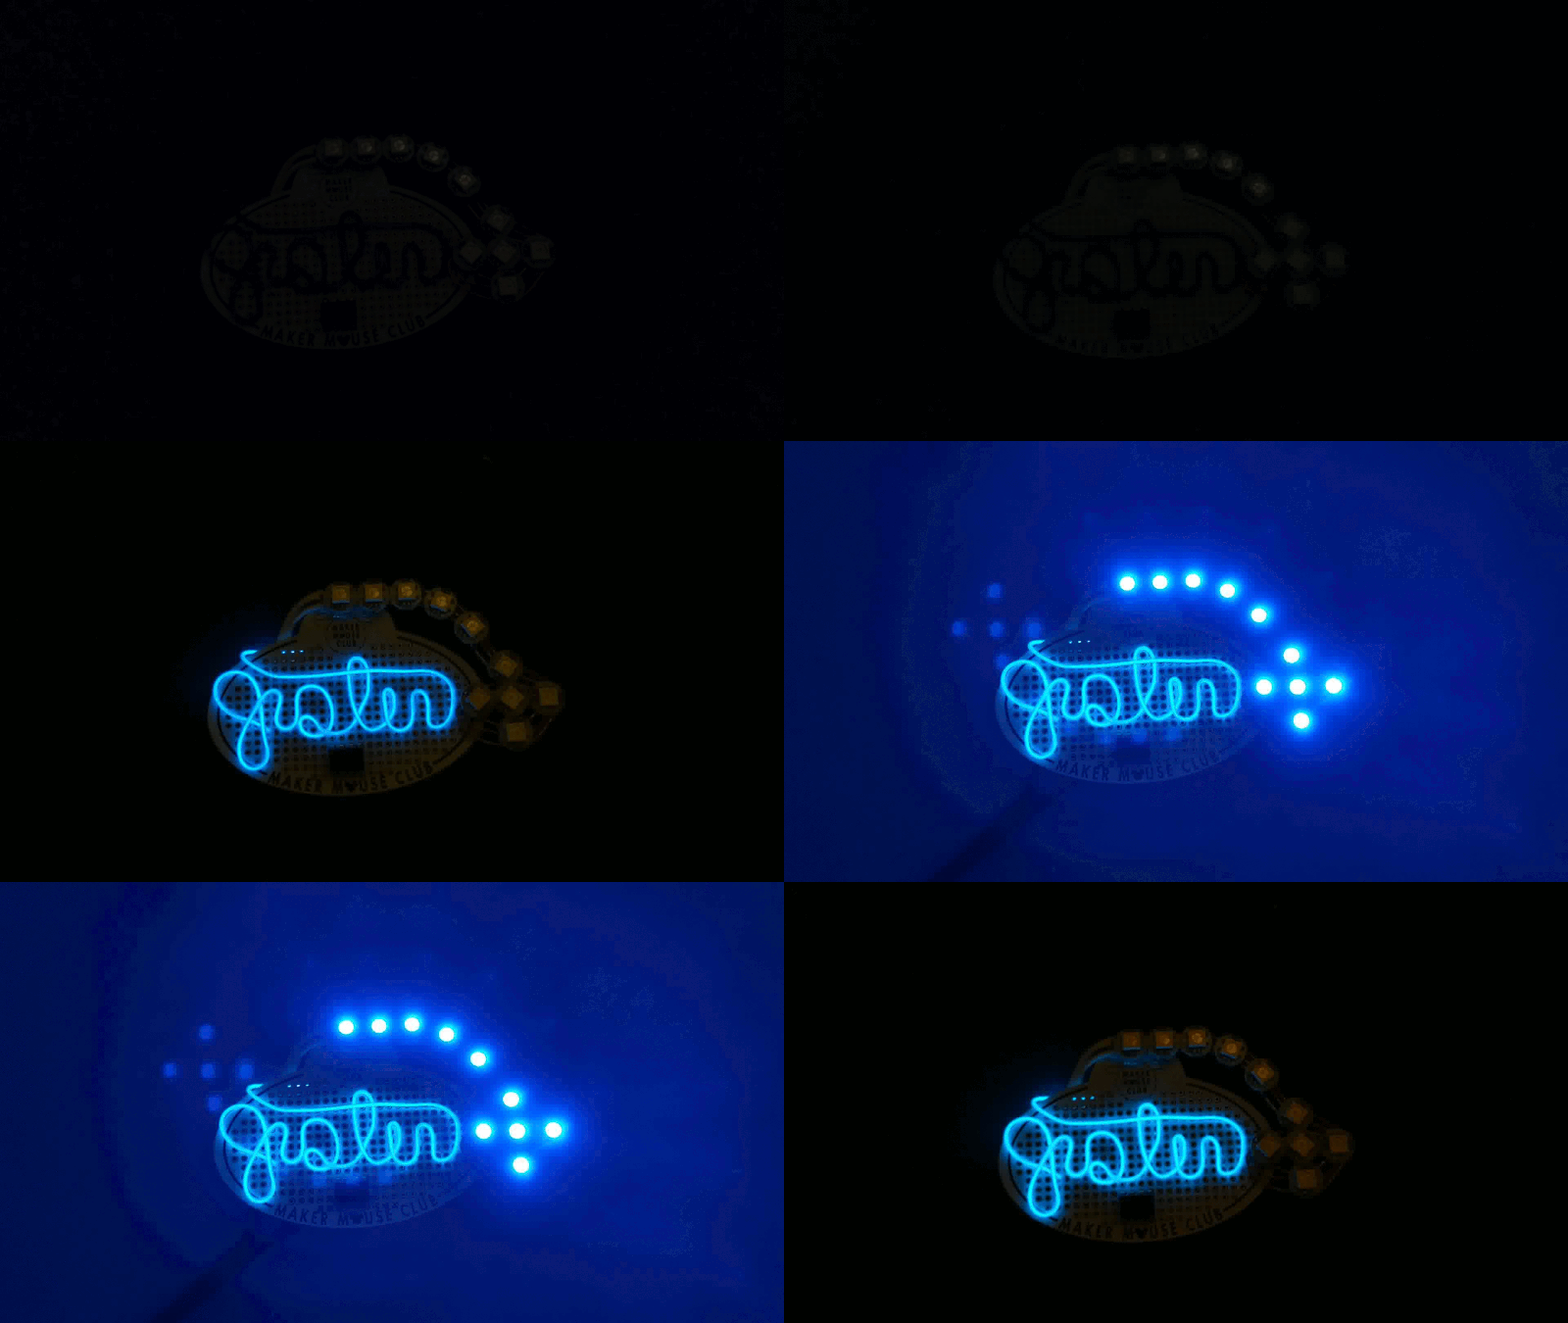 I used a Tinf85 programmer with the Arduino IDE to flash ATTiny85 chips to run the animated LEDs. ATTiny85 chips - https://www.amazon.com/gp/product/B06W9JBJJ6 ATTIny Programmer - https://www.amazon.com/gp/product/B07PBVXQP8 Programmable LEDs - https://www.aliexpress.com/item/32378187271.html EL wire inverter - https://www.aliexpress.com/item/32806721580.html I bought 1.4mm EL wire from ebay but you can find it lots of places. I programmed the ATTiny with the lights_sketch.ino program to get the LED animation I wanted. Soldering the arch was a pain. I used some stripped doorbell wire because it was sturdy so I could make whatever shape I wanted.  Cut into small lenths and soldered both ends to the LEDs. I should have taken more pictures of the process but you can see the soldering here. 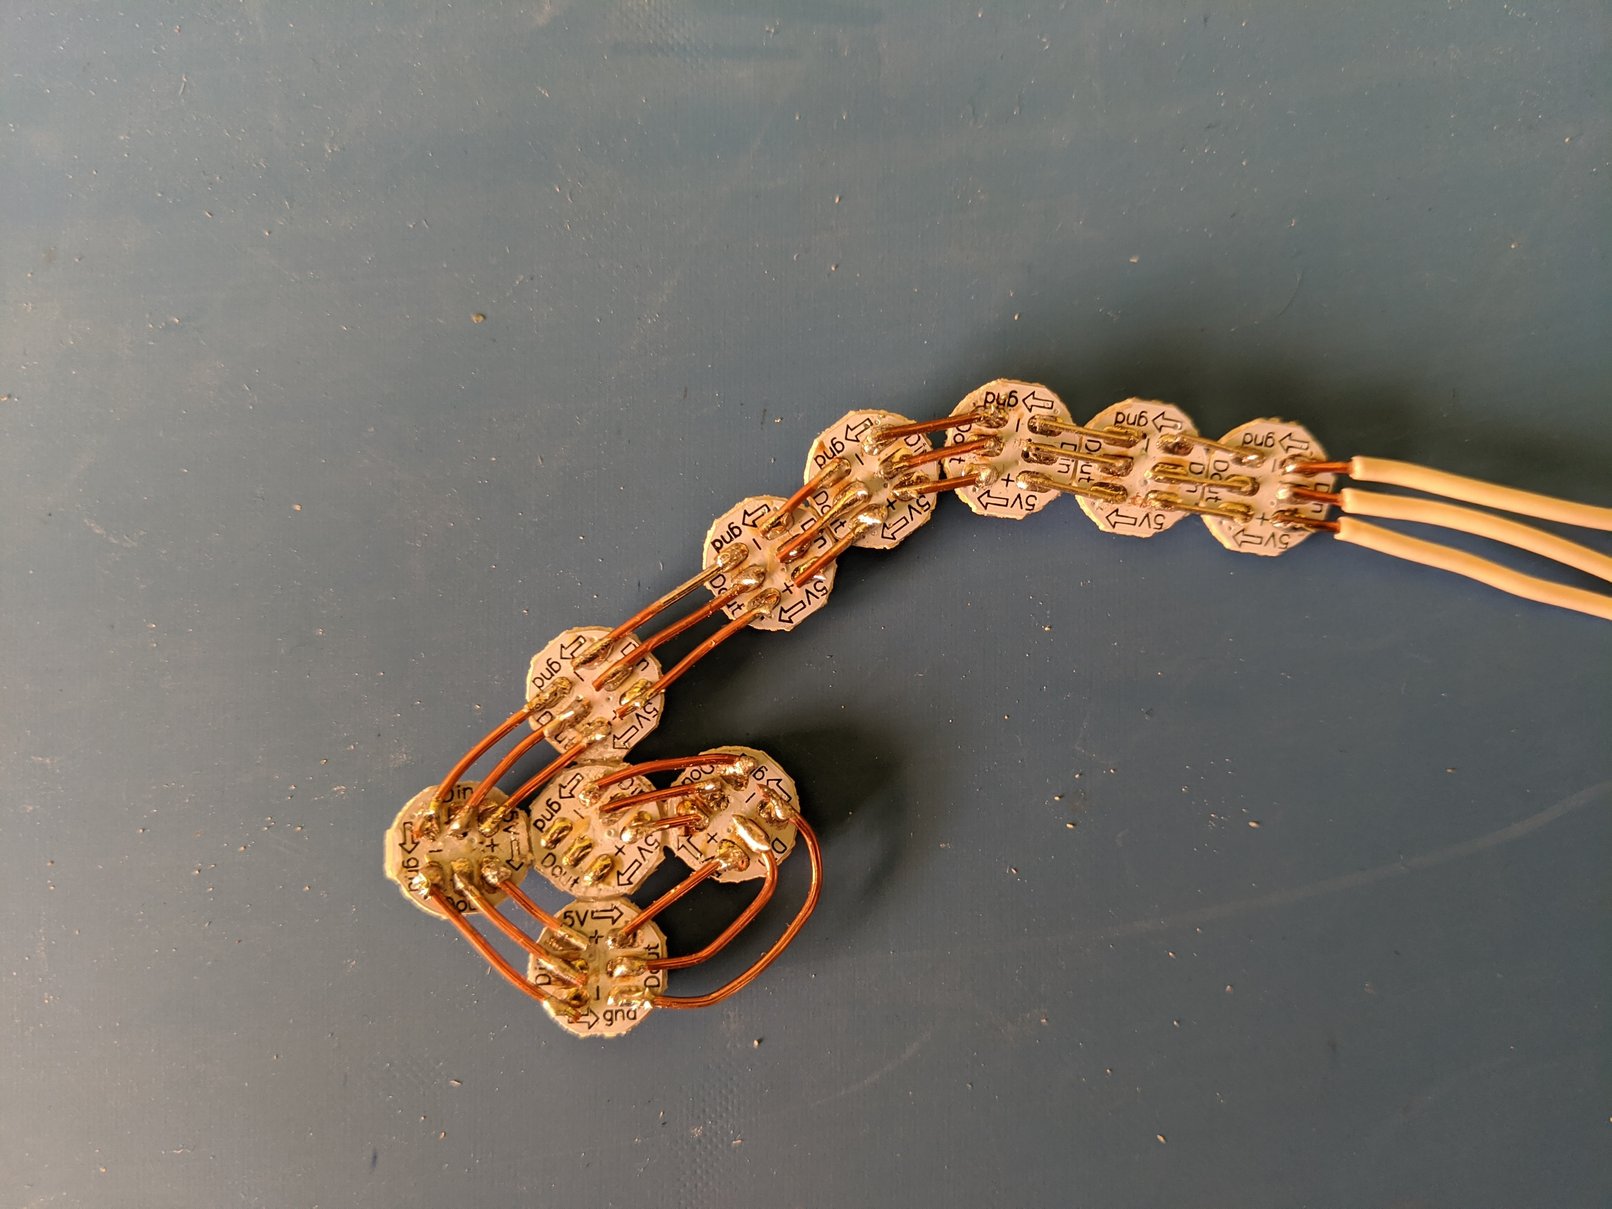 I used small portions of wire stuck through the breadboard to wrap the EL wire around to make the names. Then super glue to hold it down. I used clamps to help line up portions of the wire and hold the EL wire in place. 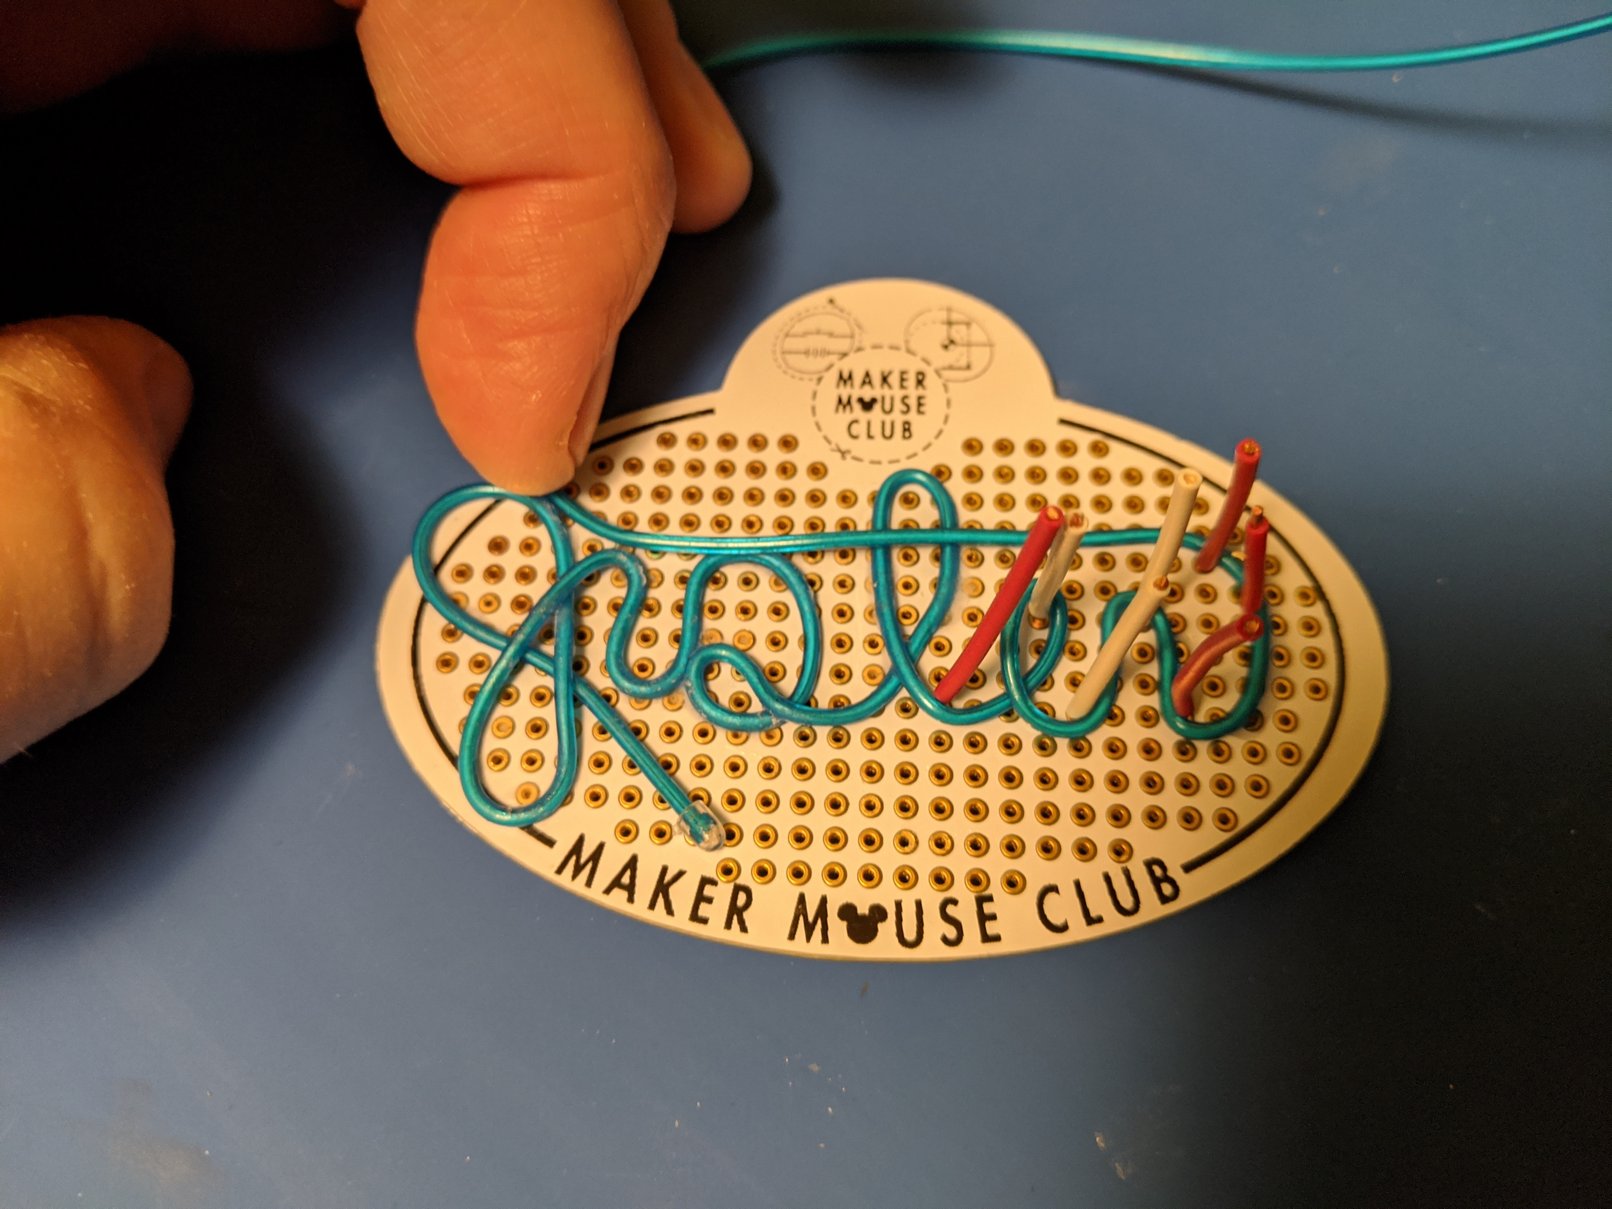 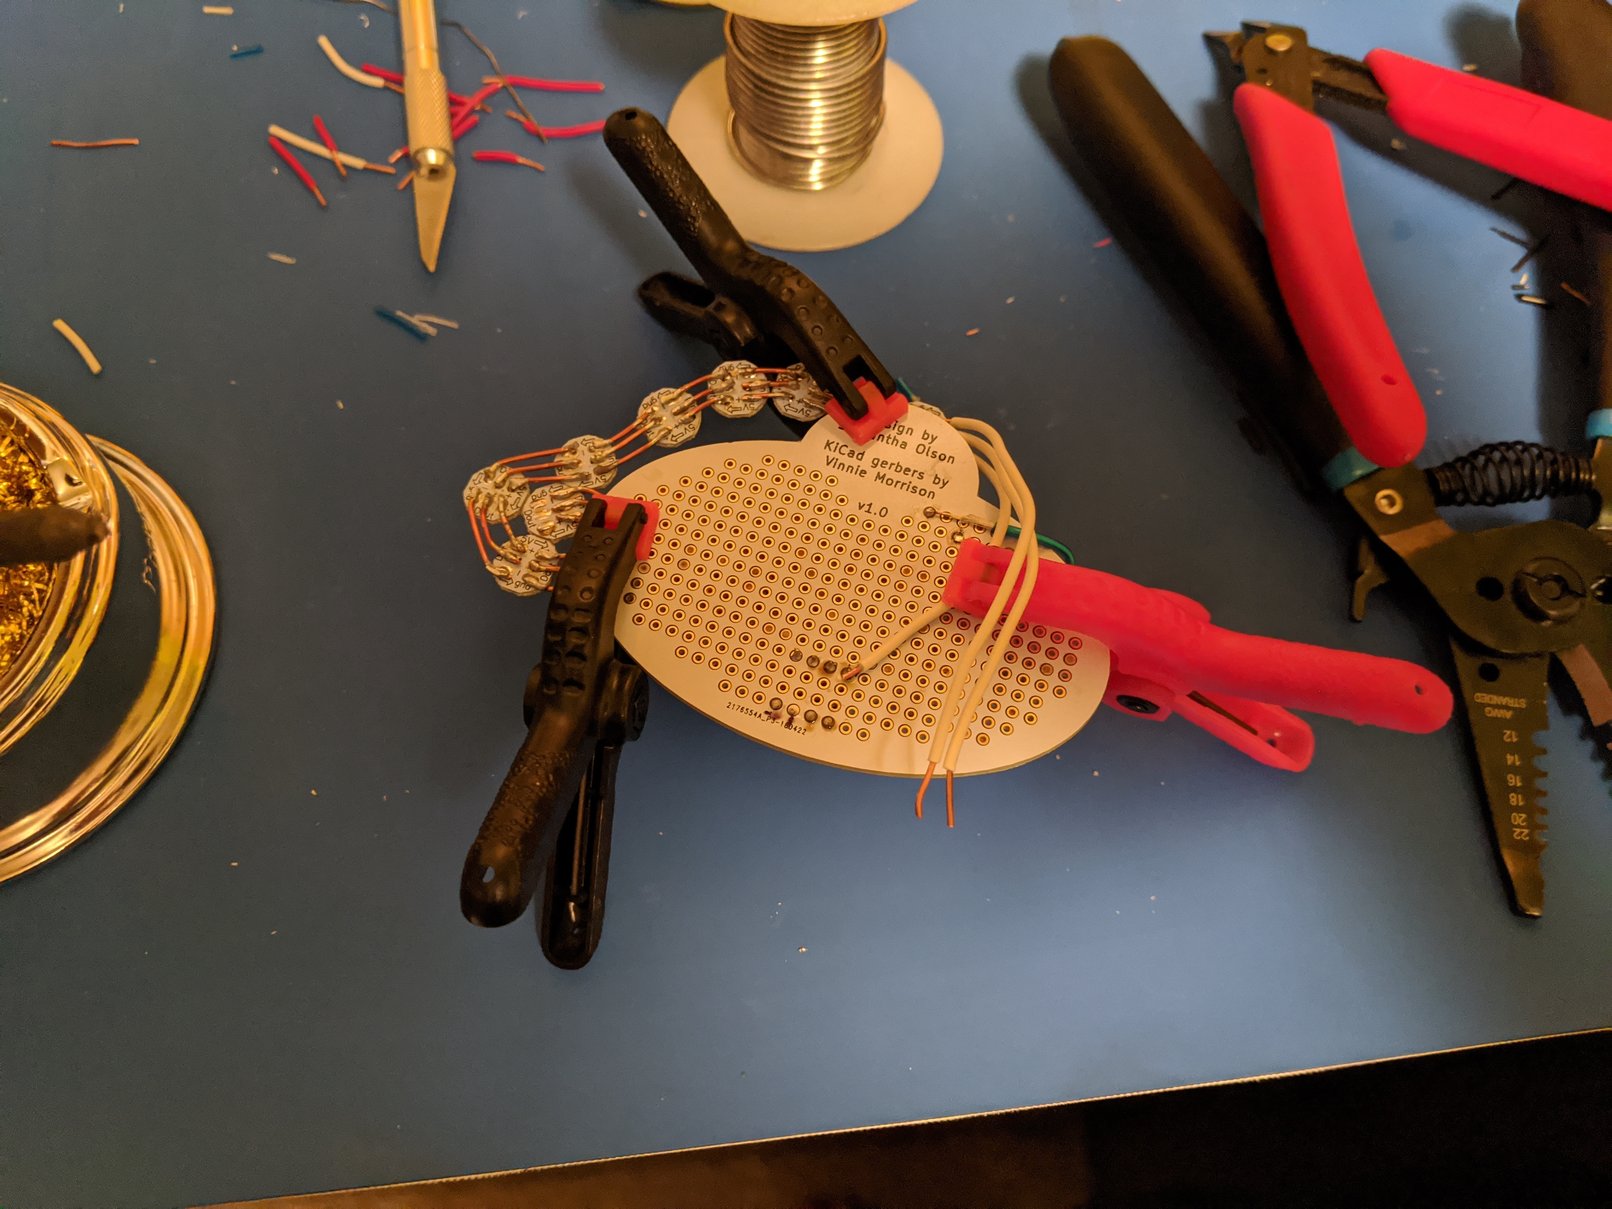 The LEDs can get very bright! At full brightness you could still see it outside on a sunny day. 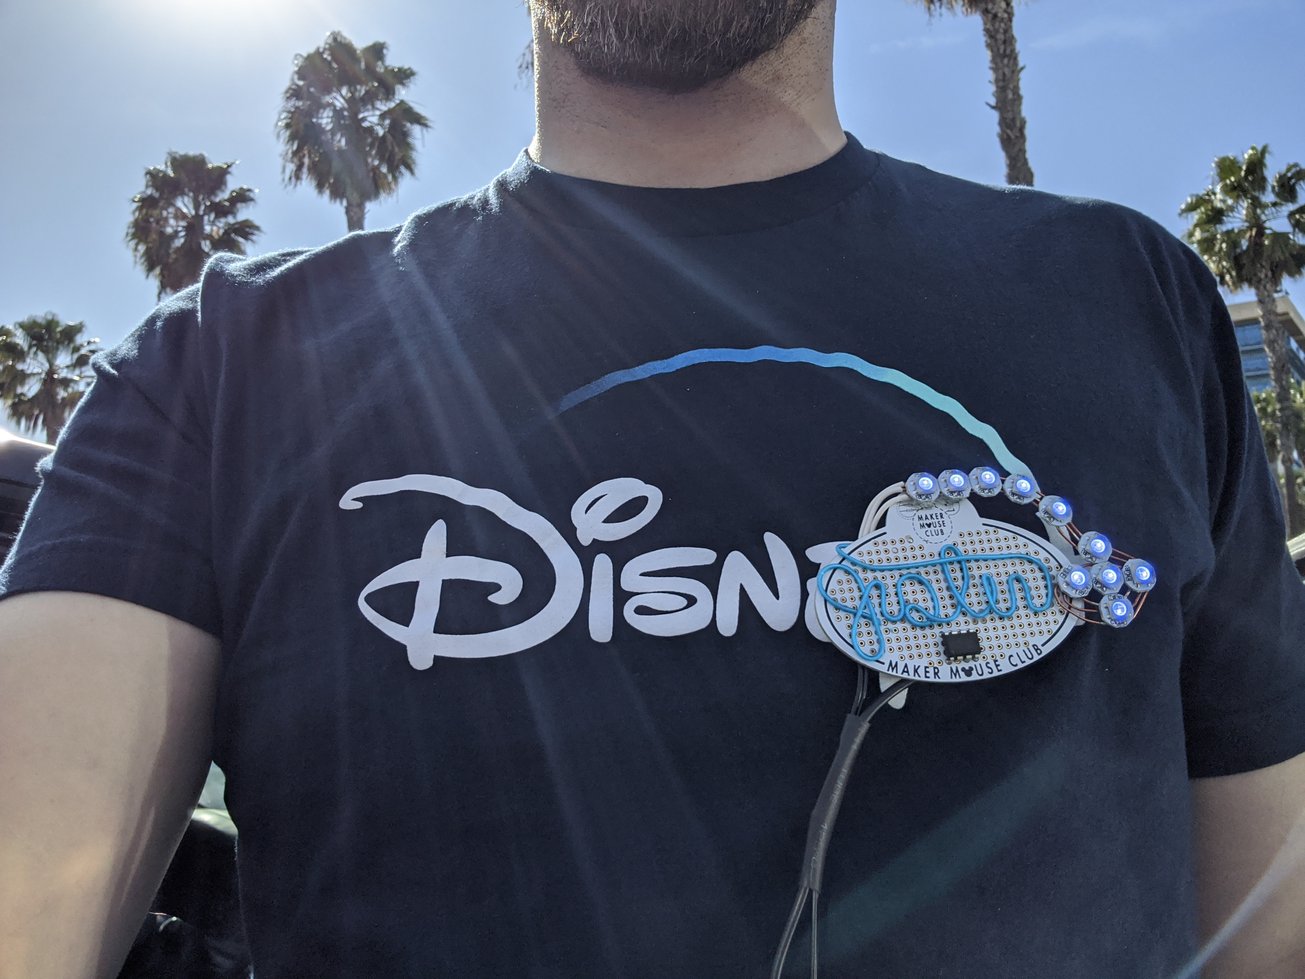 I took some old USB cables (4 wires) and spliced in the EL wire power supply so I could get 4 wires at the board (2 AC and 2 DC). 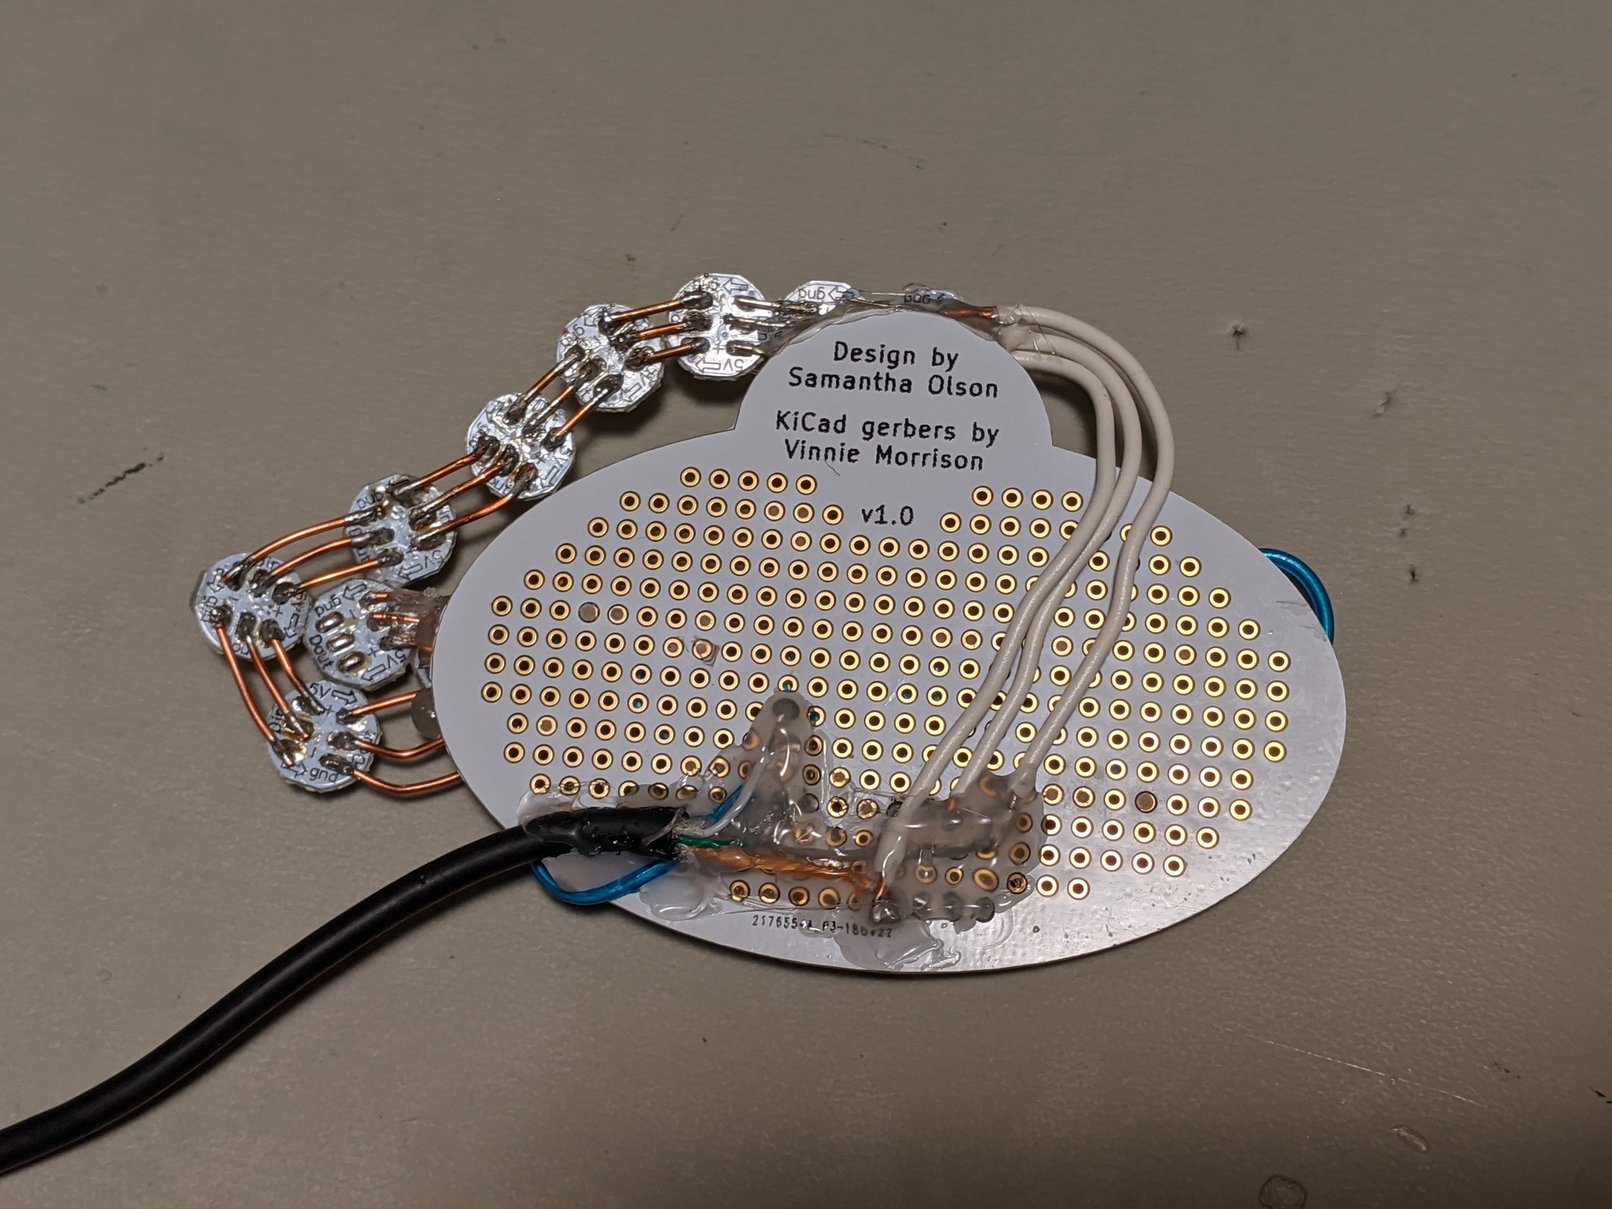 Soldering the ATTiny85 to the board and connecting it to the arch wasn't too hard. MAKE SURE YOU CONNECT THE CORRECT POSITIVE AND NEGATIVE LEADS! Overall I'm very happy with how they ended up. 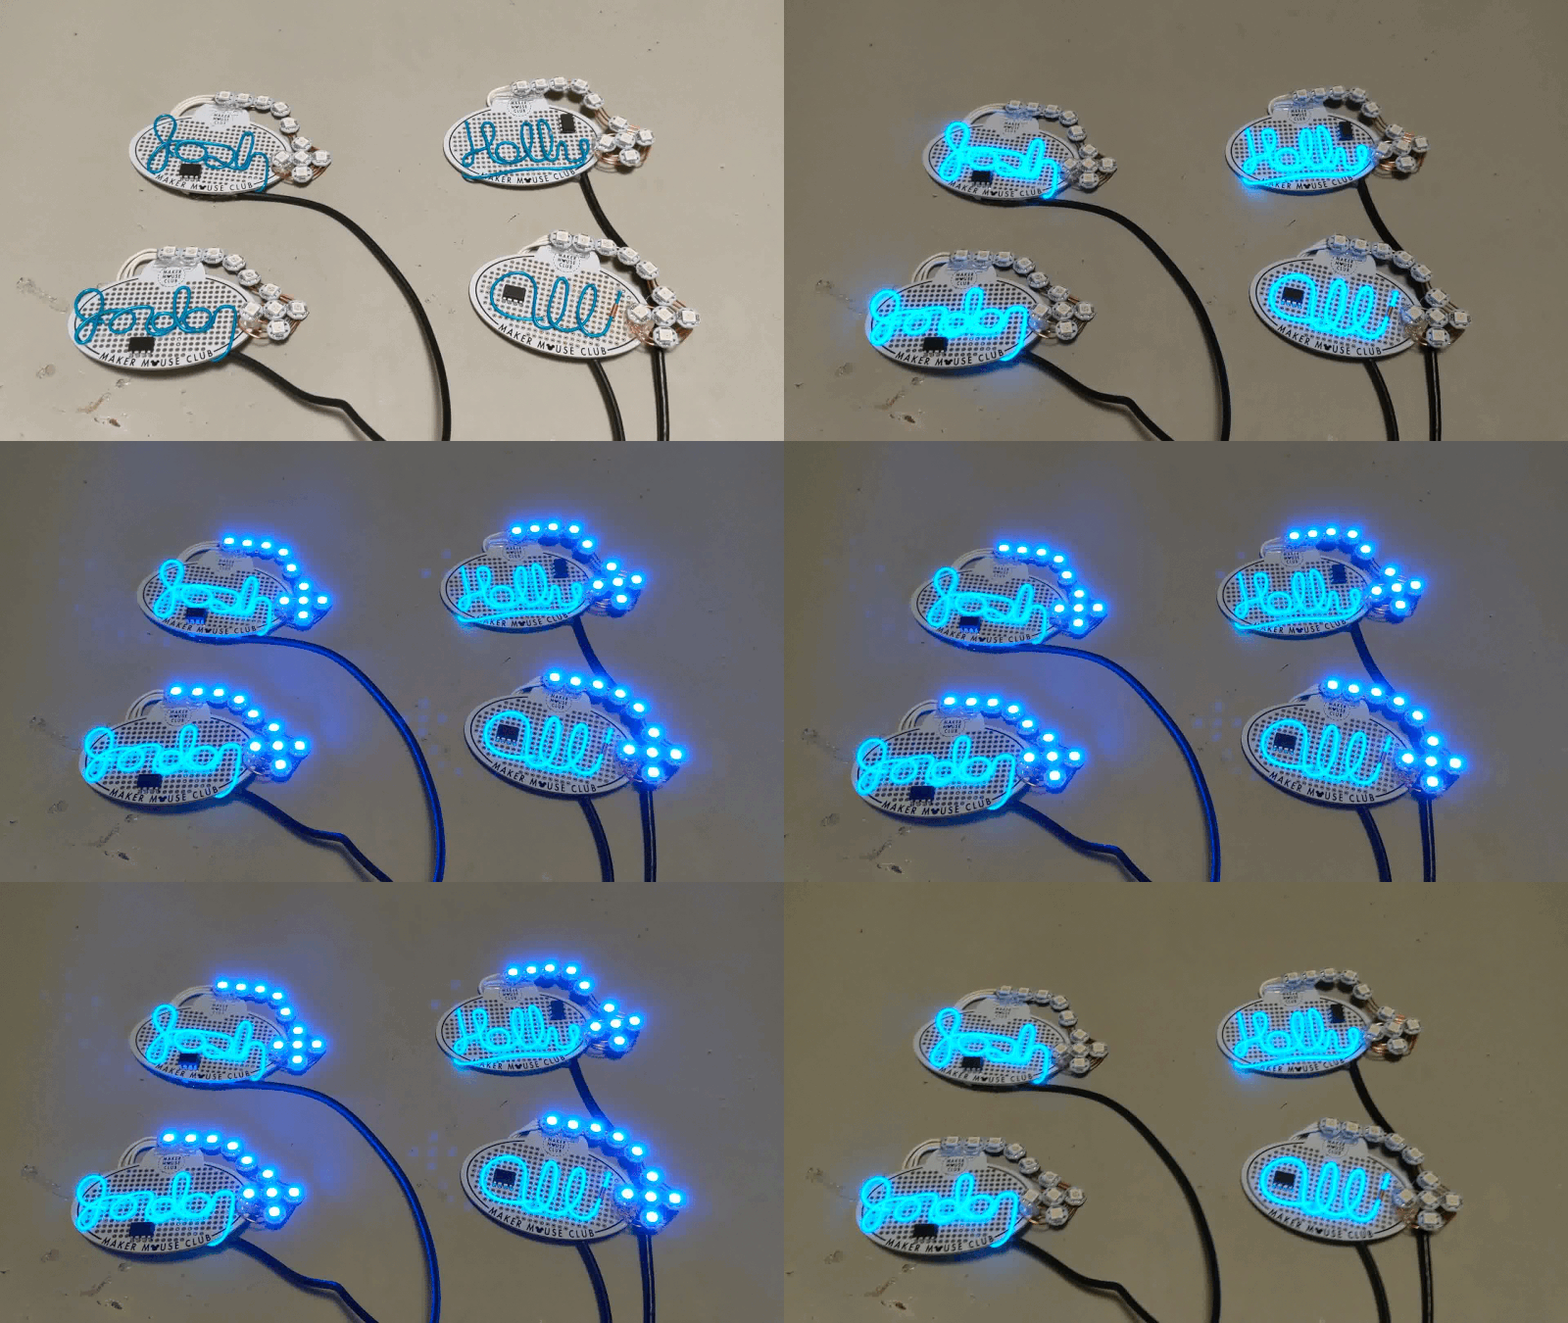 You can see the full photo album here. https://photos.app.goo.gl/B5Ap2drmyzFFEMVG8
