KO
|
EN
gitlite — search
Search
#python
#java
#python3
#arduino
#golang
#machine-learning
#rust
#html
#flask
#javascript
#seismology
#nodejs
traffic-cone-film-scanning
★ 23
Open GitHub ↗
No description available.
Download README (.md)
Explore Similar Repositories
docker-foundry
:
Docker of dedicated server for Foundry
orz-cli-gpu
:
No description available.
copy-code-block-widget
:
Double click to copy code block in Trilium Notes
Screaming-Frog-Custom-Javascript
:
Repository for custom Javascript snippets, run by Screaming Frog >v20.
XDN
:
This repo for XeneaDomainNameSystem
// repository documentation
Was this content helpful?
★ 0
(0 ratings)
Select Rating:
★
★
★
★
★
Submit Feedback
Recent Feedback
×
Download README
Do you want to download the
README.md
file for
traffic-cone-film-scanning
?
Download (.md)
# Traffic-Cone Film Scanning: High-Quality Digitization on the Cheap [Discord](https://discord.gg/wB9mKjD2Cn) | [Table of Contents](#Table-of-Contents) ----- Analog photography is having a resurgence, many people are shooting film again. To view and share the photos, they need to be digitized. Scanning using a digital camera is popular, but a conventional setup can cost [hundreds of dollars](images/dollaz.png). TCFS is a low-cost 3D-printable alternative that produces high-quality results at a fraction of the price. 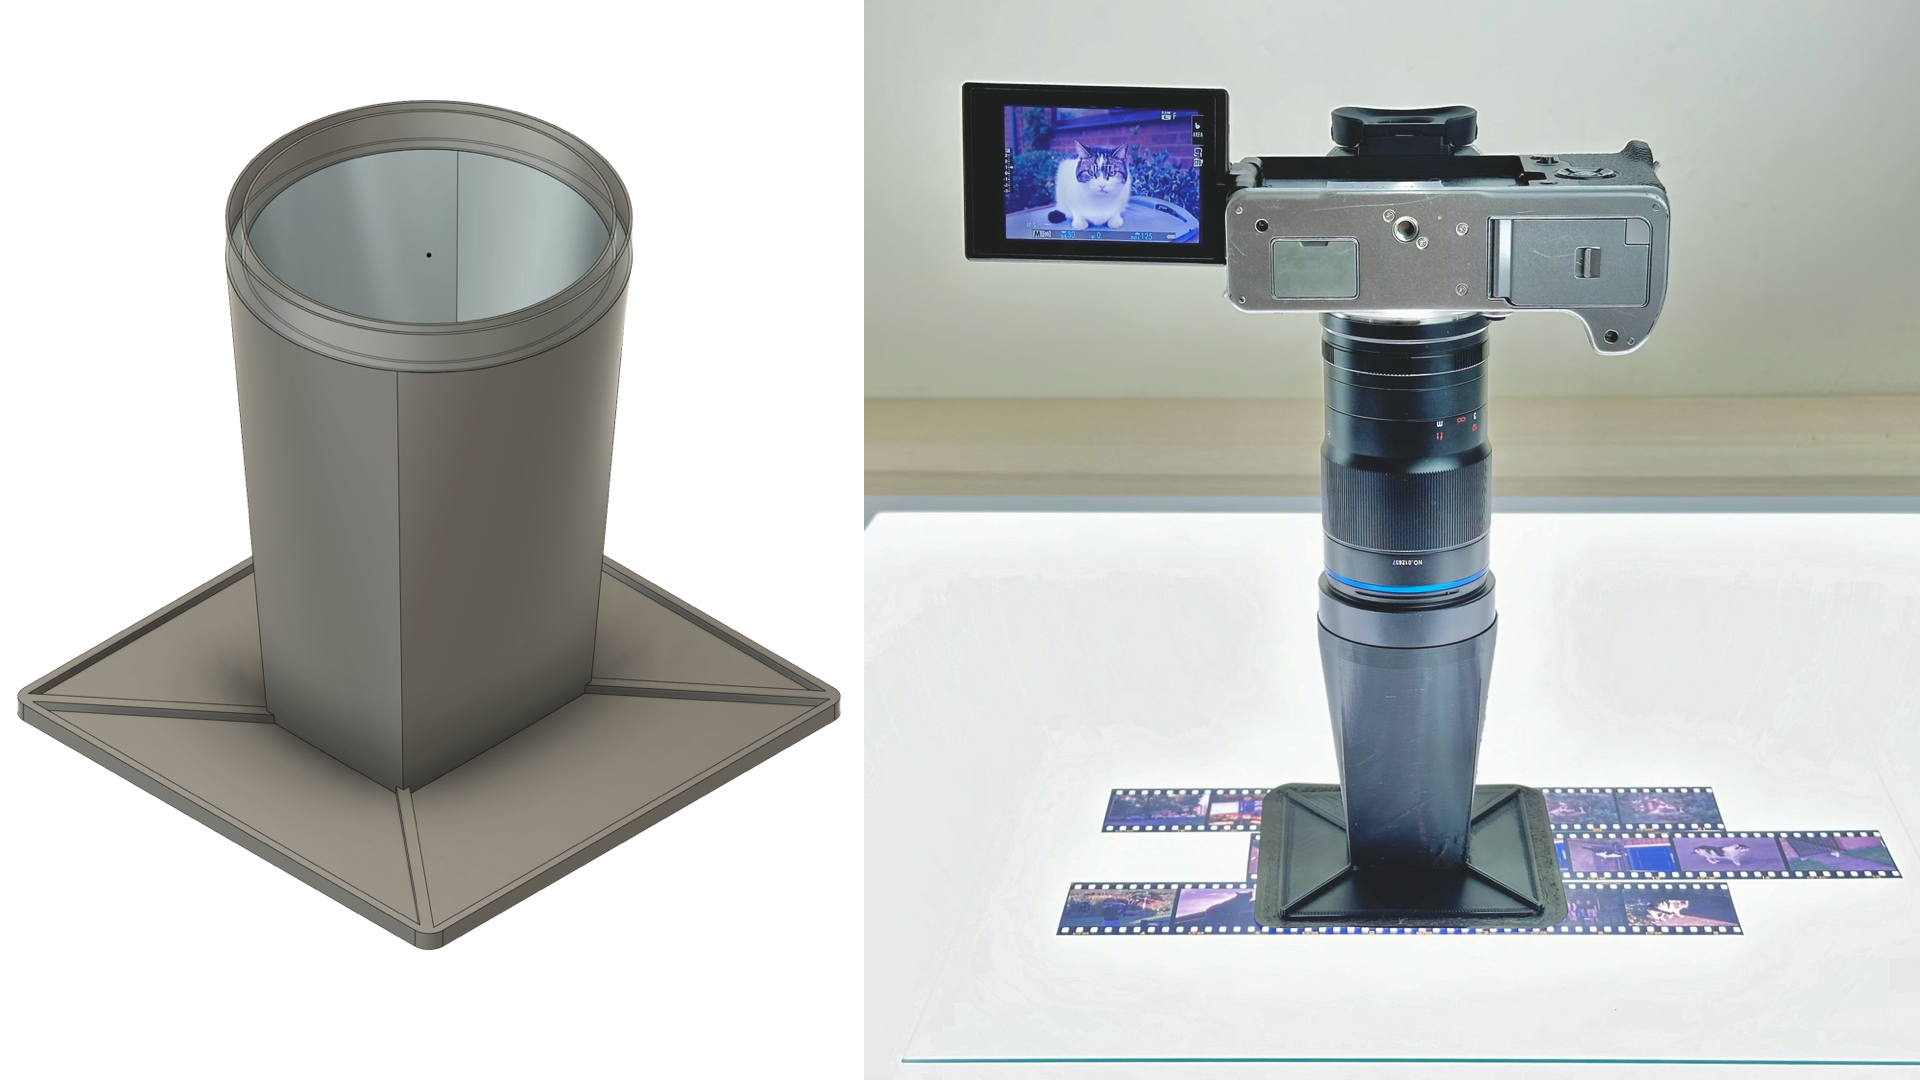 ## How It Works * Print a cone * Attach to macro lens * Film under glass * Camera point straight down. * Focus and shoot! ## Advantages * **Low-cost**: $1 in filaments. * **Easy setup**: * No tripods/copystands * Fixed distance, no calibration. * **Fully Enclosed** * No stray lights * No reflection * **Multi-format**: Subminiature, 35mm, 120, sprockets, and more! * **Open-source** * Customizable parametric design * CCBY4.0 license. ## Table of Contents - [Sample Scans](#samples) - [Items Needed](#sounds-great-im-in) - [Cone Preparation](#cone-preparation) - [Cone Assembly](#cone-assembly) - [Scanning Preparation](#scanning-preparation) - [Scanning Procedures](#scanning-procedures) - [About Newton Rings](#a-word-on-newton-rings) - [Feedback Wanted!](#howd-it-go) - [License Note](#license-note) ## Samples Fuji XT4 + Laowa 65mm f/2.8 35mm 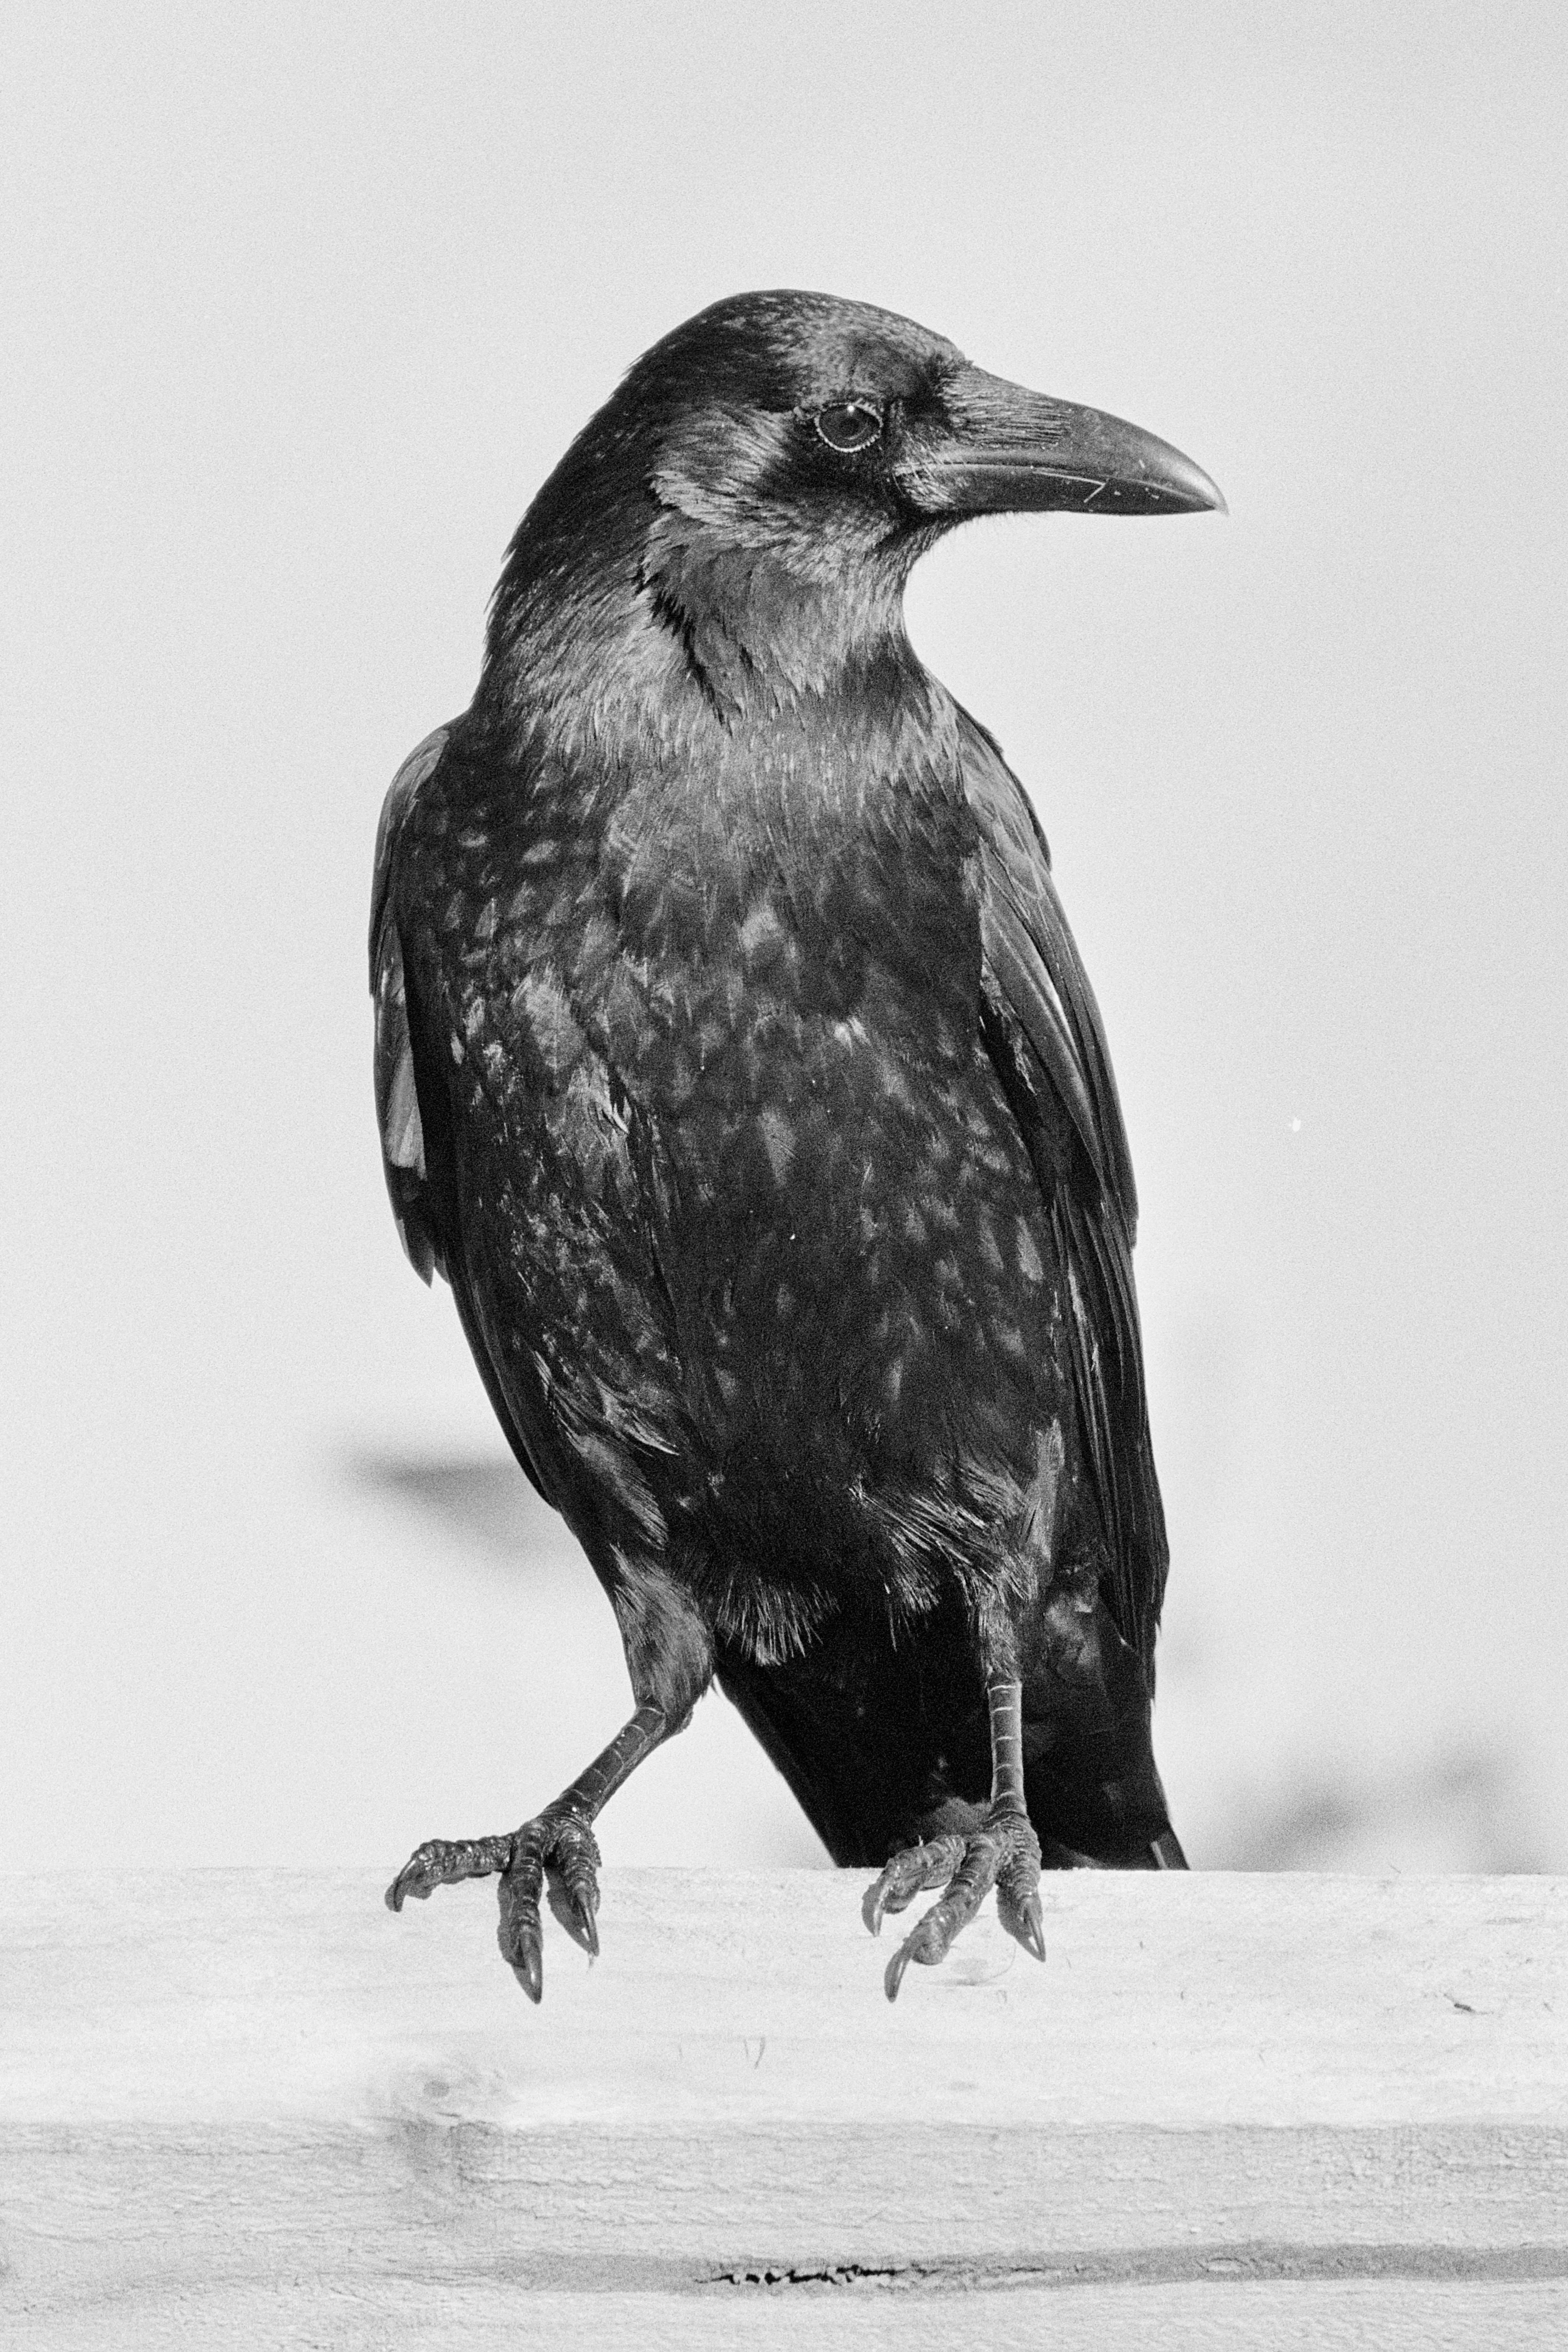 35mm Sprocket 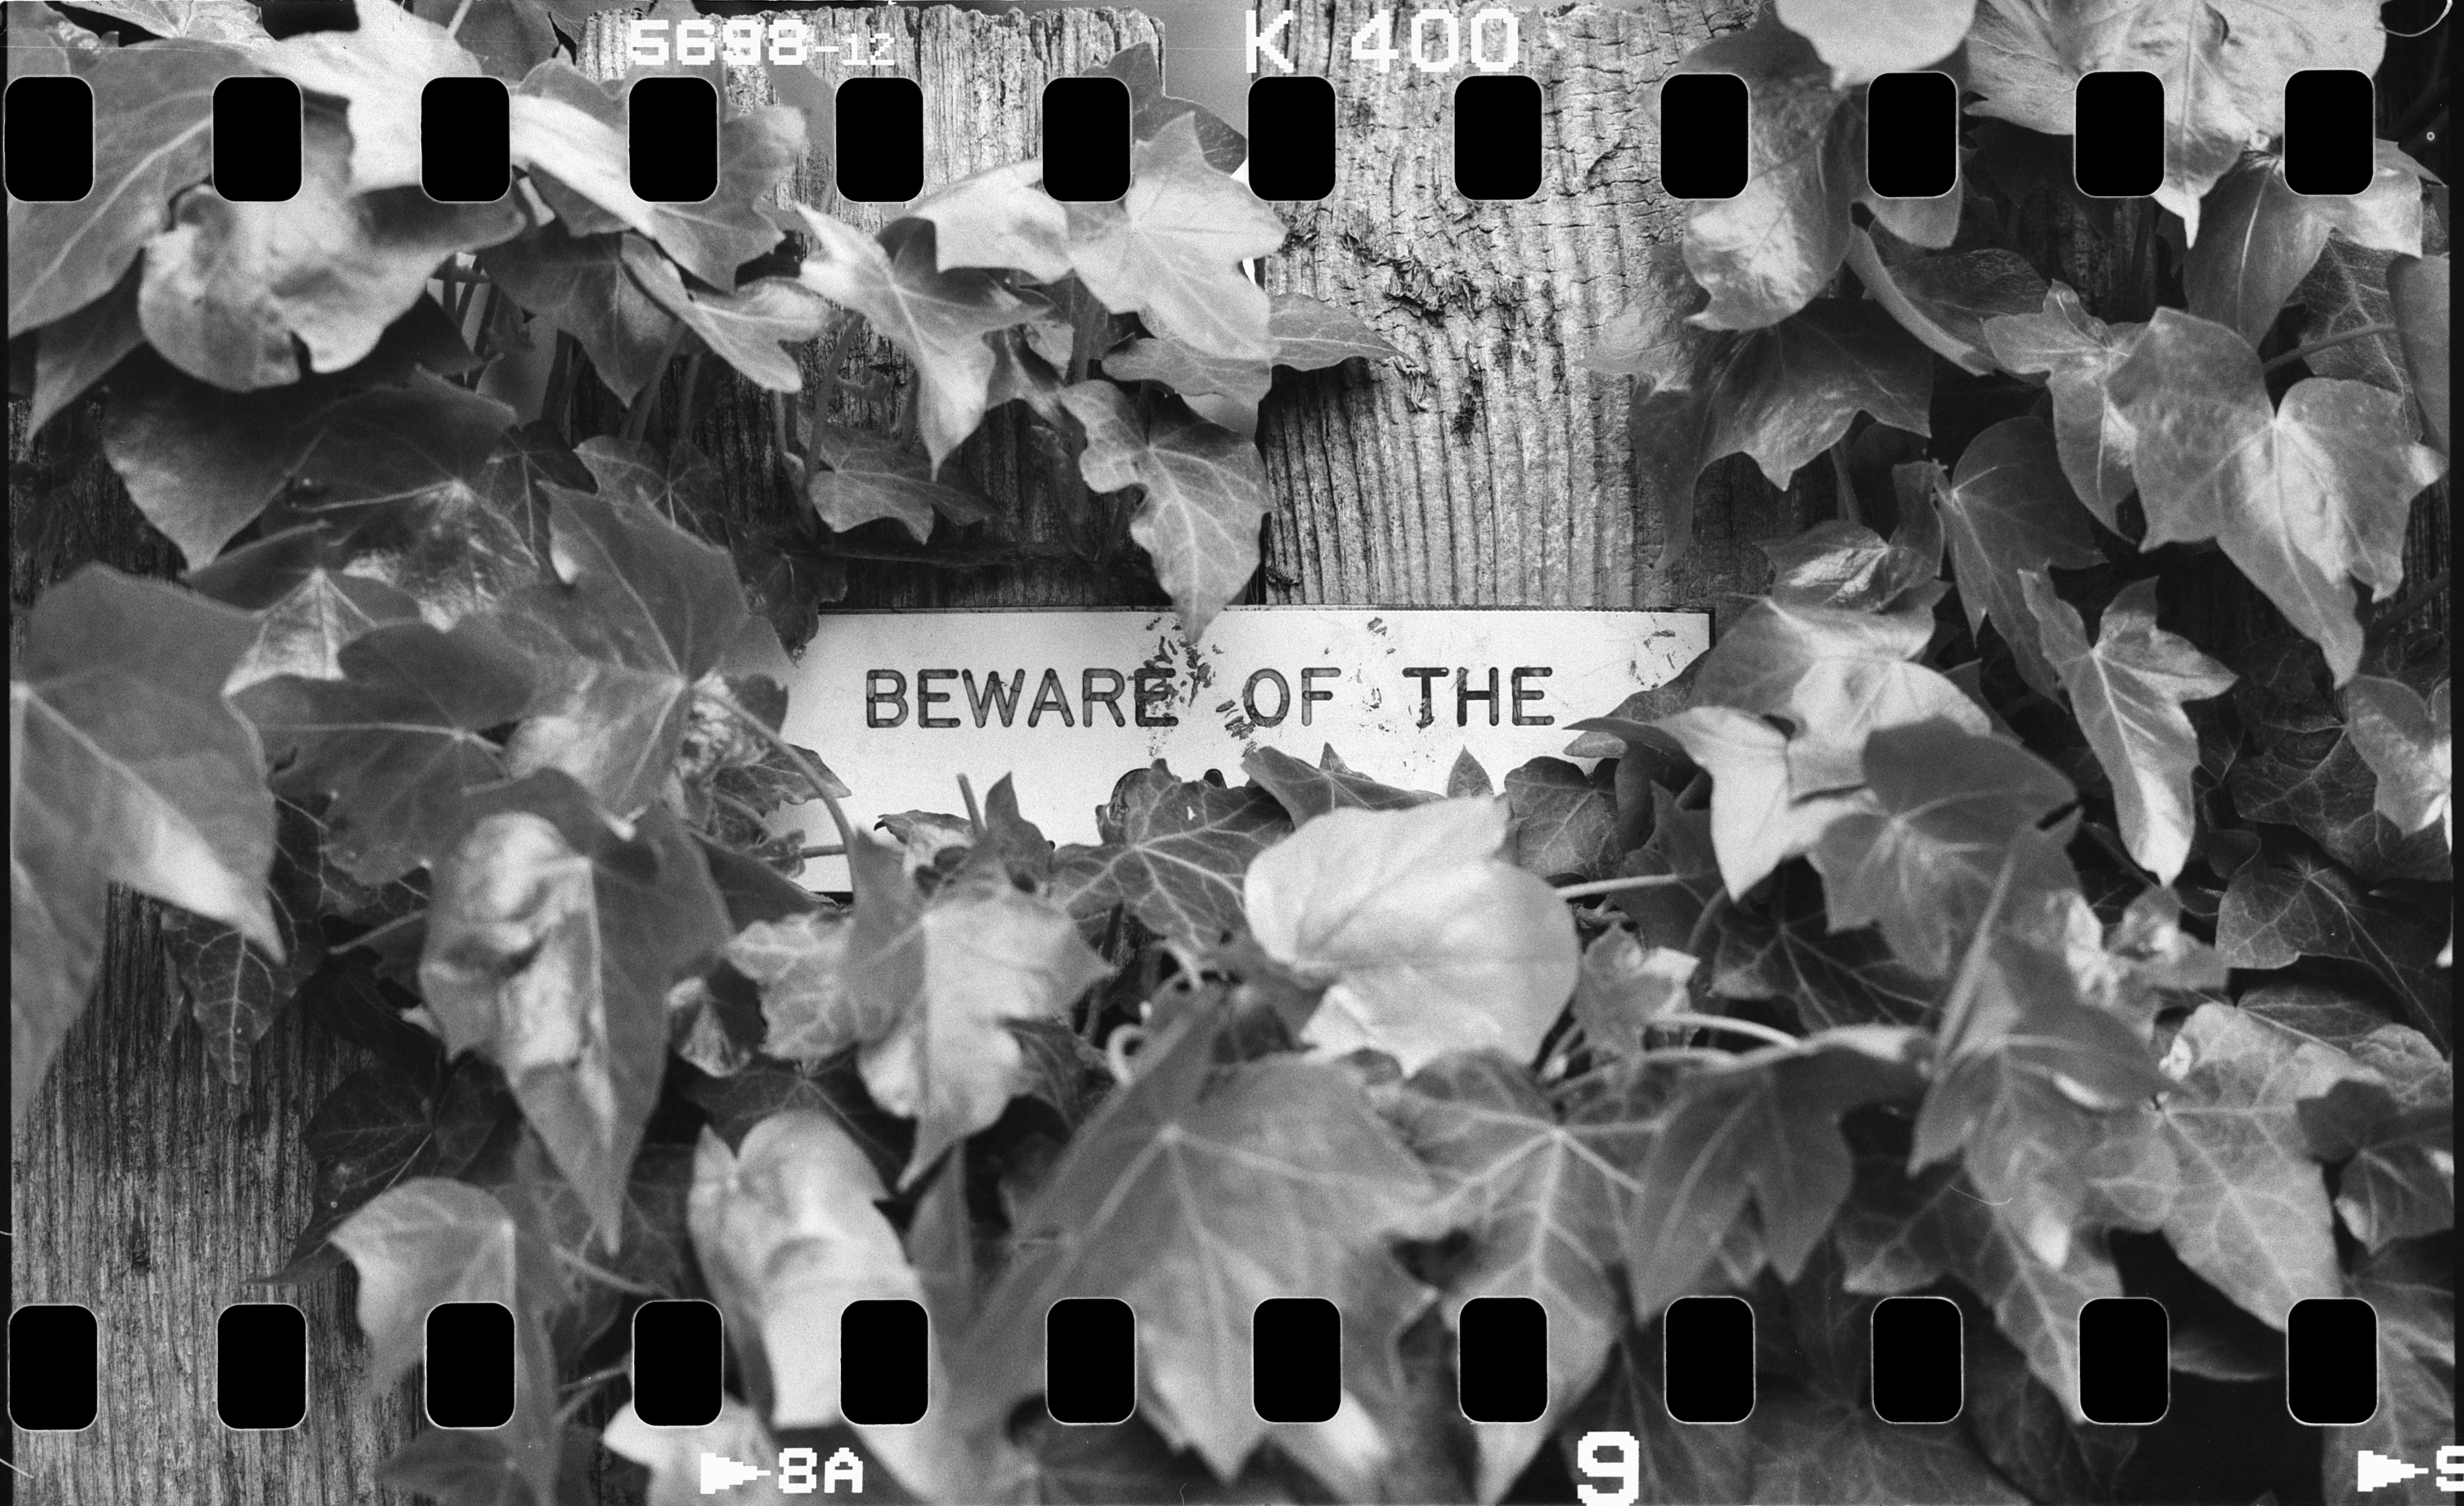 6x6 Negative 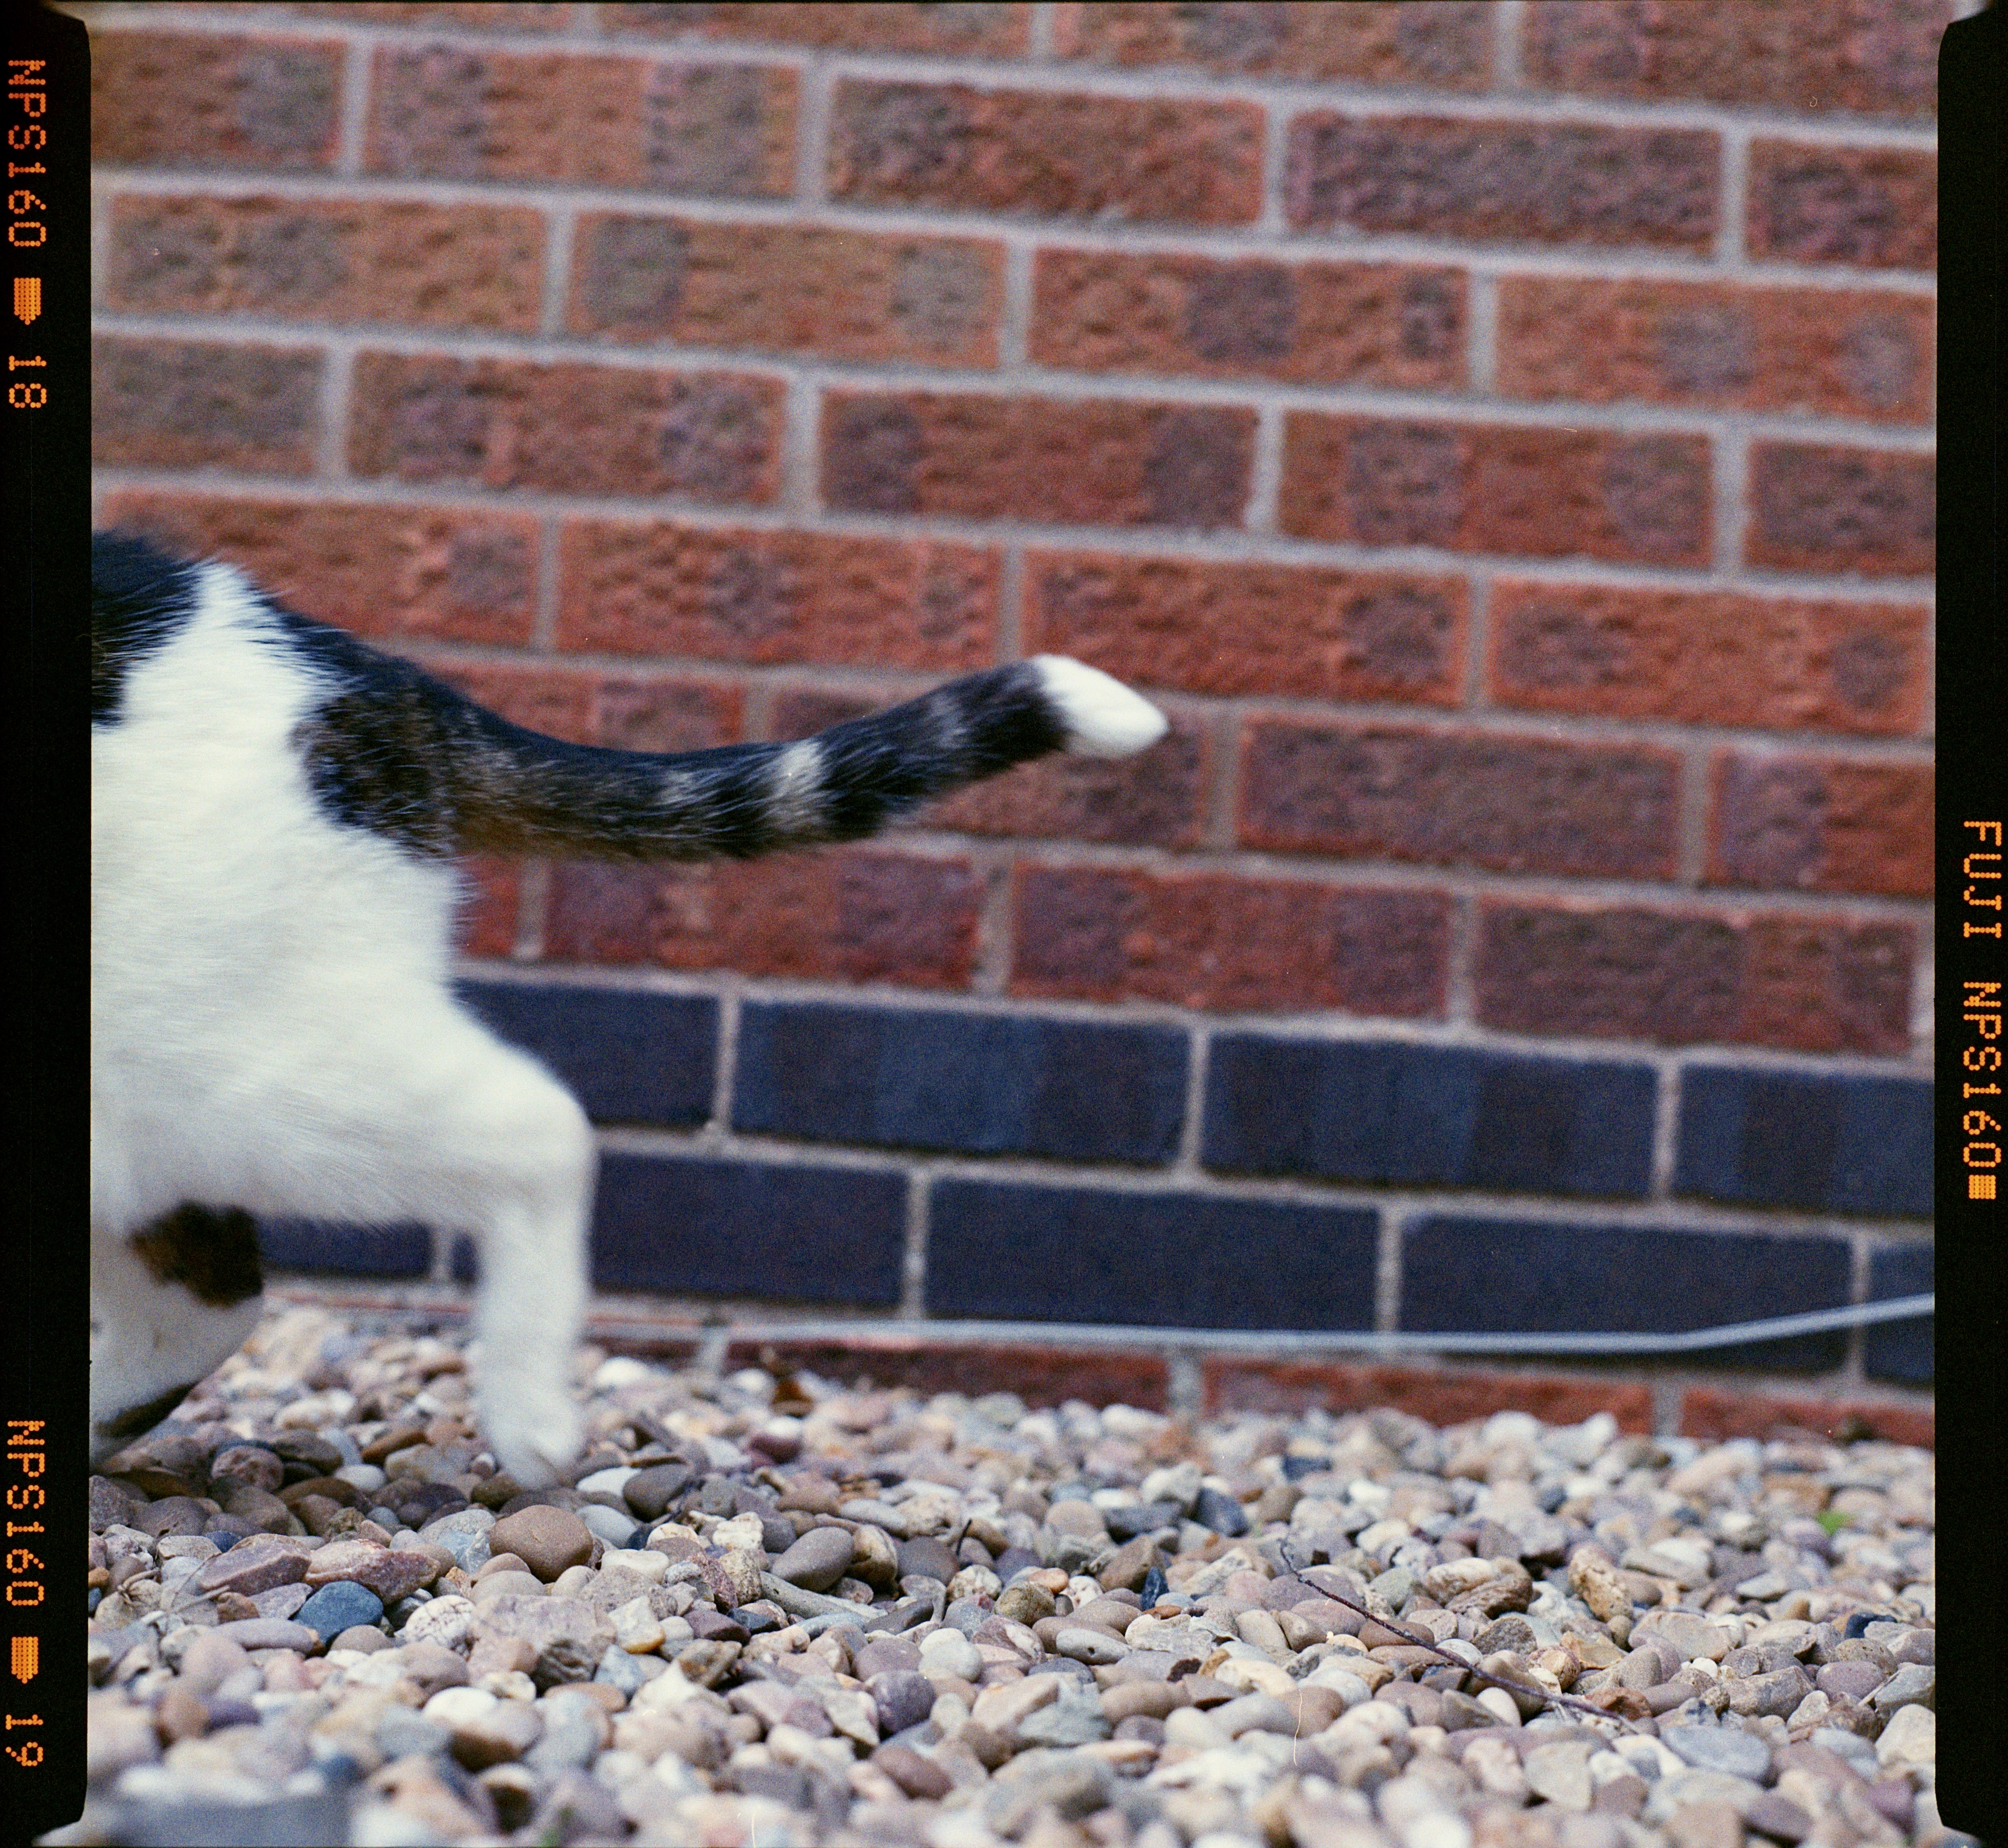 6x6 Slide 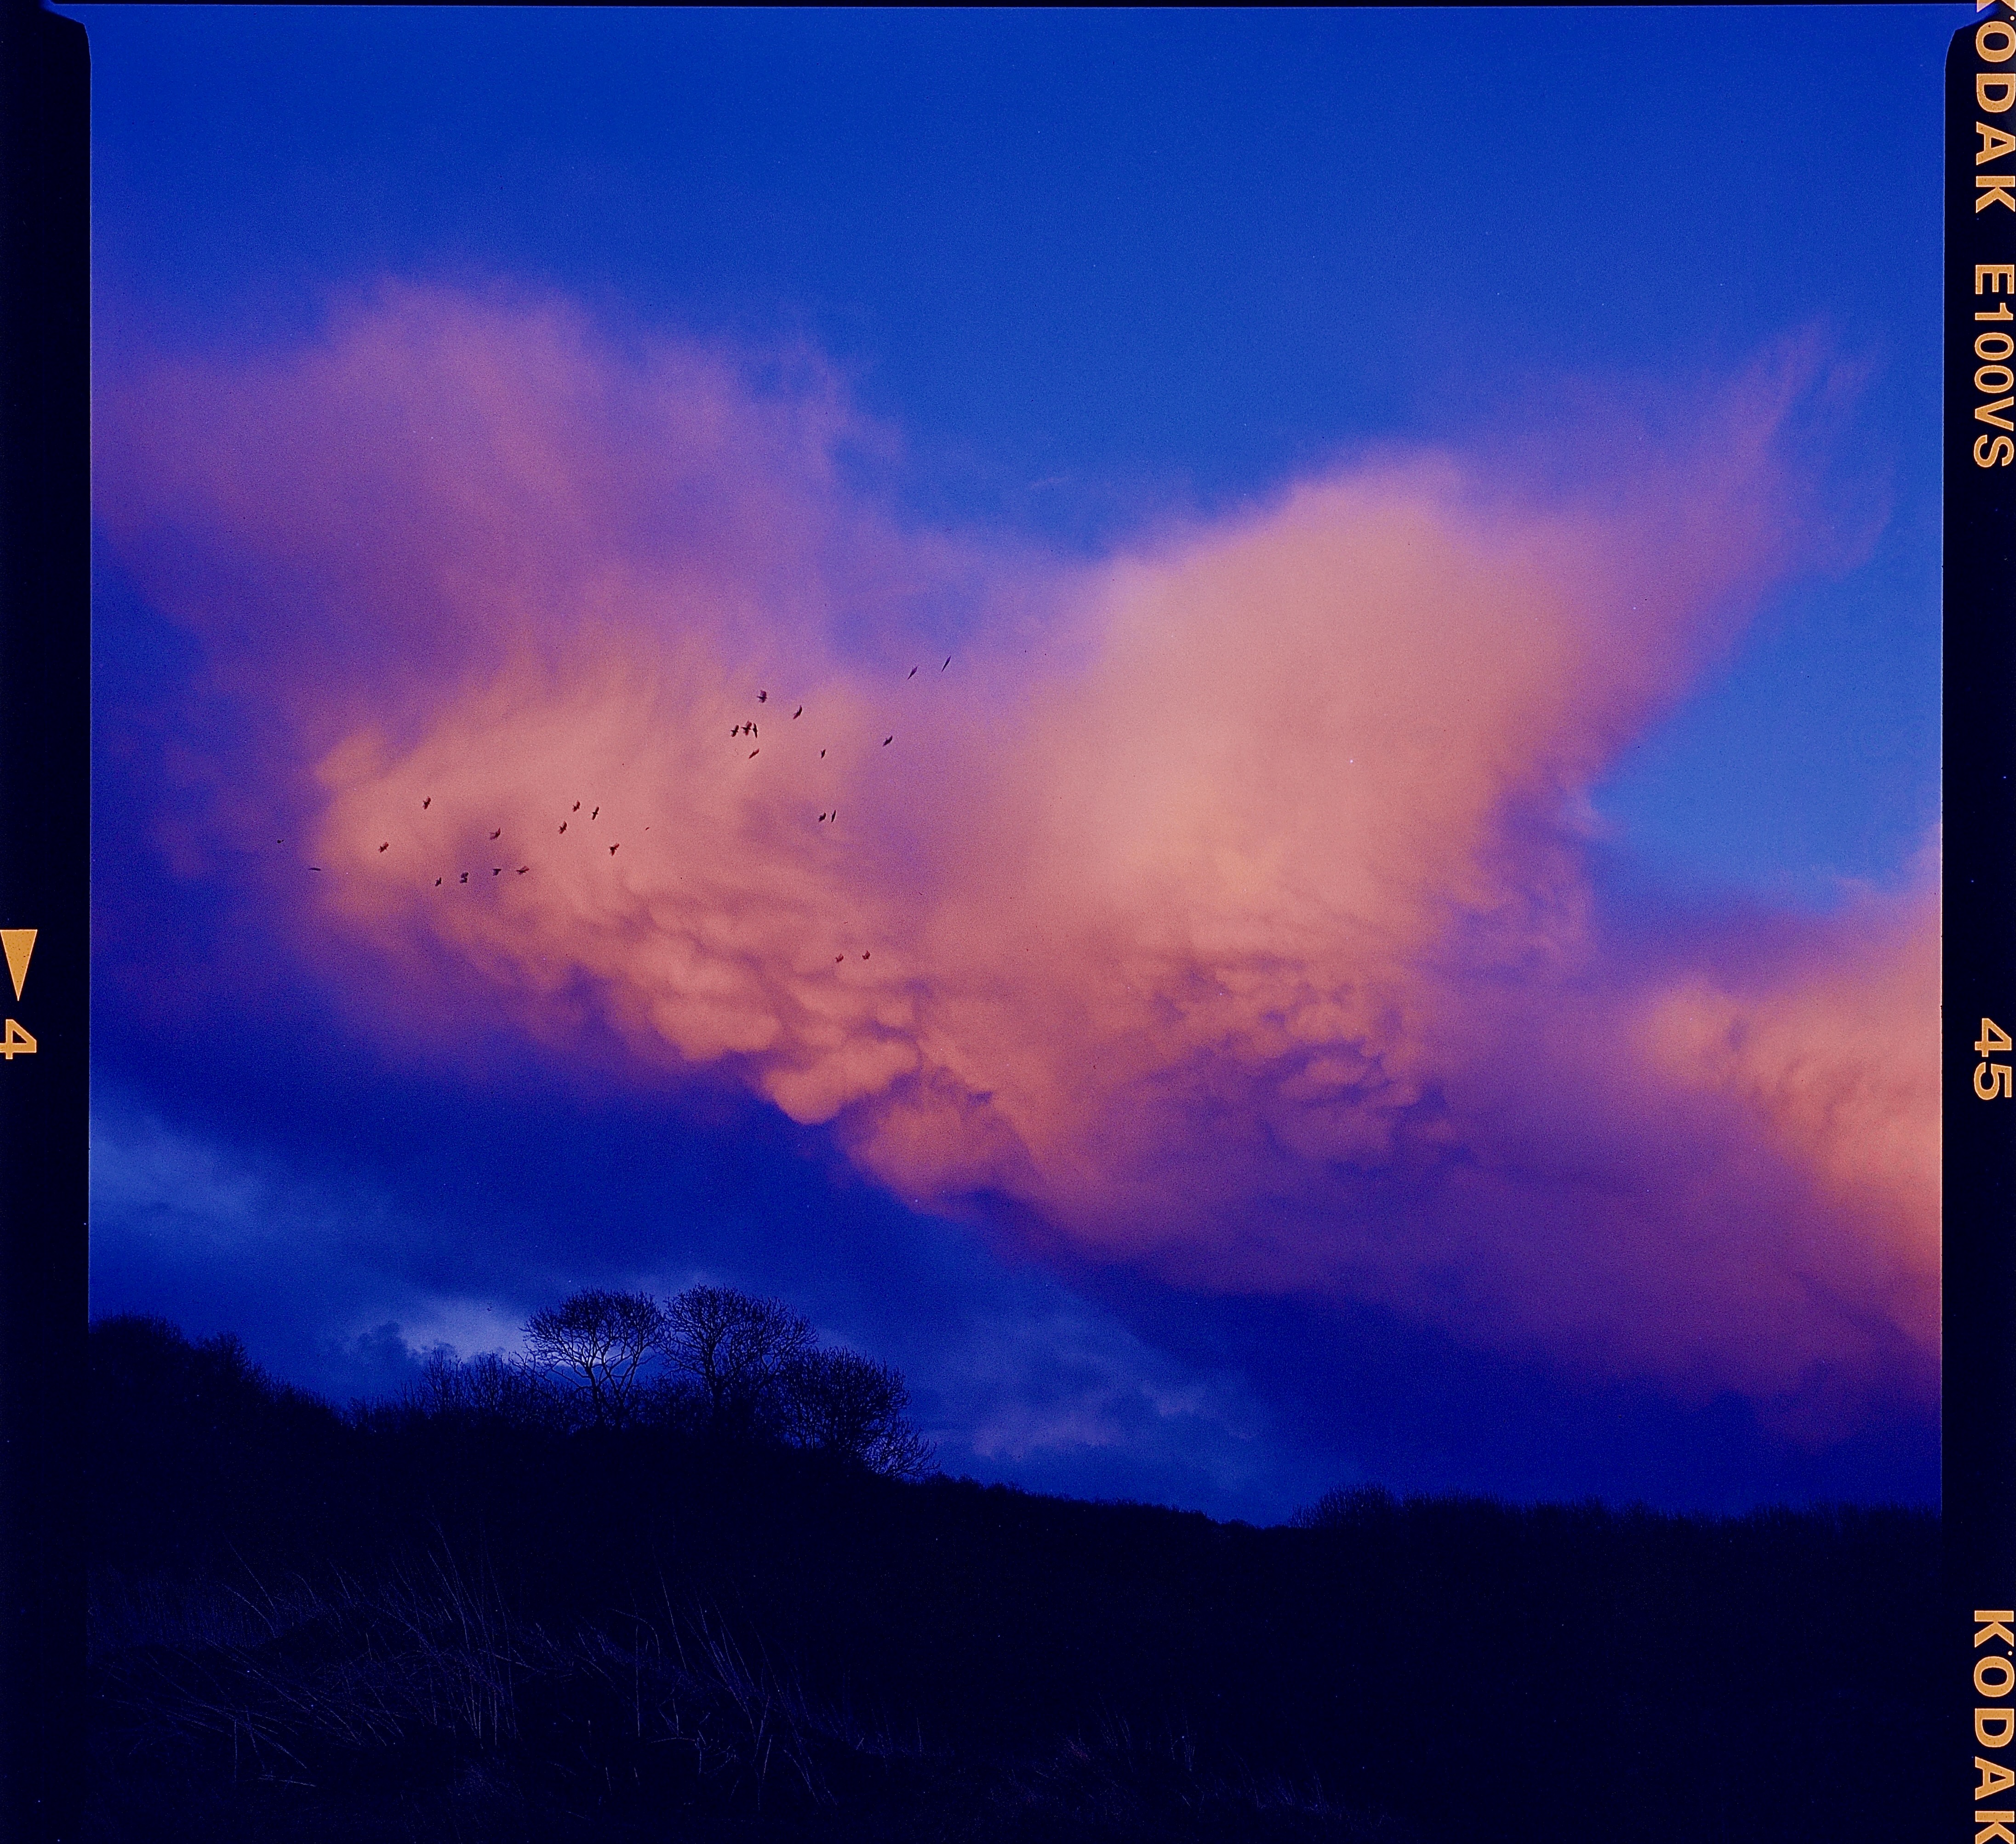 [More full-size samples here](https://github.com/dekuNukem/traffic-cone-film-scanning/tree/master/sample_scans) ## So What's the Catch? While TCFS can achieve excellent results, there are a few things to keep in mind. #### DIY Involved * You need to be a bit handy. * Wire a plug, use a caliper, etc. Nothing too crazy. #### Obtaining a Cone * One cone per film format. * For lowest cost, print your own. Basic 3D printing experience needed. #### No Magic Bullet * TCFS can be as good as any expensive DSLR/mirrorless setup when done properly. * Able to get the most out of 35mm & smaller * Also great with medium format * But likely won't extract all its resolution * For utmost quality, wet mounting/drum scans are still hard to beat. * Main advantage is excellent scans at much lower cost, easy setup, and faster speed. ## Sounds Great, I'm In! Let's get started! The setup involves: * Digital Camera * Macro Lens * Lens Hood * Light Table * Flat Glass * The Cone ## Digital Camera Obviously, you need one of those. Any DSLR or Mirrorless made in the past decade should be more than good enough. No need for latest and greatest. APS-C sensor is plenty. A **swivel / tilt screen** would be nice to have, makes checking focus easier. ## Macro Lens The quality of the scan depend largely on the lens. For best results, I recommend: * A proper **macro lens** * With **internal focusing** (front element doesn't move) --------- **Magnification Ratio** is important: * A 1:1 (1x) ratio means the lens can project the **actual size of the subject** onto the sensor * At 2:1 (2x), the subject can be projected **twice as big** on the sensor * Therefore, a decent MR is useful for smaller formats (35mm and under). ------- You can drop 4 figures on a flagship first-party lens, but for film scanning it's a bit overkill. A popular choice is [Laowa 65mm f/2.8 2x Ultra Macro APO](https://www.venuslens.net/product/laowa-65mm-f-2-8-2x-ultra-macro-apo/): * 2x MR * Superb image quality * Around $330 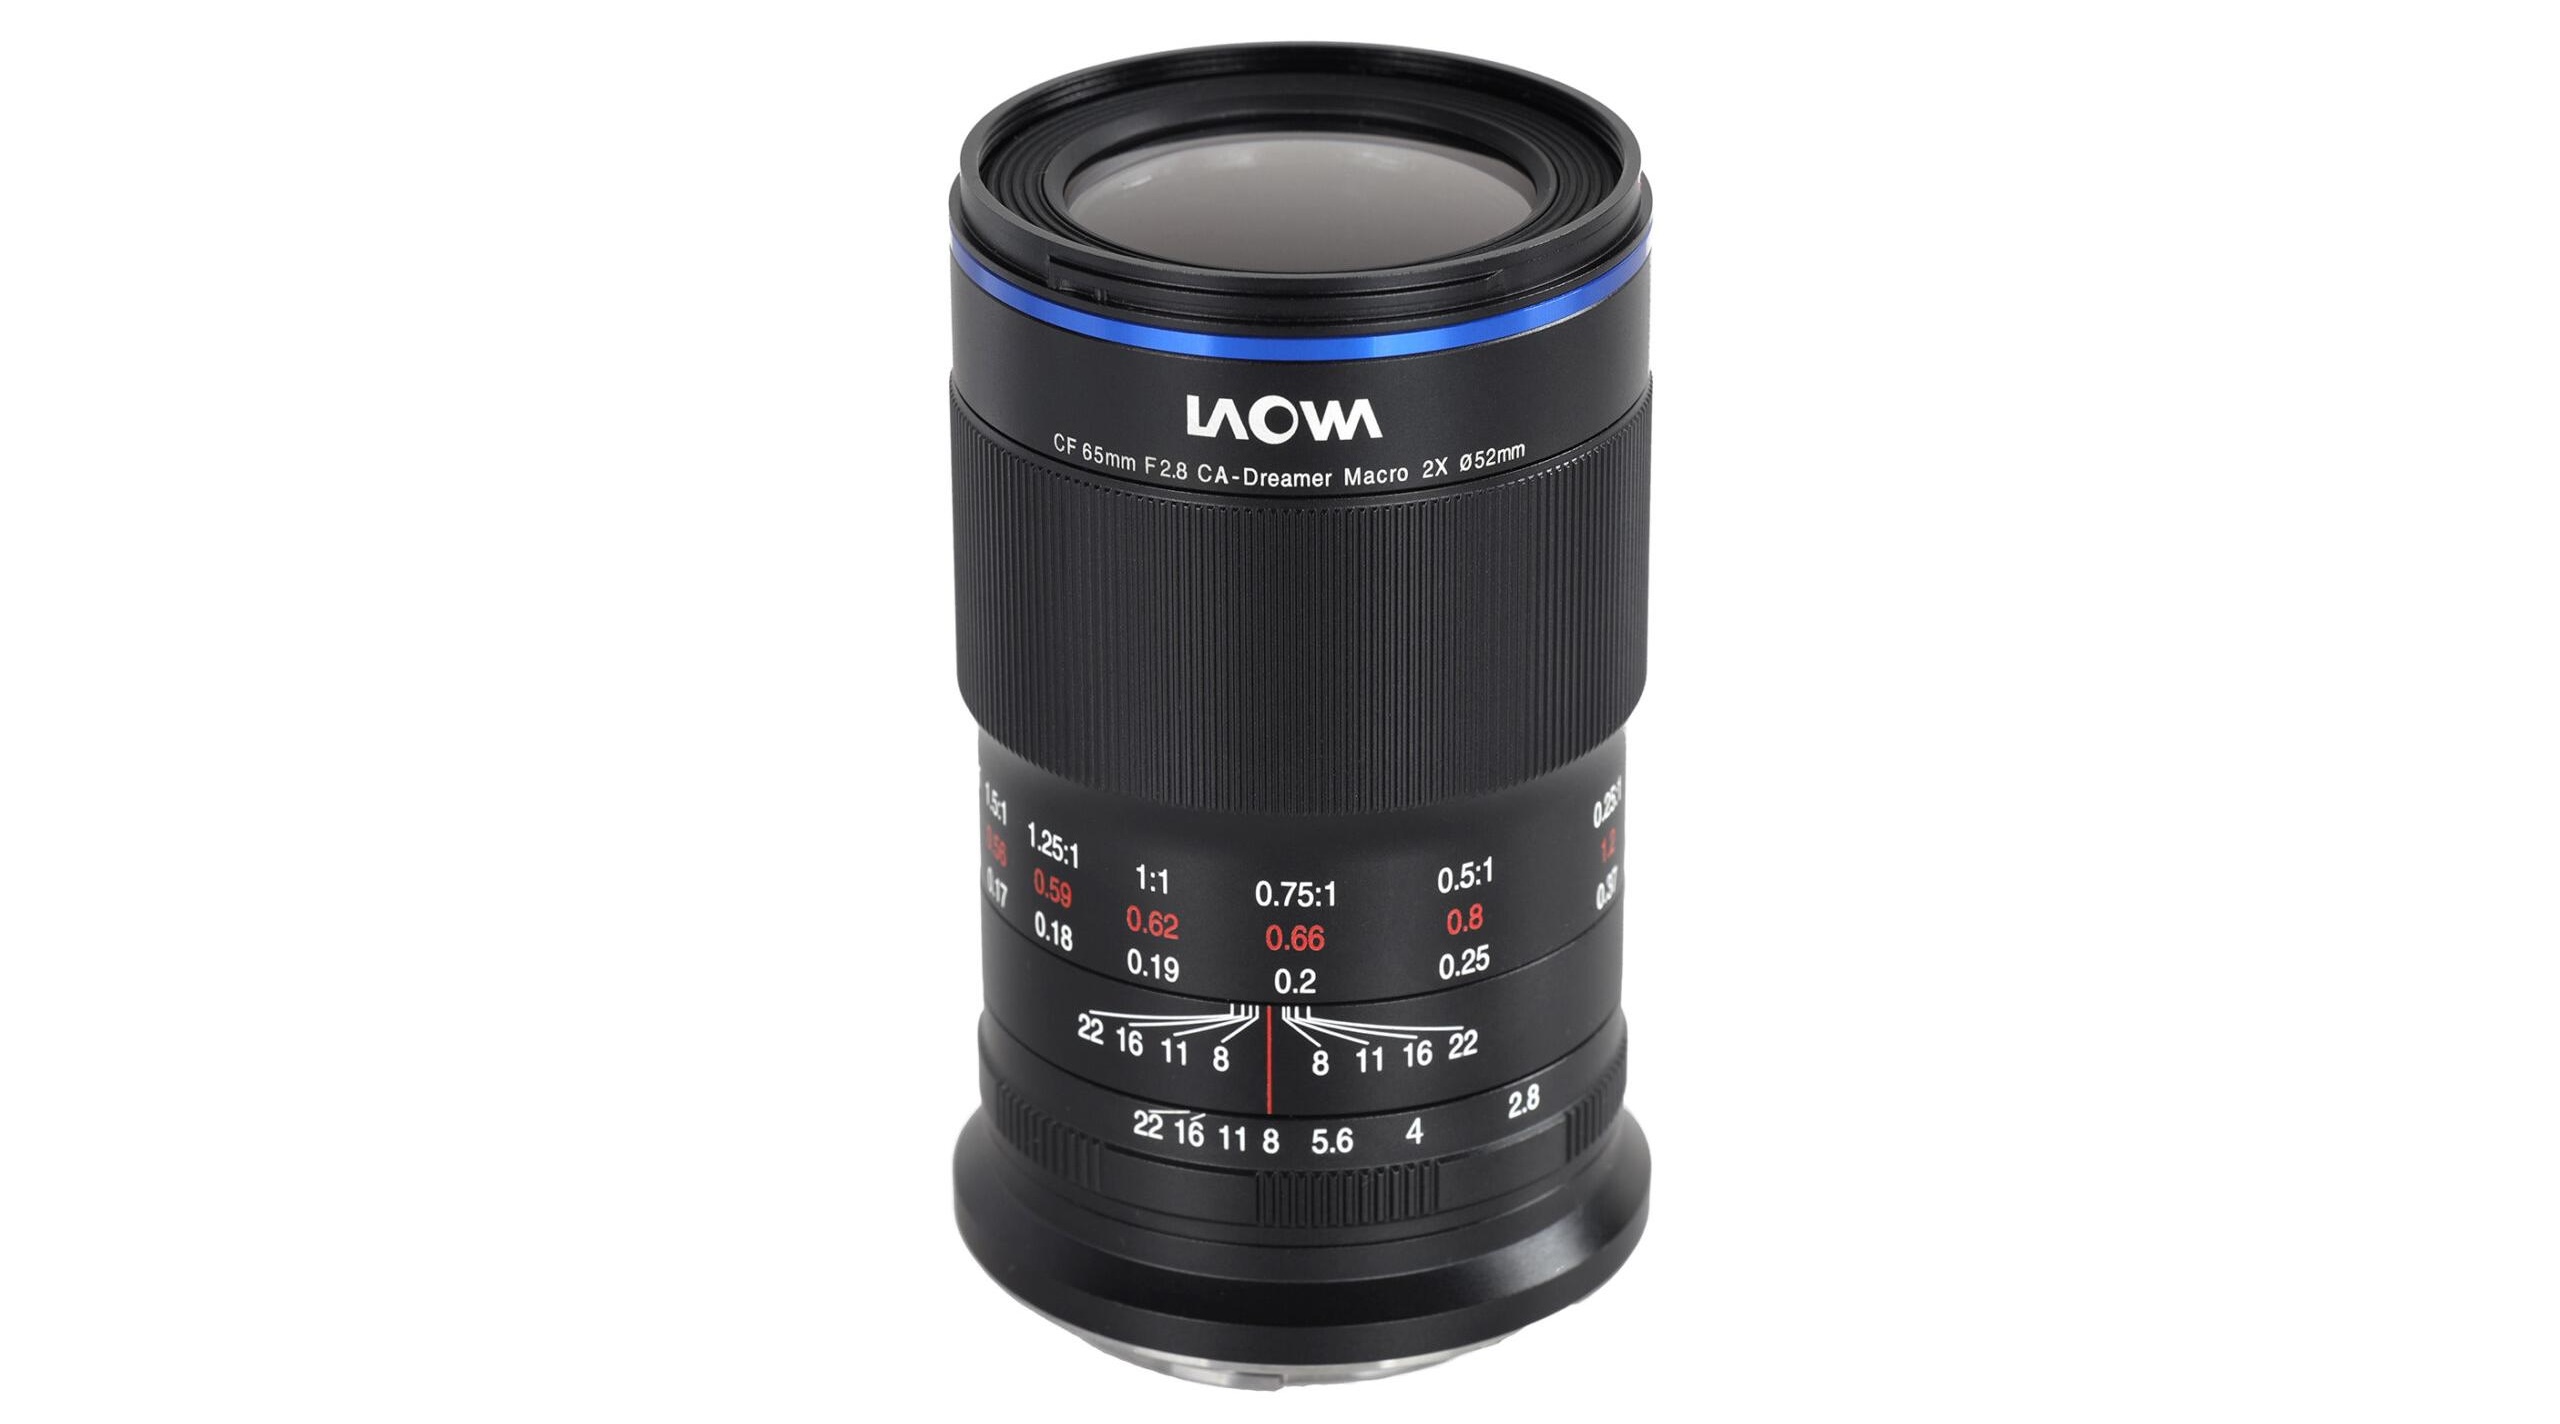 Another one is [7Artisans 60mm f/2.8 Mark II](https://7artisans.store/products/7artisans-60mm-f2-8-mark-ii-macro-lens-for-sony-e-fuji-fx-canon-eos-m-olympus-m43-nikon-z-mirrorless-cameras): * 1x MR * Excellent image quality * Around $160 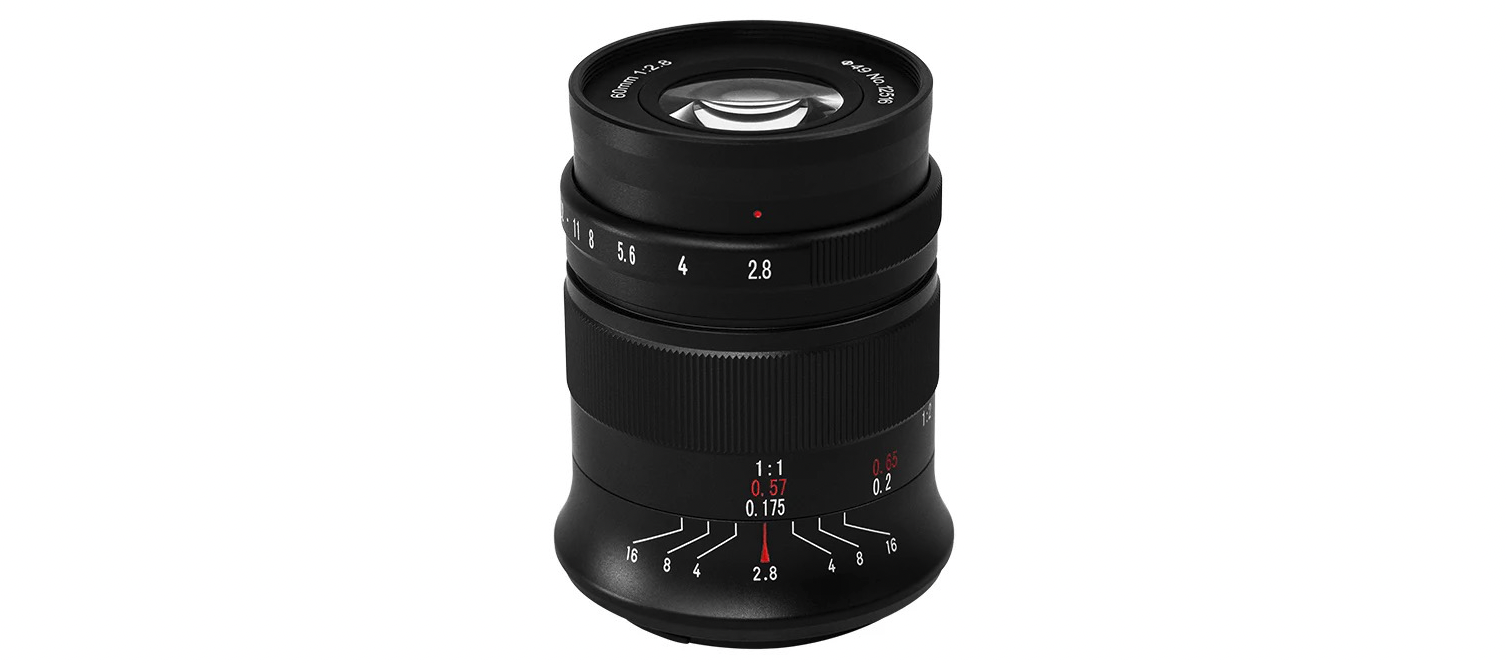 I have both, and personally I prefer the Laowa: * Inboard aperture ring, less likely to bump into during focusing. * Smoother focus ring, allowing finer adjustments. * Extra magnification handy for subminiature formats (110, 126, half-frame, etc) Anyway, can't go wrong with either. Available cheaper on aliexpress. ----------------- Many **vintage lenses** are good candidates too, and can be even cheaper. However, you need to do your own homework. Search `Film scan macro lens` on google. [This article has a fairly extensive tier list](https://web.archive.org/web/20240206003914/https://www.pixl-latr.com/how-good-a-macro-lens-do-you-really-need-for-dslr-mirrorless-camera-scanning/). ## Lens Hood We need a lens hood to attach the cone to. * **Circular** shape * **Fully enclosed** * One-piece **metal** (not collapsible) * Not too tall Just get the cheapest from ebay or aliexpress, they are all the same. 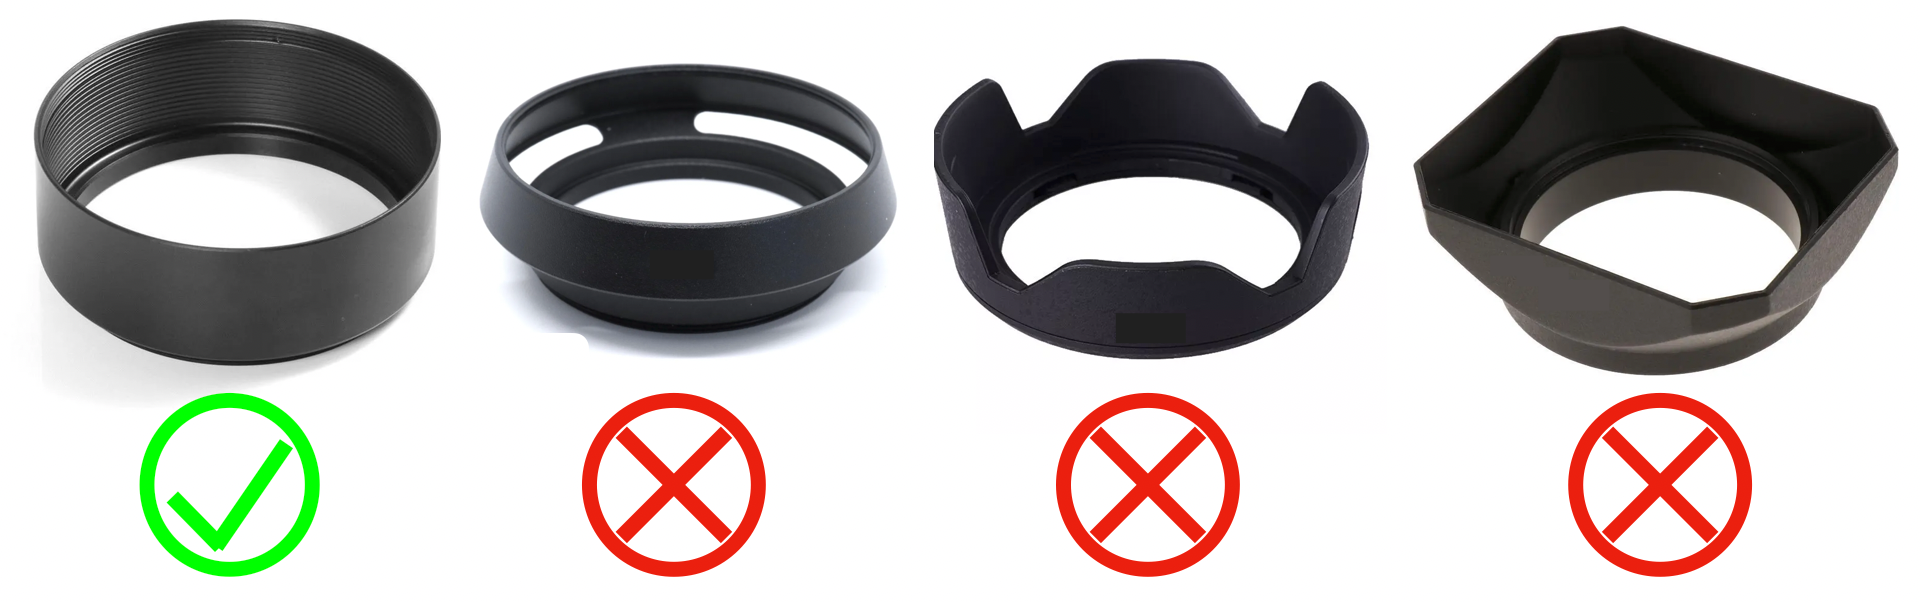 ## Light Table A bright and even light source is needed to illuminate the film from behind. You can spend a lot on the usual suspects that sponsor Youtube videos. Instead, I recommend getting a **LED Light Panel** for office ceilings. They are a lot cheaper, and give you a massive area to work with. 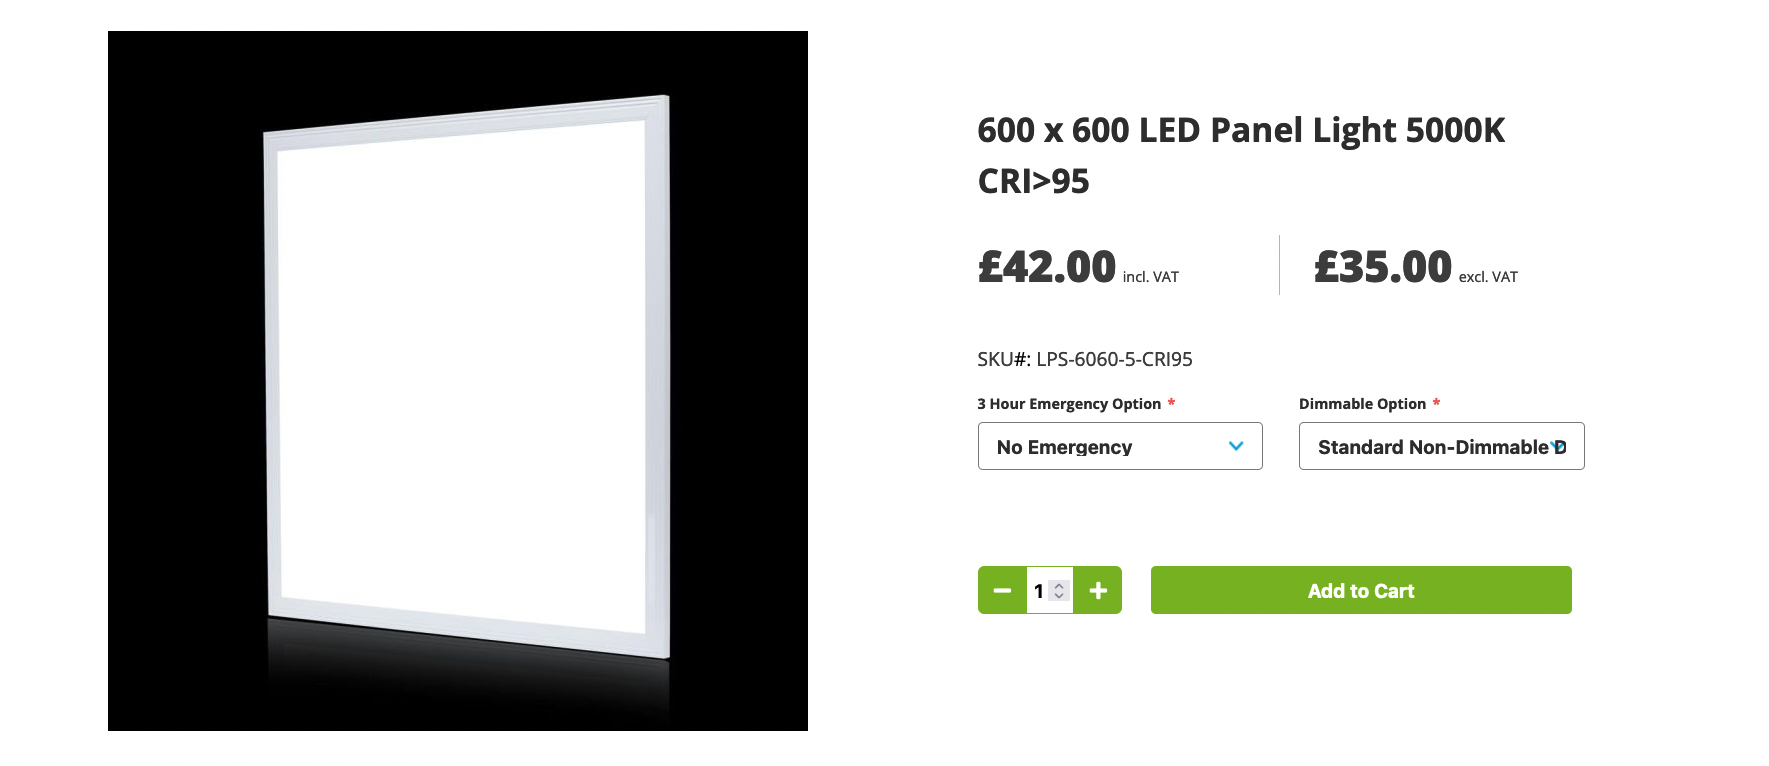 * Make sure it's **High-CRI** (>95) * Neutral color temperature (**Around 5000K**) * Flat matte surface finish (pretty sure they all are) * Standard size is 600x600mm / 24x24in * Smaller ones available, but I like it big! 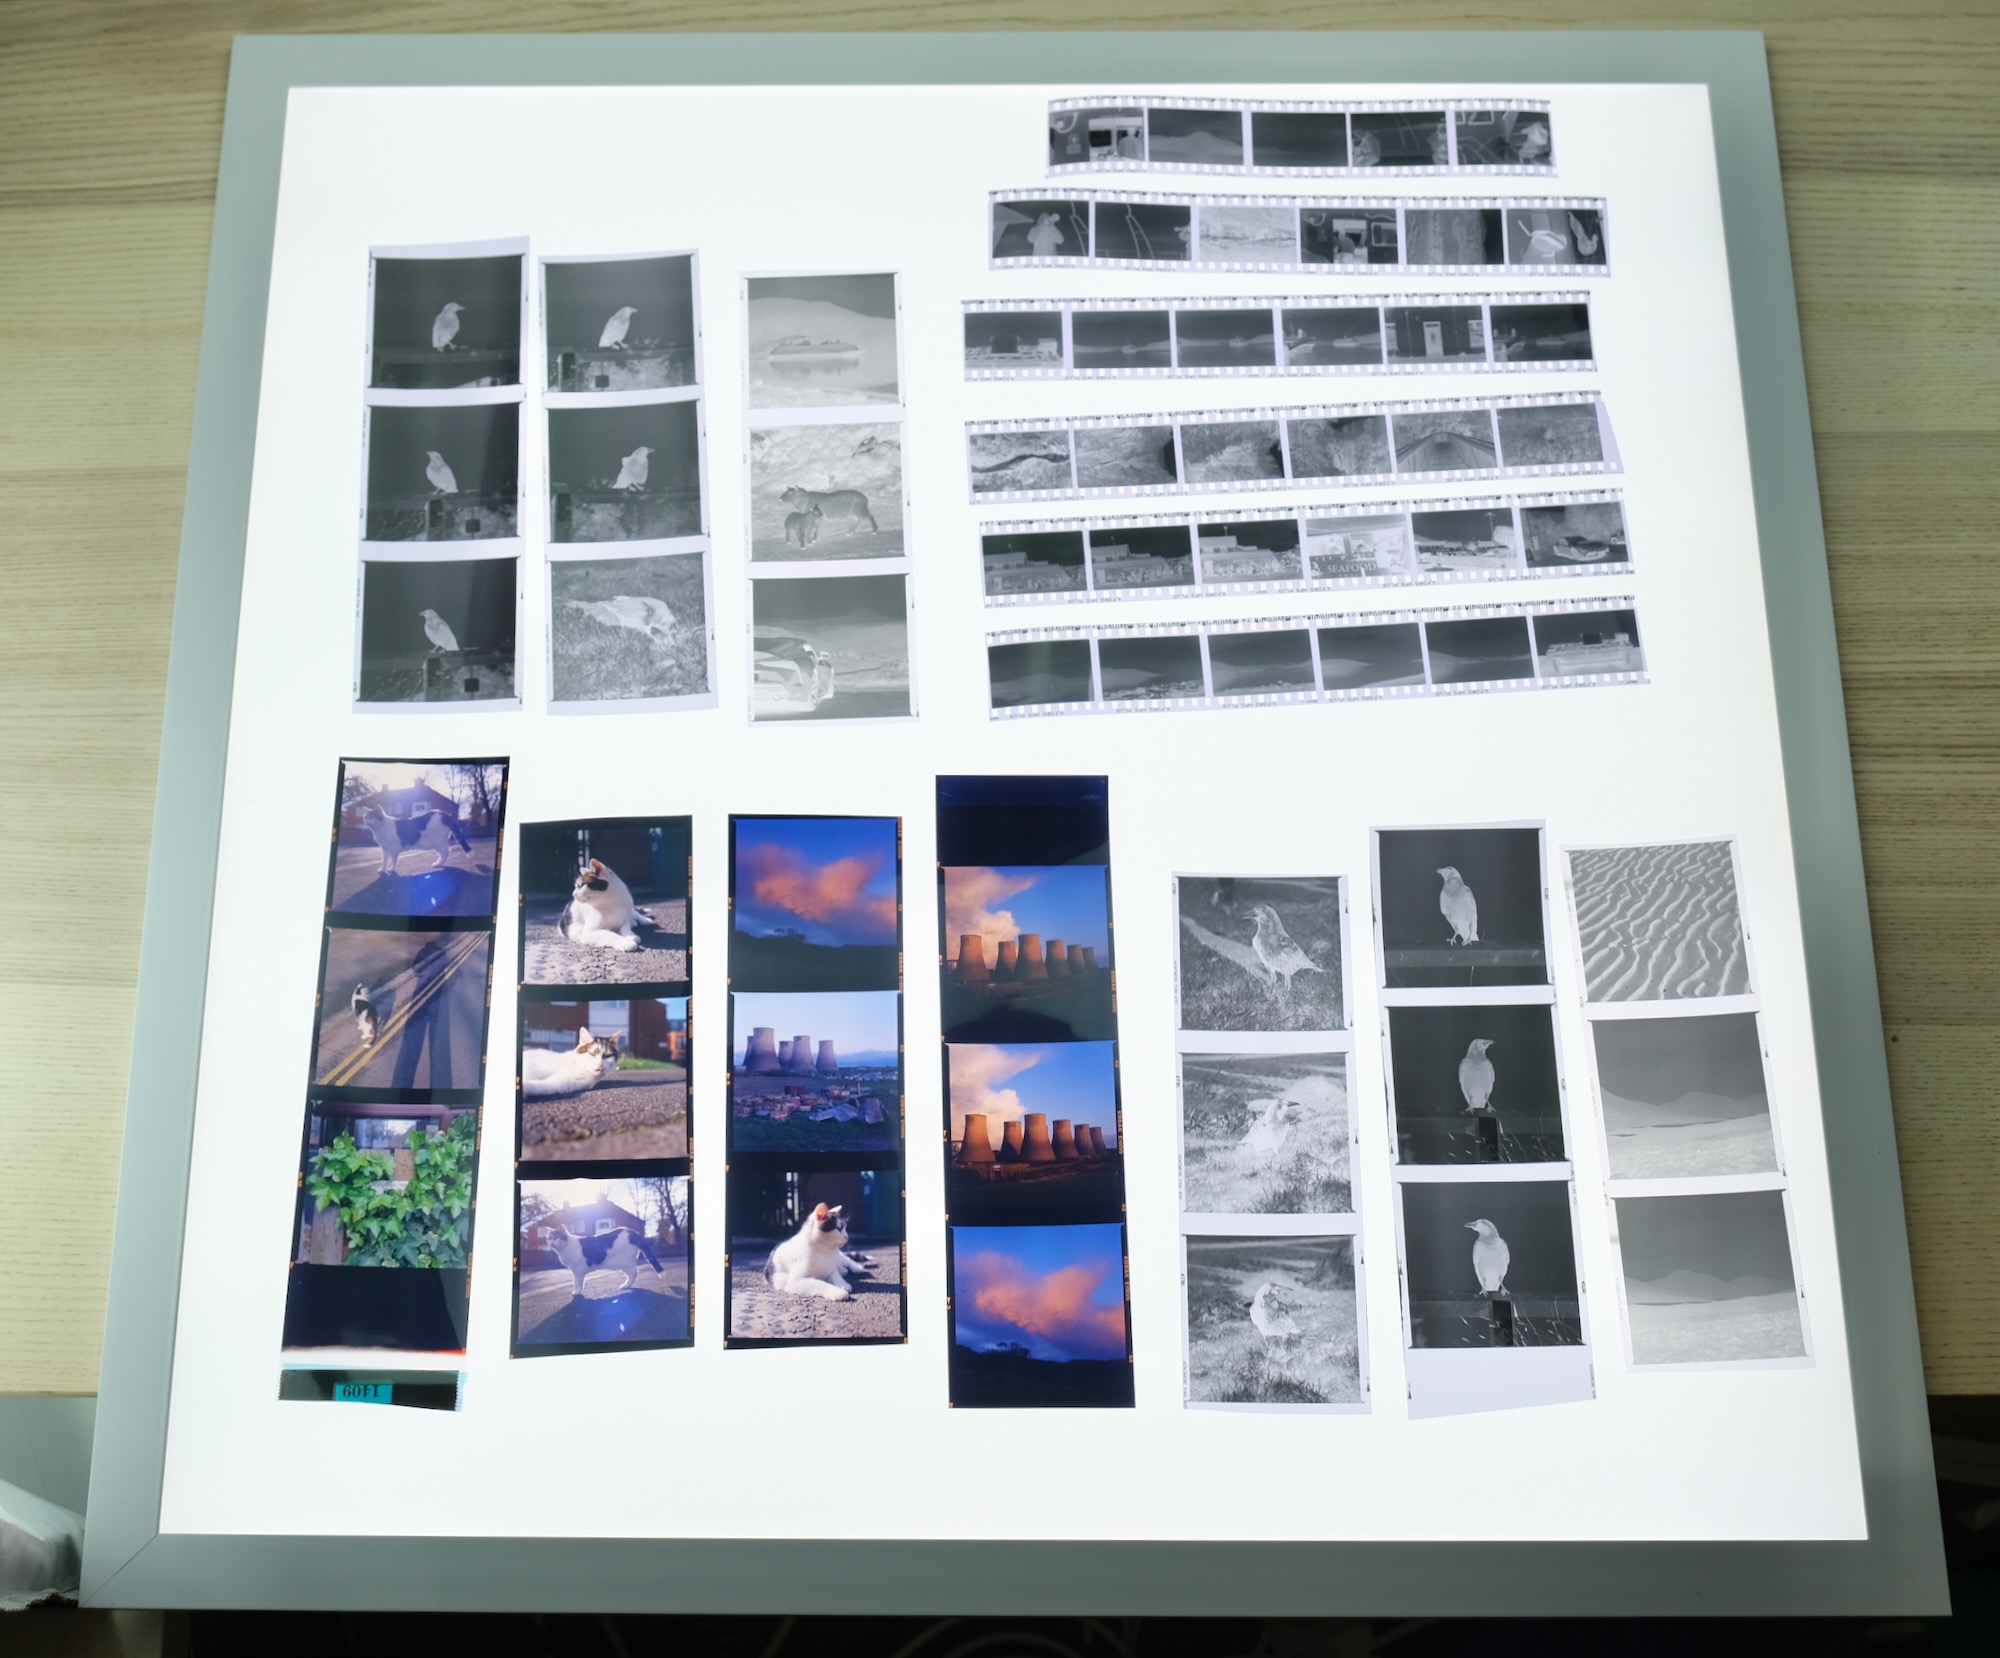 The LED panel comes with a power adapter. You need to wire a plug to it. ⚠️ ⚡ Mains voltage is involved! ⚠️ ⚡ Make sure you know what you're doing! ⚠️ ⚡ Look up how to wire a plug in your country. 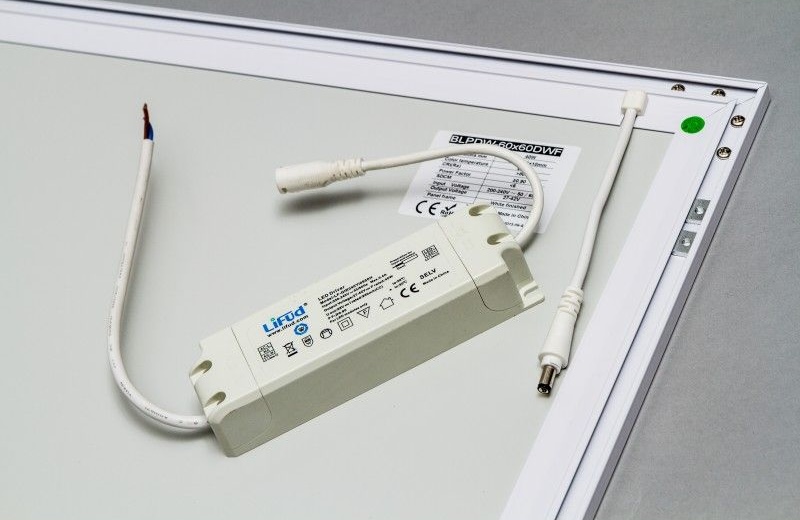 Generally: * Brown is **LIVE** * Blue is **NEUTRAL** * Green/Yellow is **EARTH** Inexpensive lever-actuated connectors like WAGO 221 is very useful. If you do use them, make sure to have **strain relief**, so it won't accidentally pull out and expose the live wire. Just a simple knot should be fine. When tugged, it will pull the knot tighter instead of ripping out the wires. 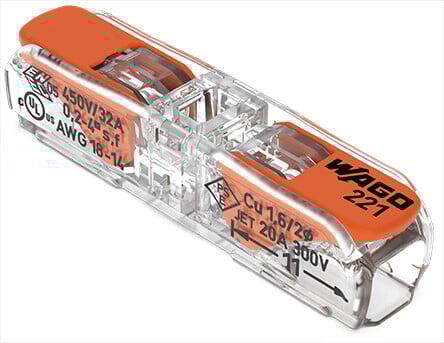 You can use a regular plug and turn it on/off at the power strip, or an inline switch to be extra fancy. Remember to **twist-lock** the output jack! ## Flat Glass We need a piece of glass to hold the film flat on the light table. * Around 2mm thickness * At least 8x10 in size, mine is 11x14. * Make sure it's **glass** NOT acrylic * I got mine from a picture frame at a thrift store 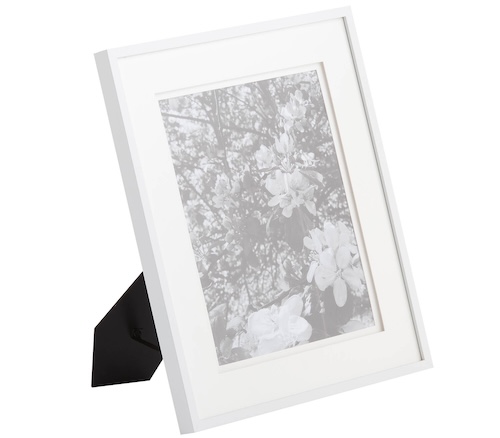 #### But what about newton rings??????? I'll talk about it later, but just know it won't be a big problem. I suggest start with cheap plain glass, you can always upgrade to ANR glass later. ## Cone Preparation For best results, the cone should be customized to your specific lens. ### I have the lens below! * `Laowa 65mm f/2.8 2x Ultra Macro APO` * `7Artisans 60mm f/2.8 MK II` Great! Download a file and go to the next section. * [35mm Full Frame](3d_models/laowa_7art_35mm_fullframe.stl?raw=true) * [35mm Sprocket](3d_models/laowa_7art_35mm_sprocket_6x6.stl?raw=true) (using 120 adaptor on 6x6 camera) * [645](3d_models/laowa_7art_645.stl?raw=true) * [6x6](3d_models/laowa_7art_6x6.stl?raw=true) * [6x7](3d_models/laowa_7art_6x7.stl?raw=true) * [6x9](3d_models/laowa_7art_6x9.stl?raw=true) ### I'm using my own lens / I want to customize! [Click me to learn how to customize your cone.](cone_customization.md) ## Printing the Cone Now you have the model, time to print it! If you don't have a 3D printer, try local library, makerspace, or online printing services. * Use **opaque black** filament, PLA works just fine. * Around 10-20% infill * Very simple design, turn up the speed if you want. 2 hours later, voilà: 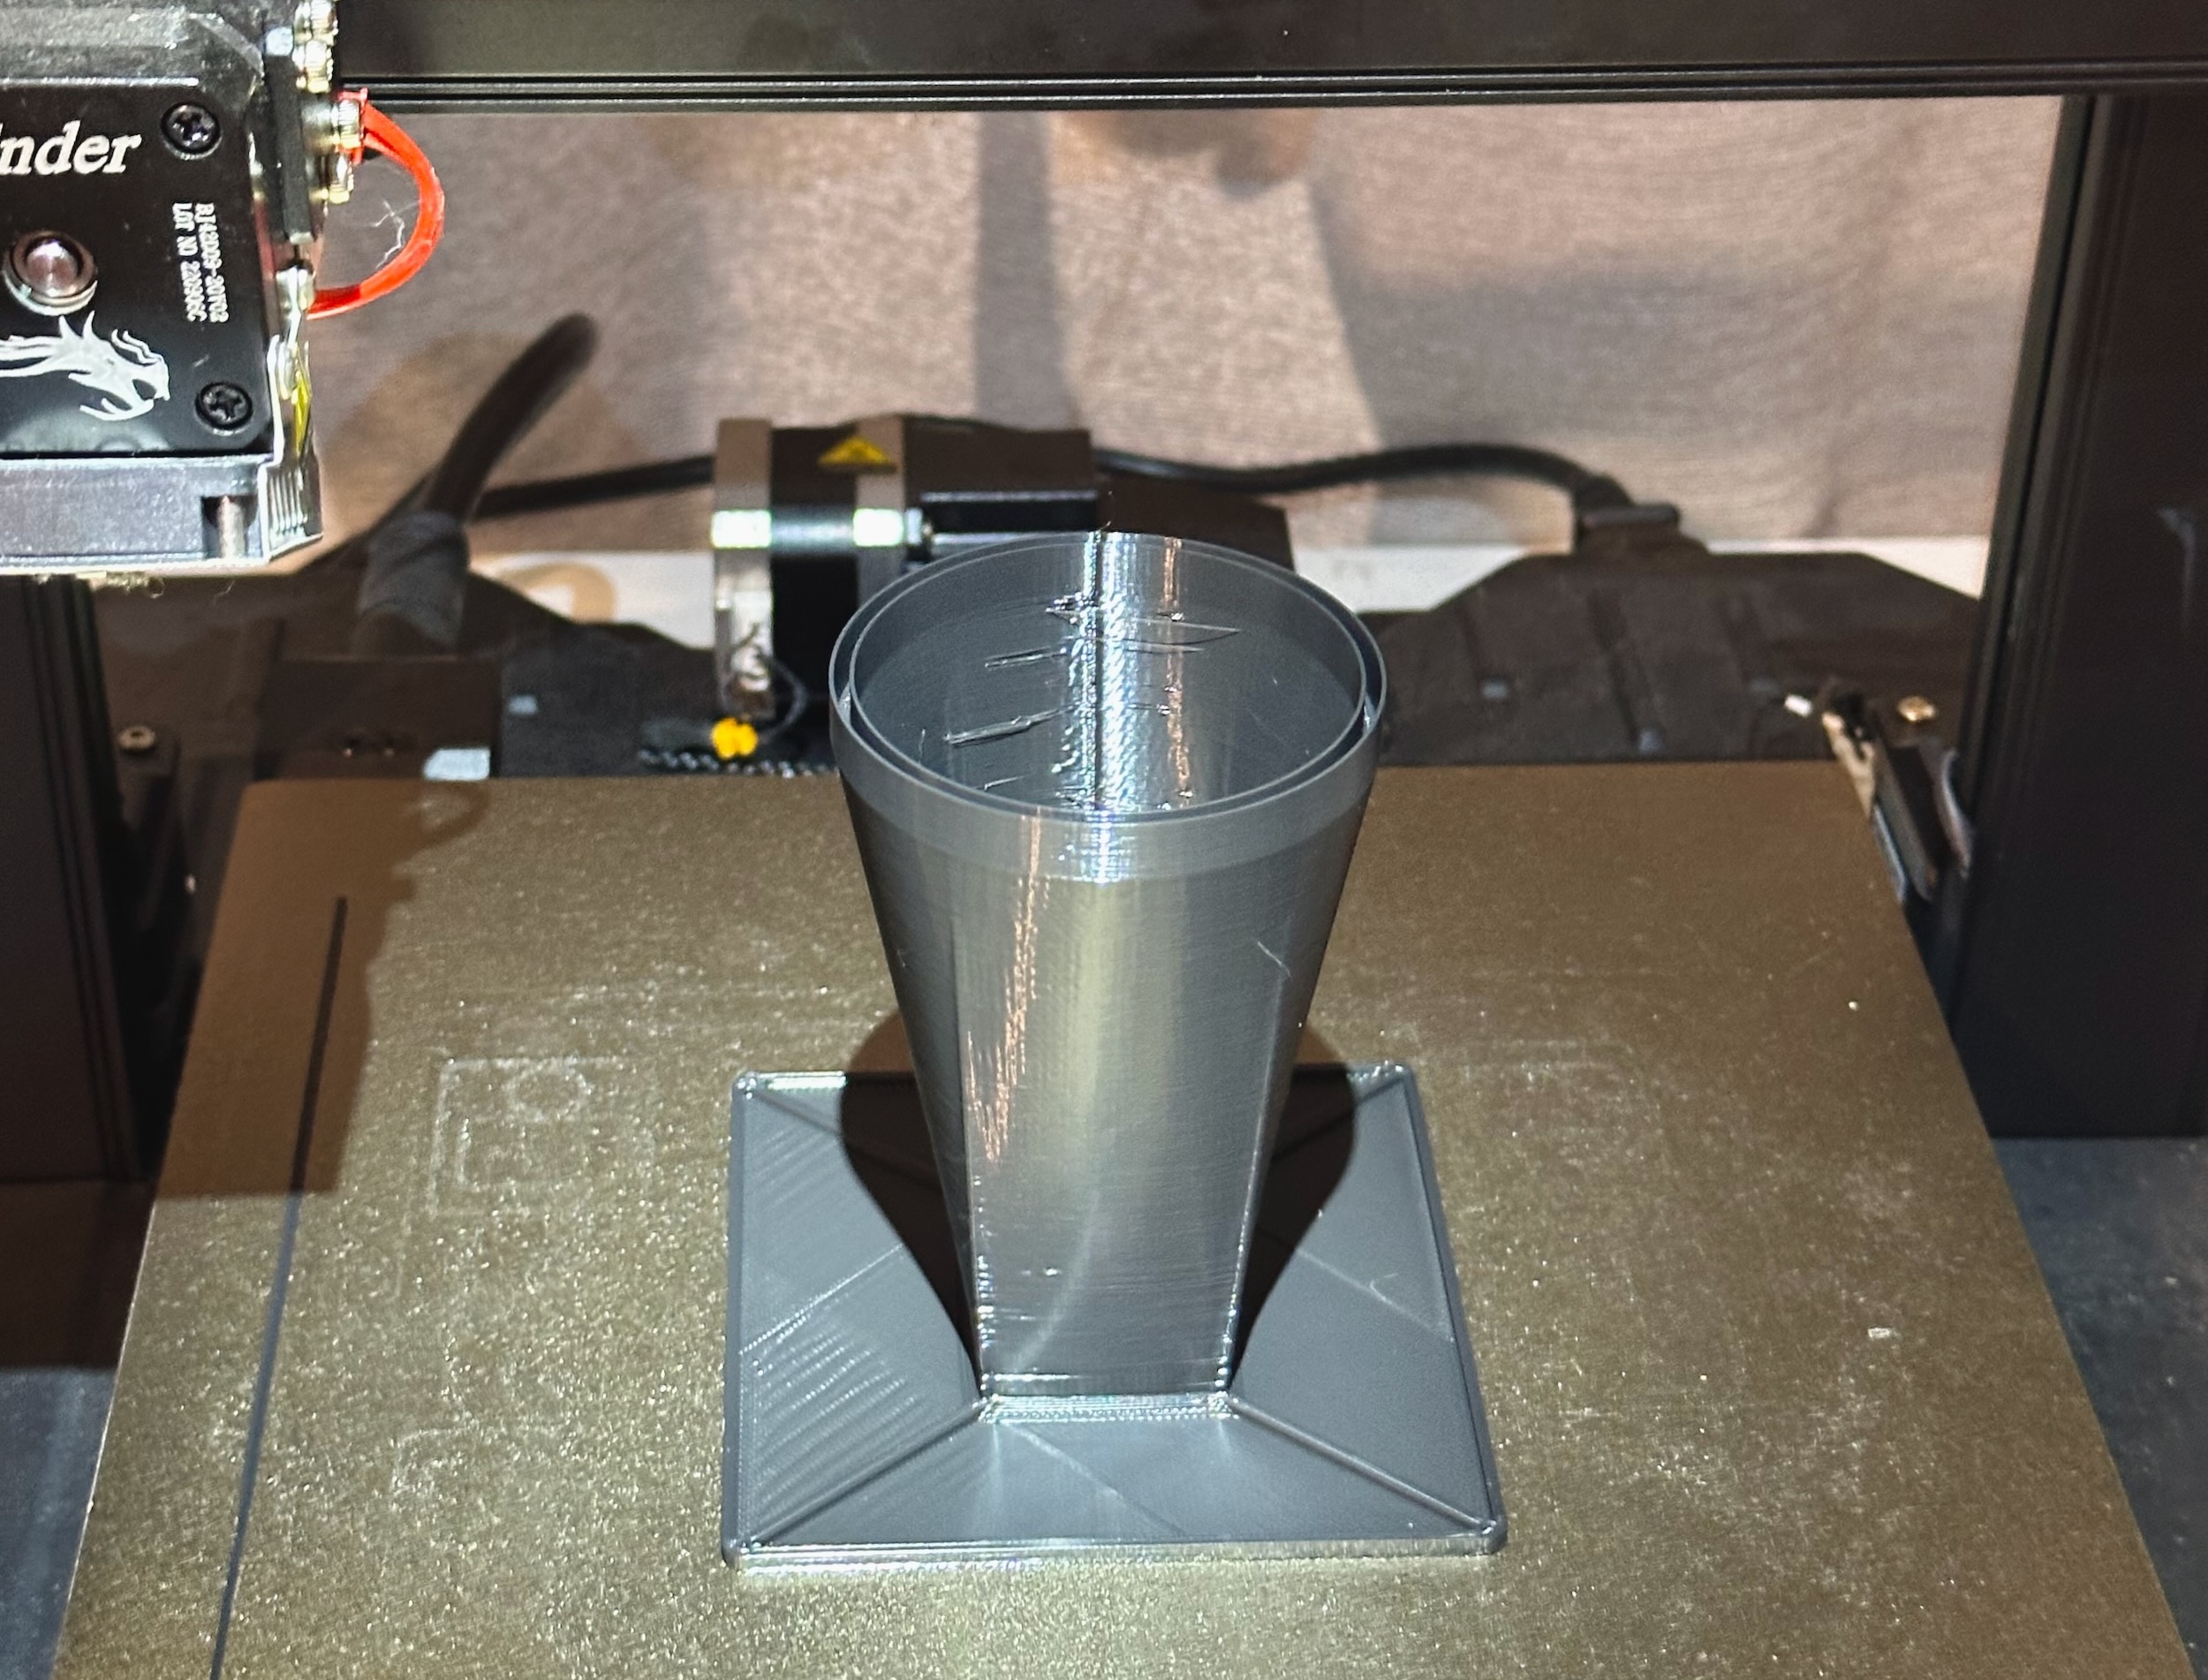 * Wait for the bed to cool down before removing. * Double check the base is **completely flat**. * It **must not** wobble when placed on flat surface. * If warped, improve bed adhesion. Re-level, hairspray, raft, etc. ## Cone Assembly * First, remove any filament whiskers/strands **near the film gate**. 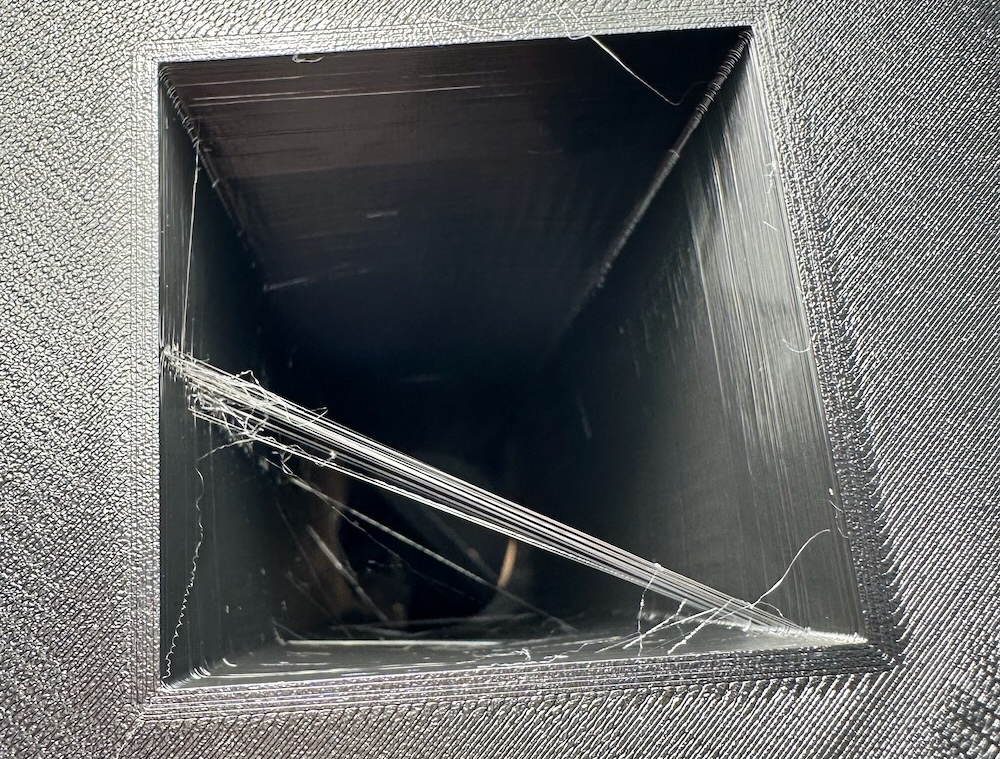 * Whiskers higher up won't show up, leave them if you want. ----- * Put the cone on the light table * Attach the lens hood, moderately tight 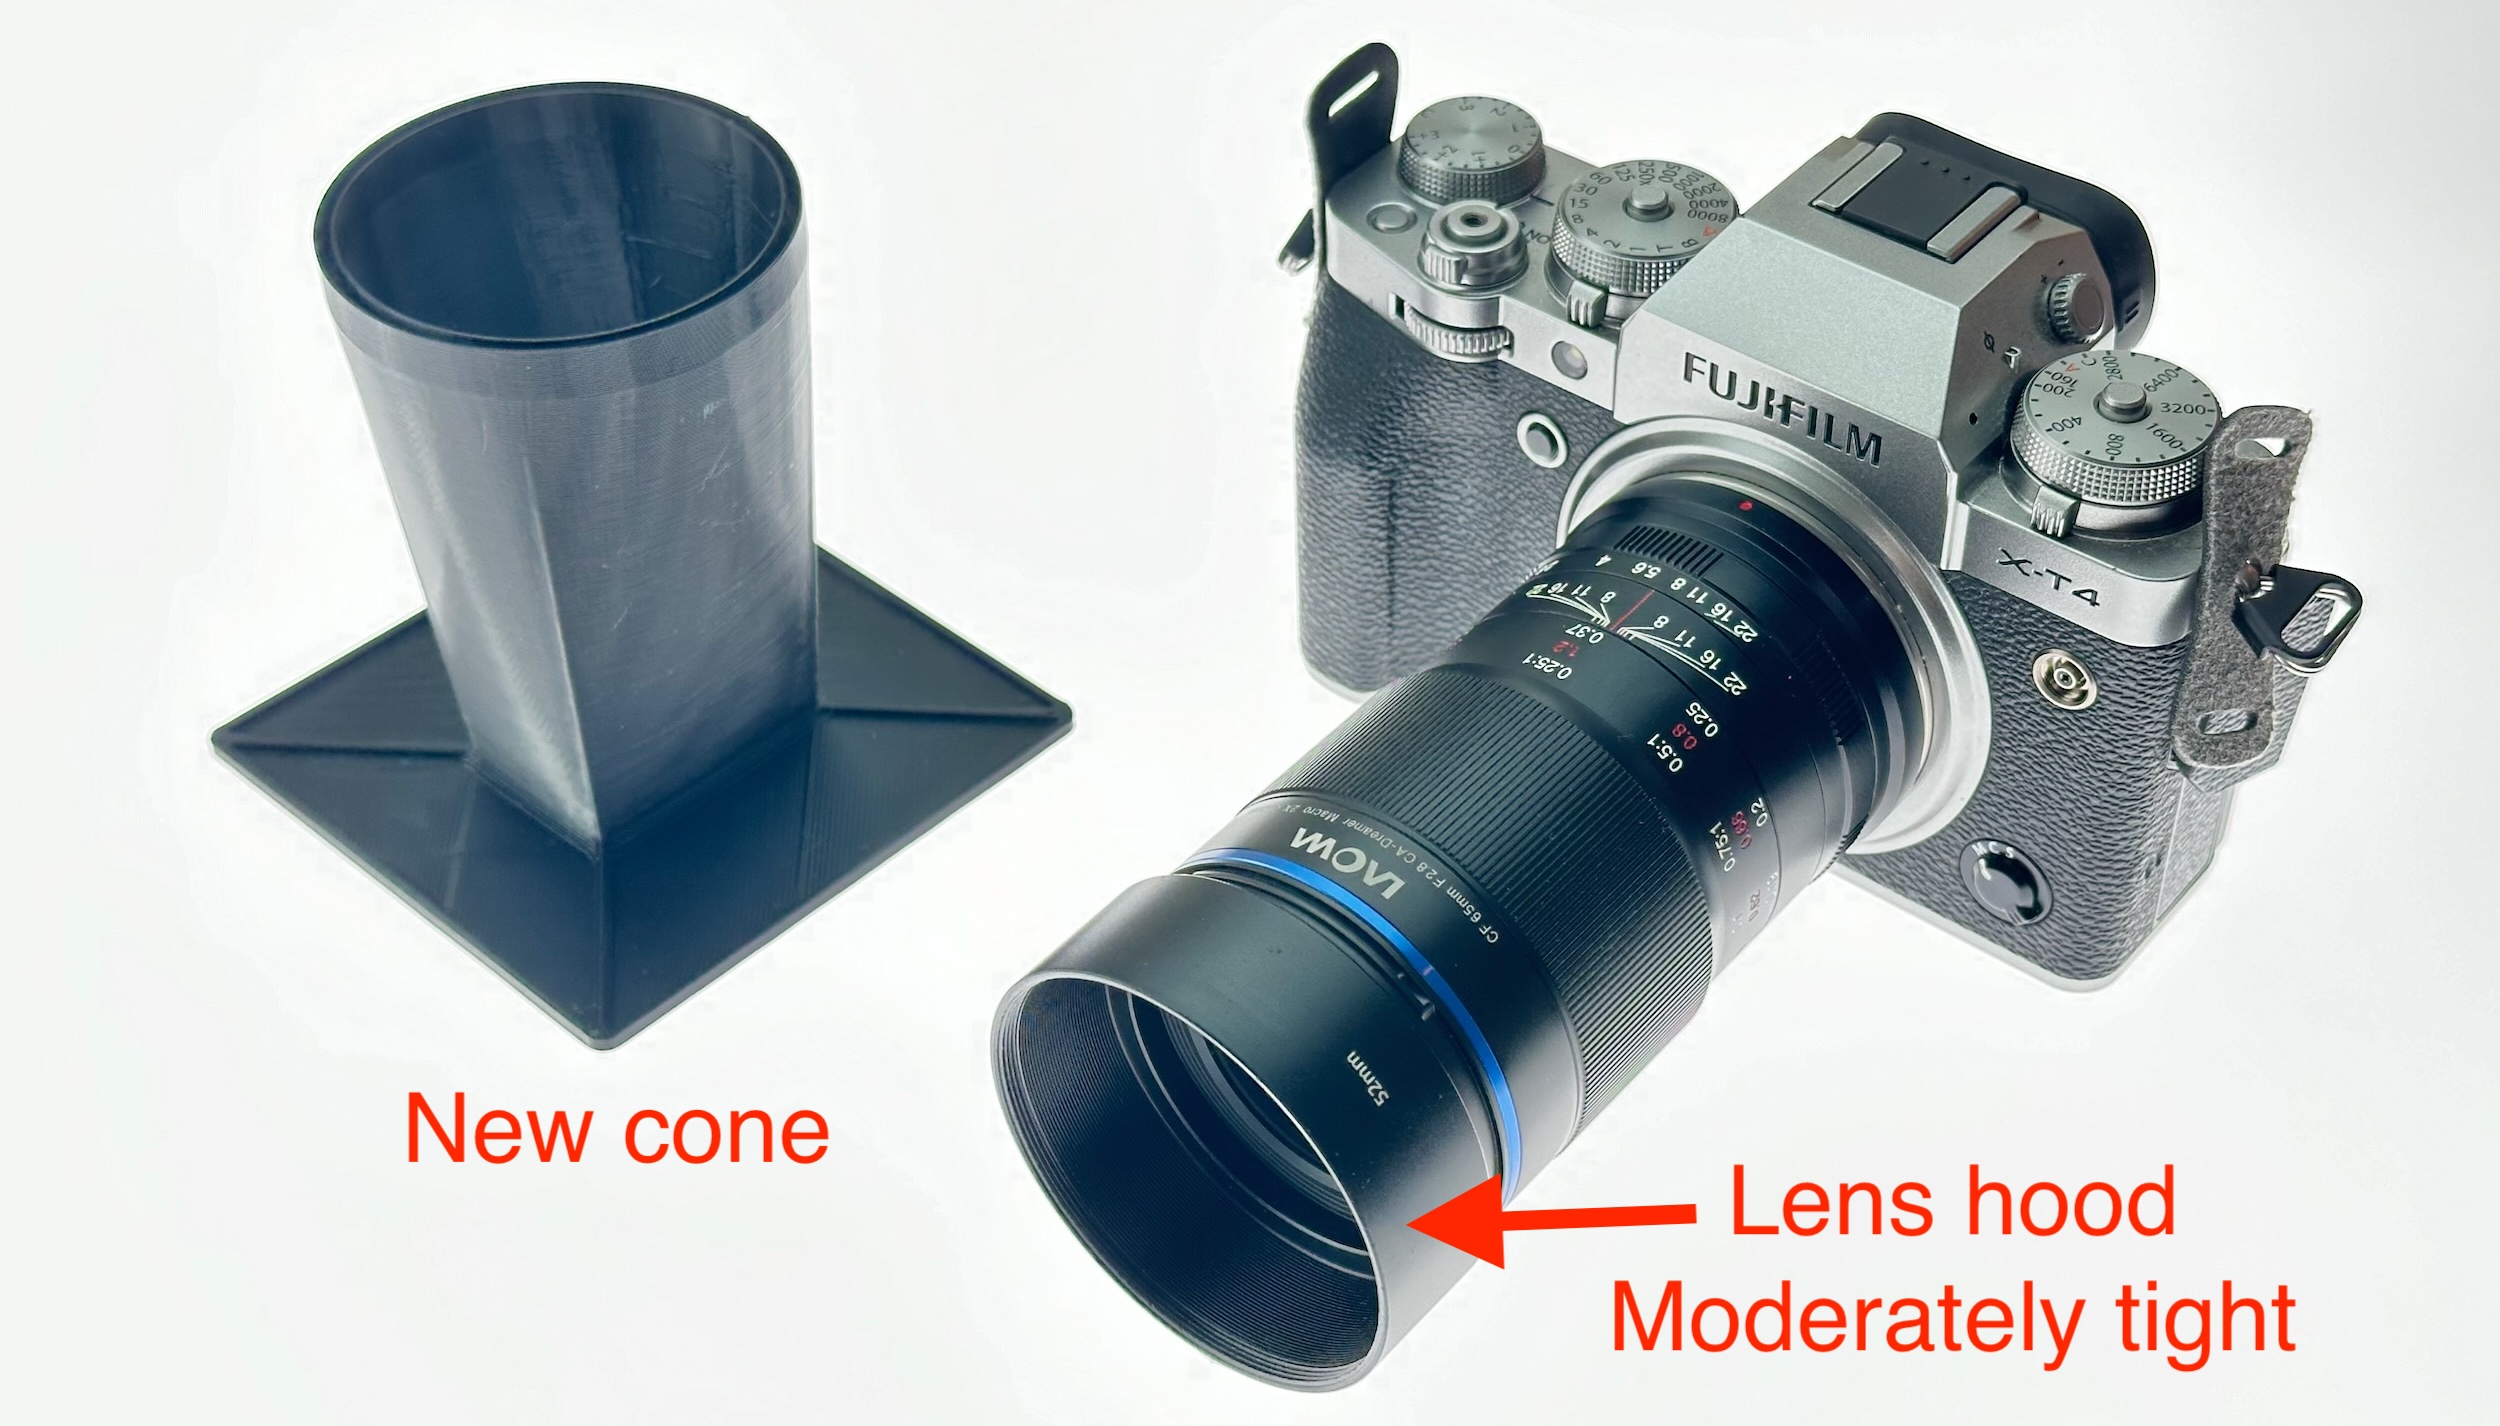 * Hover the camera just over the cone, barely touching. * Adjust focus and position. * Until the film gate is **parallel** with camera frame 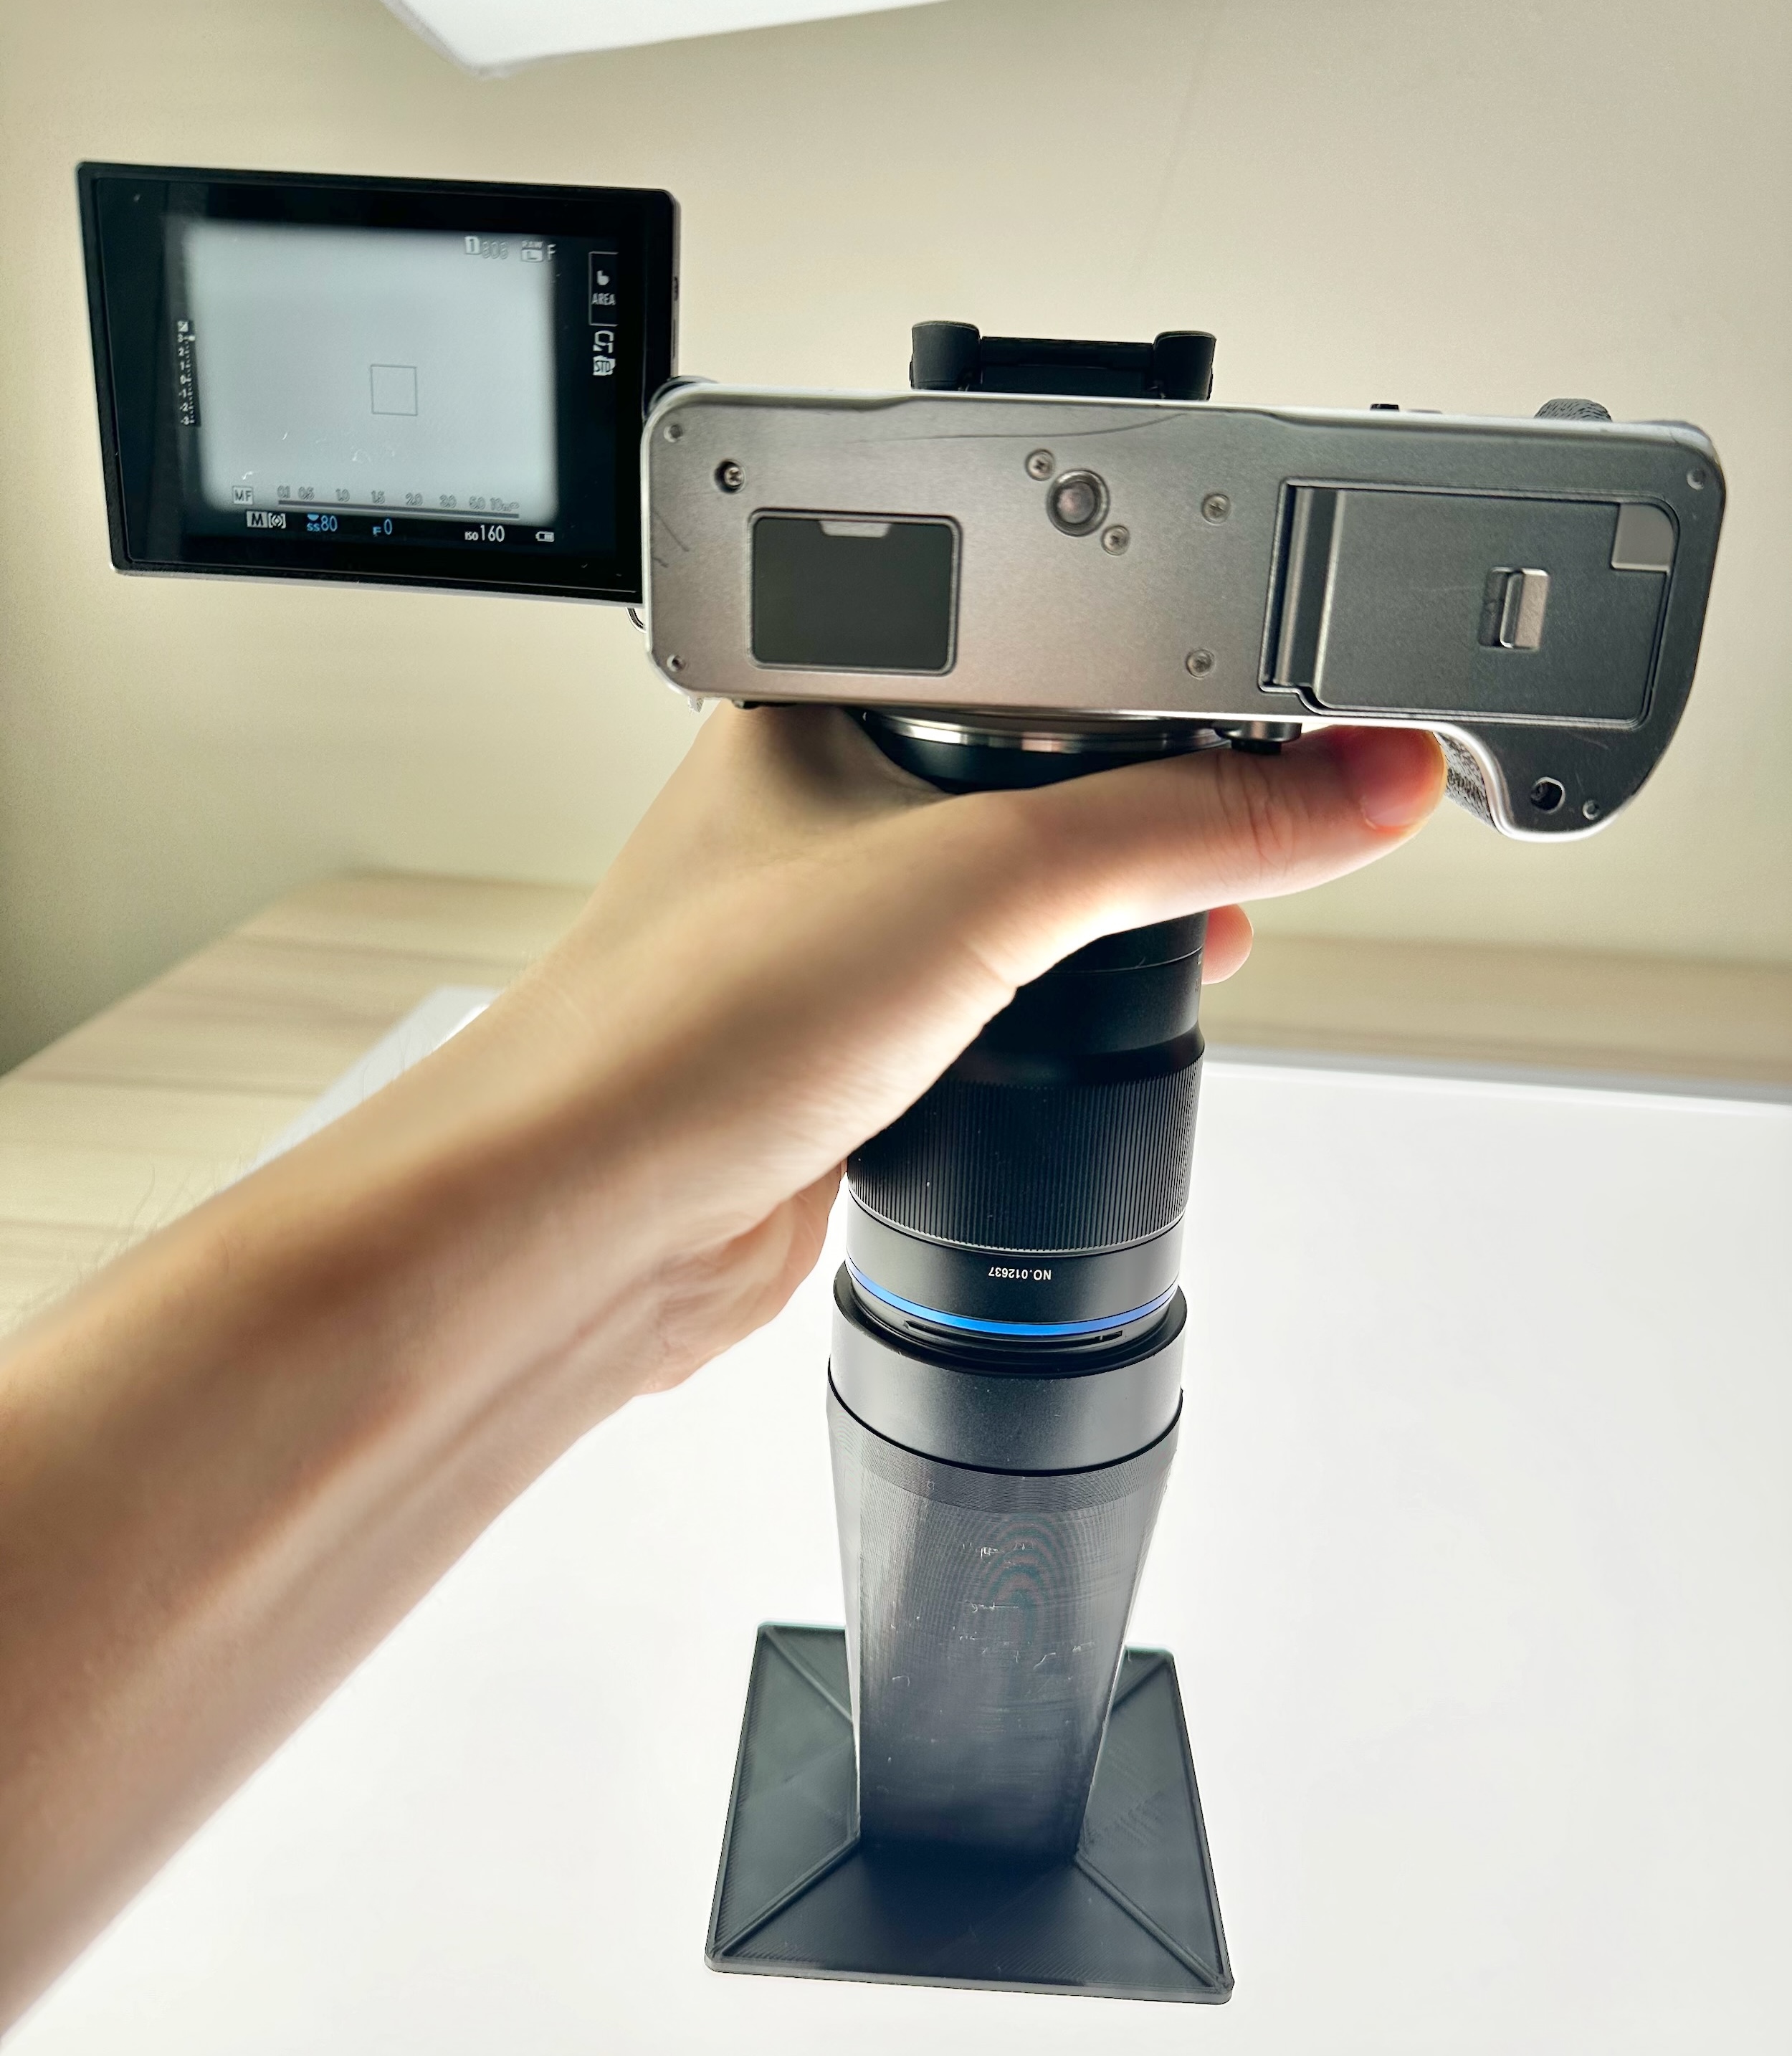 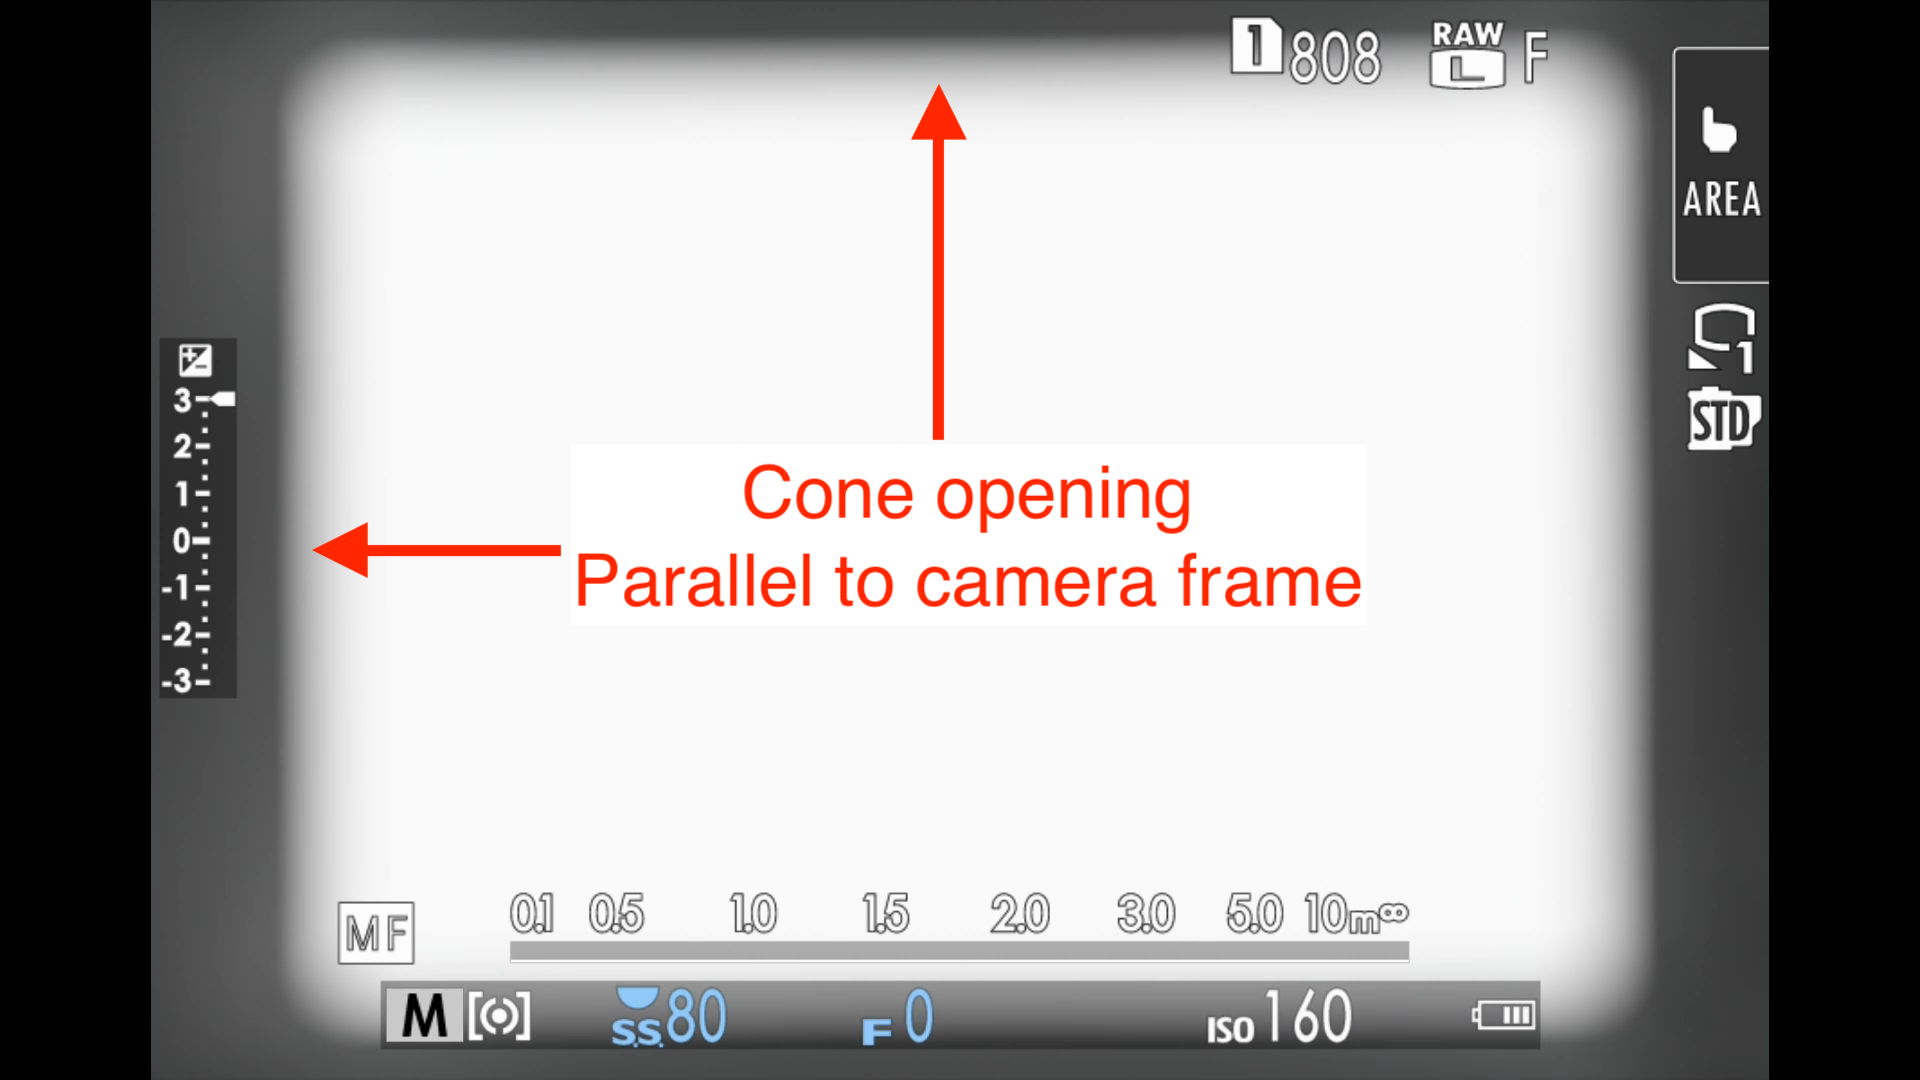 * Mark the position of the cone with paint marker, or a scratch mark. 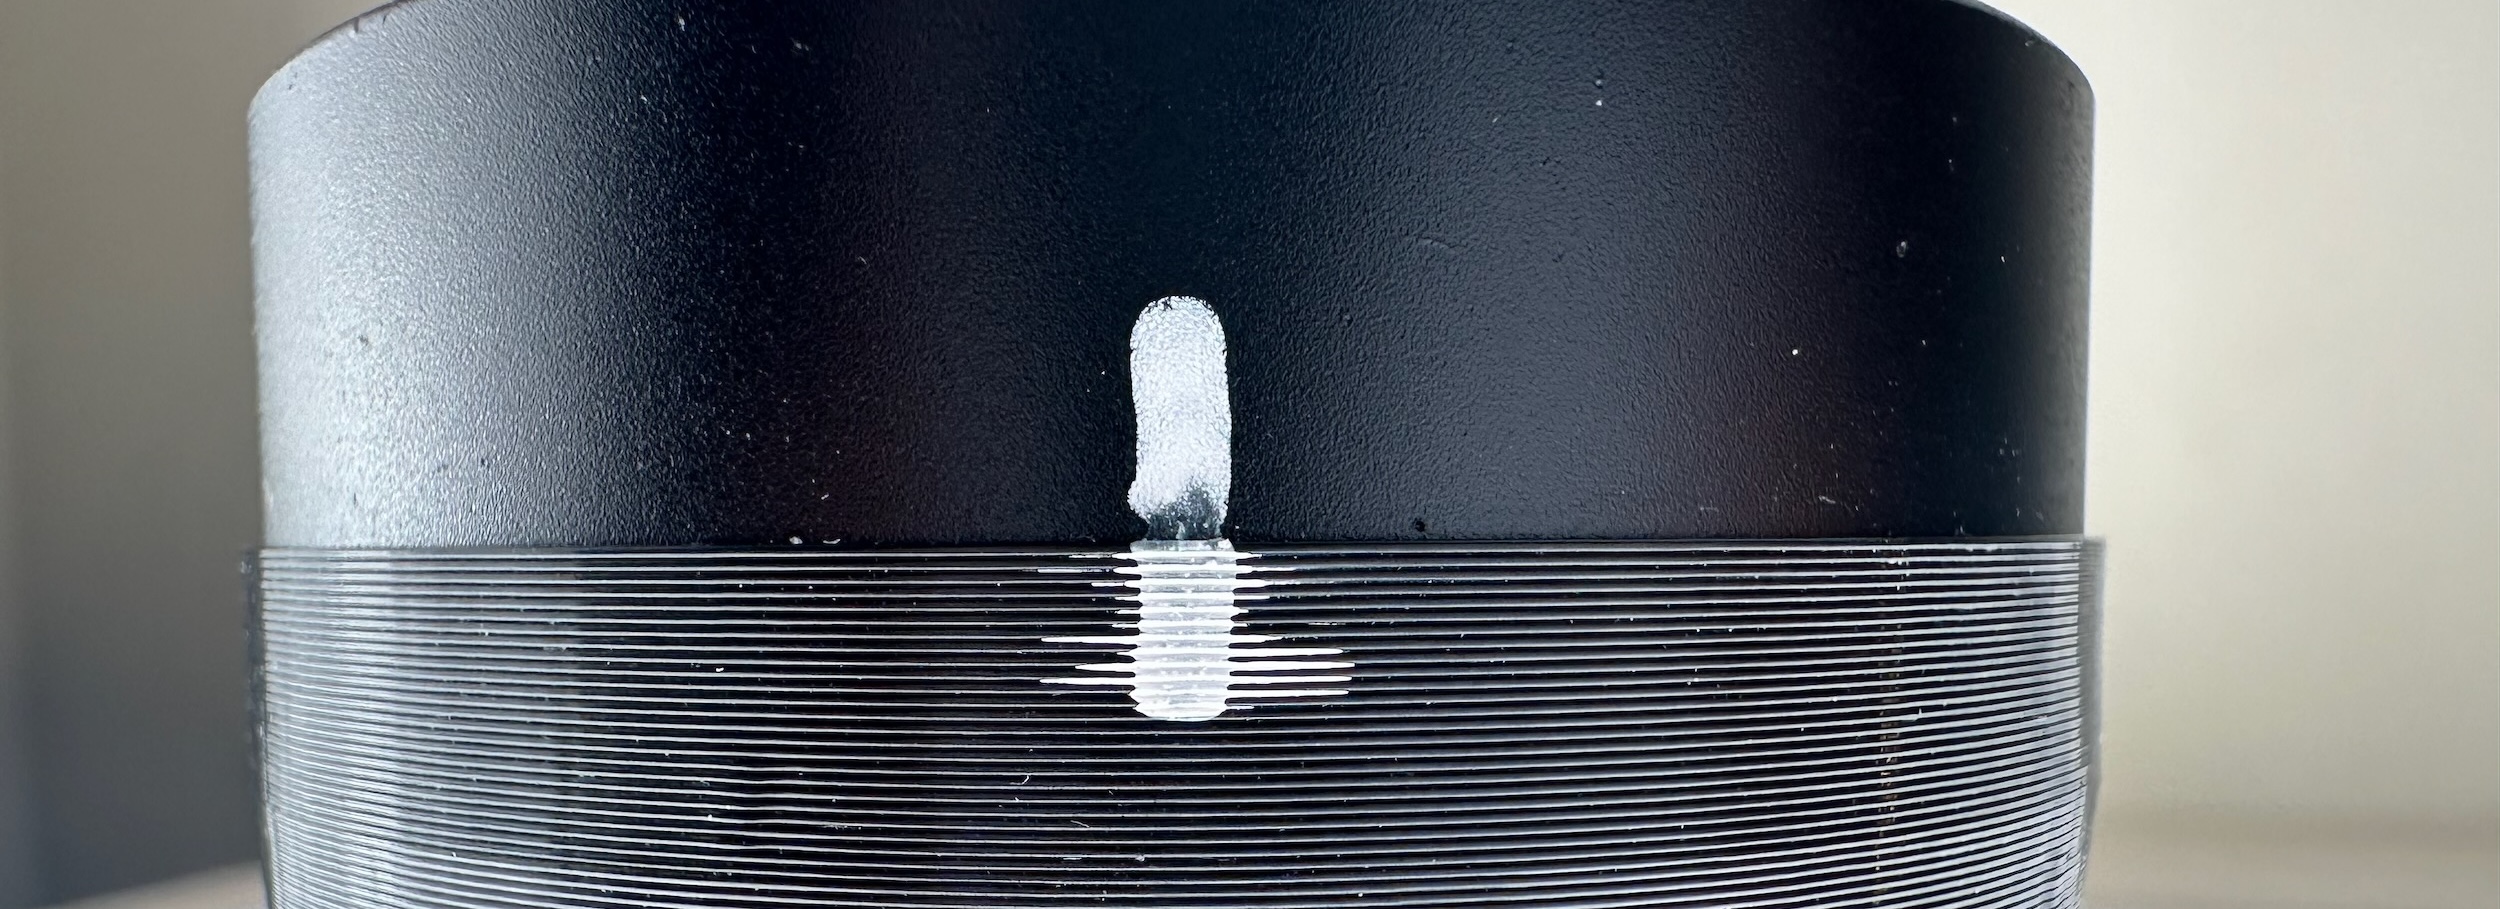 * Unscrew the lens hood * Put the cone on a flat surface (**NOT LIGHT TABLE**) * Ensure the mark is still aligned * Push all the way in * Make sure it **bottoms out** and **flat and level** 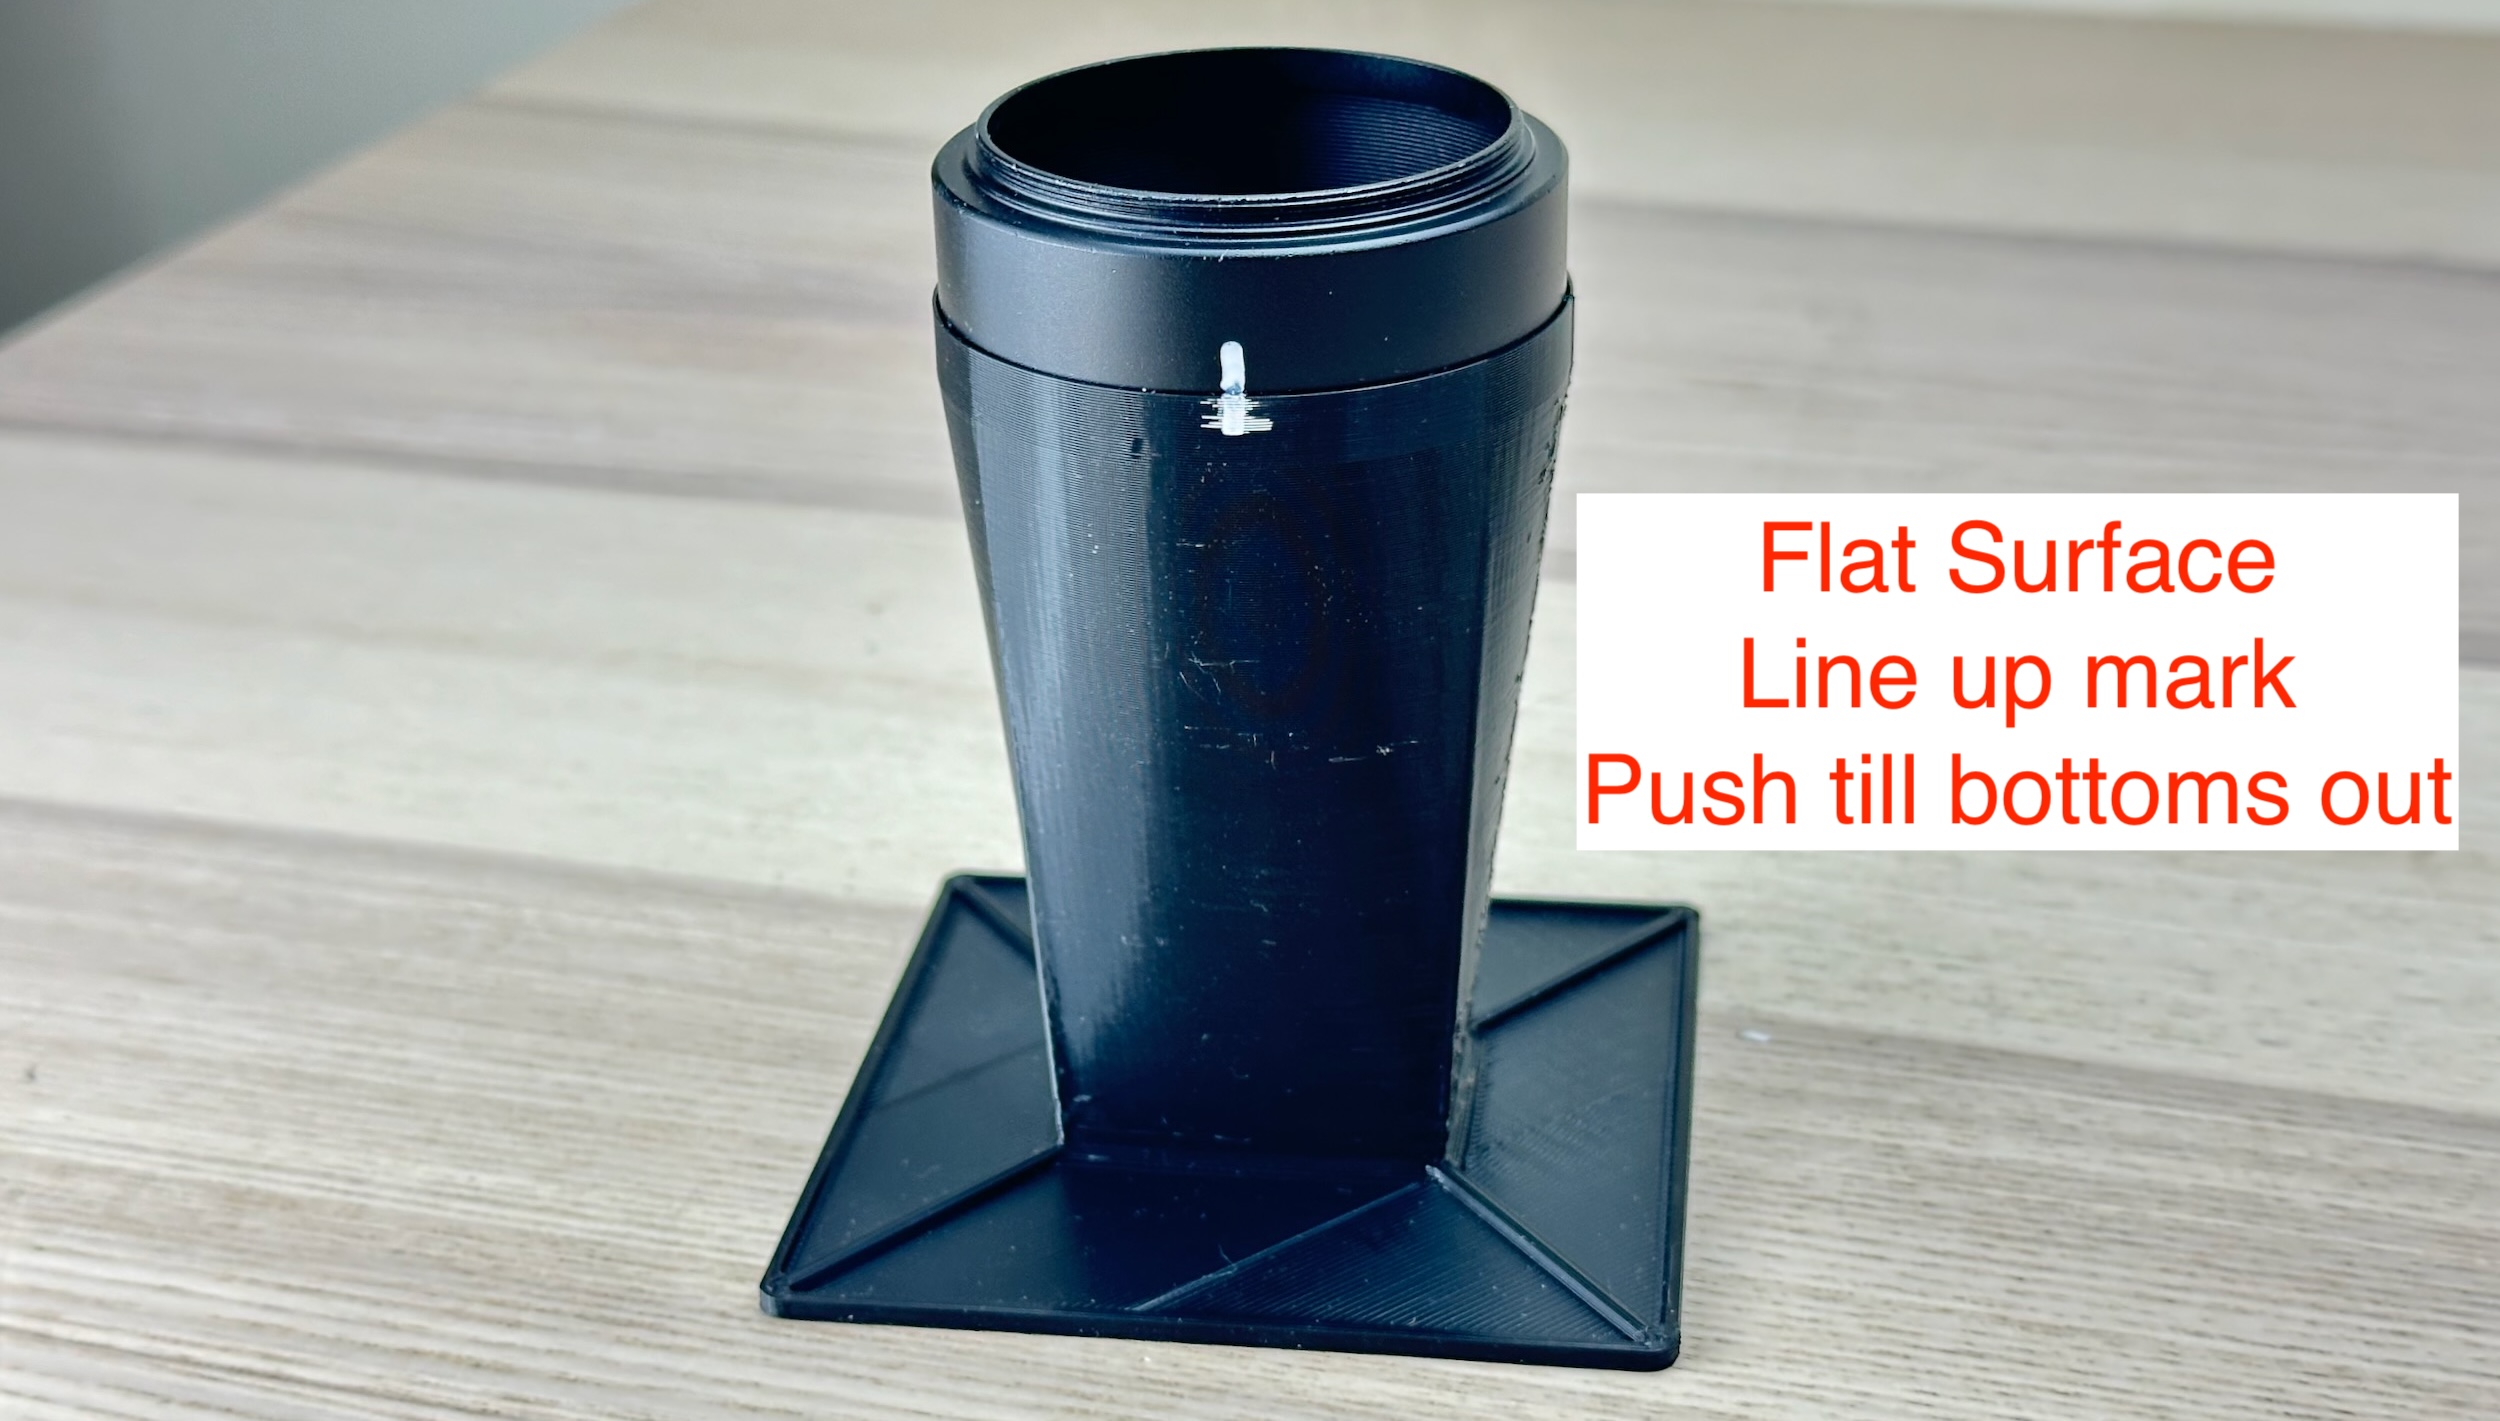 The cone should grip the lens hood tightly. If too loose, use some duct tape, or print a new one. ## Scanning Preparation The cone is ready! Before start scanning, we need to set up a few things. ### Light Panel Put the light table on a flat surface. If the power jack sticks out, let it hang off the edge. Double check it is **twist-locked**. 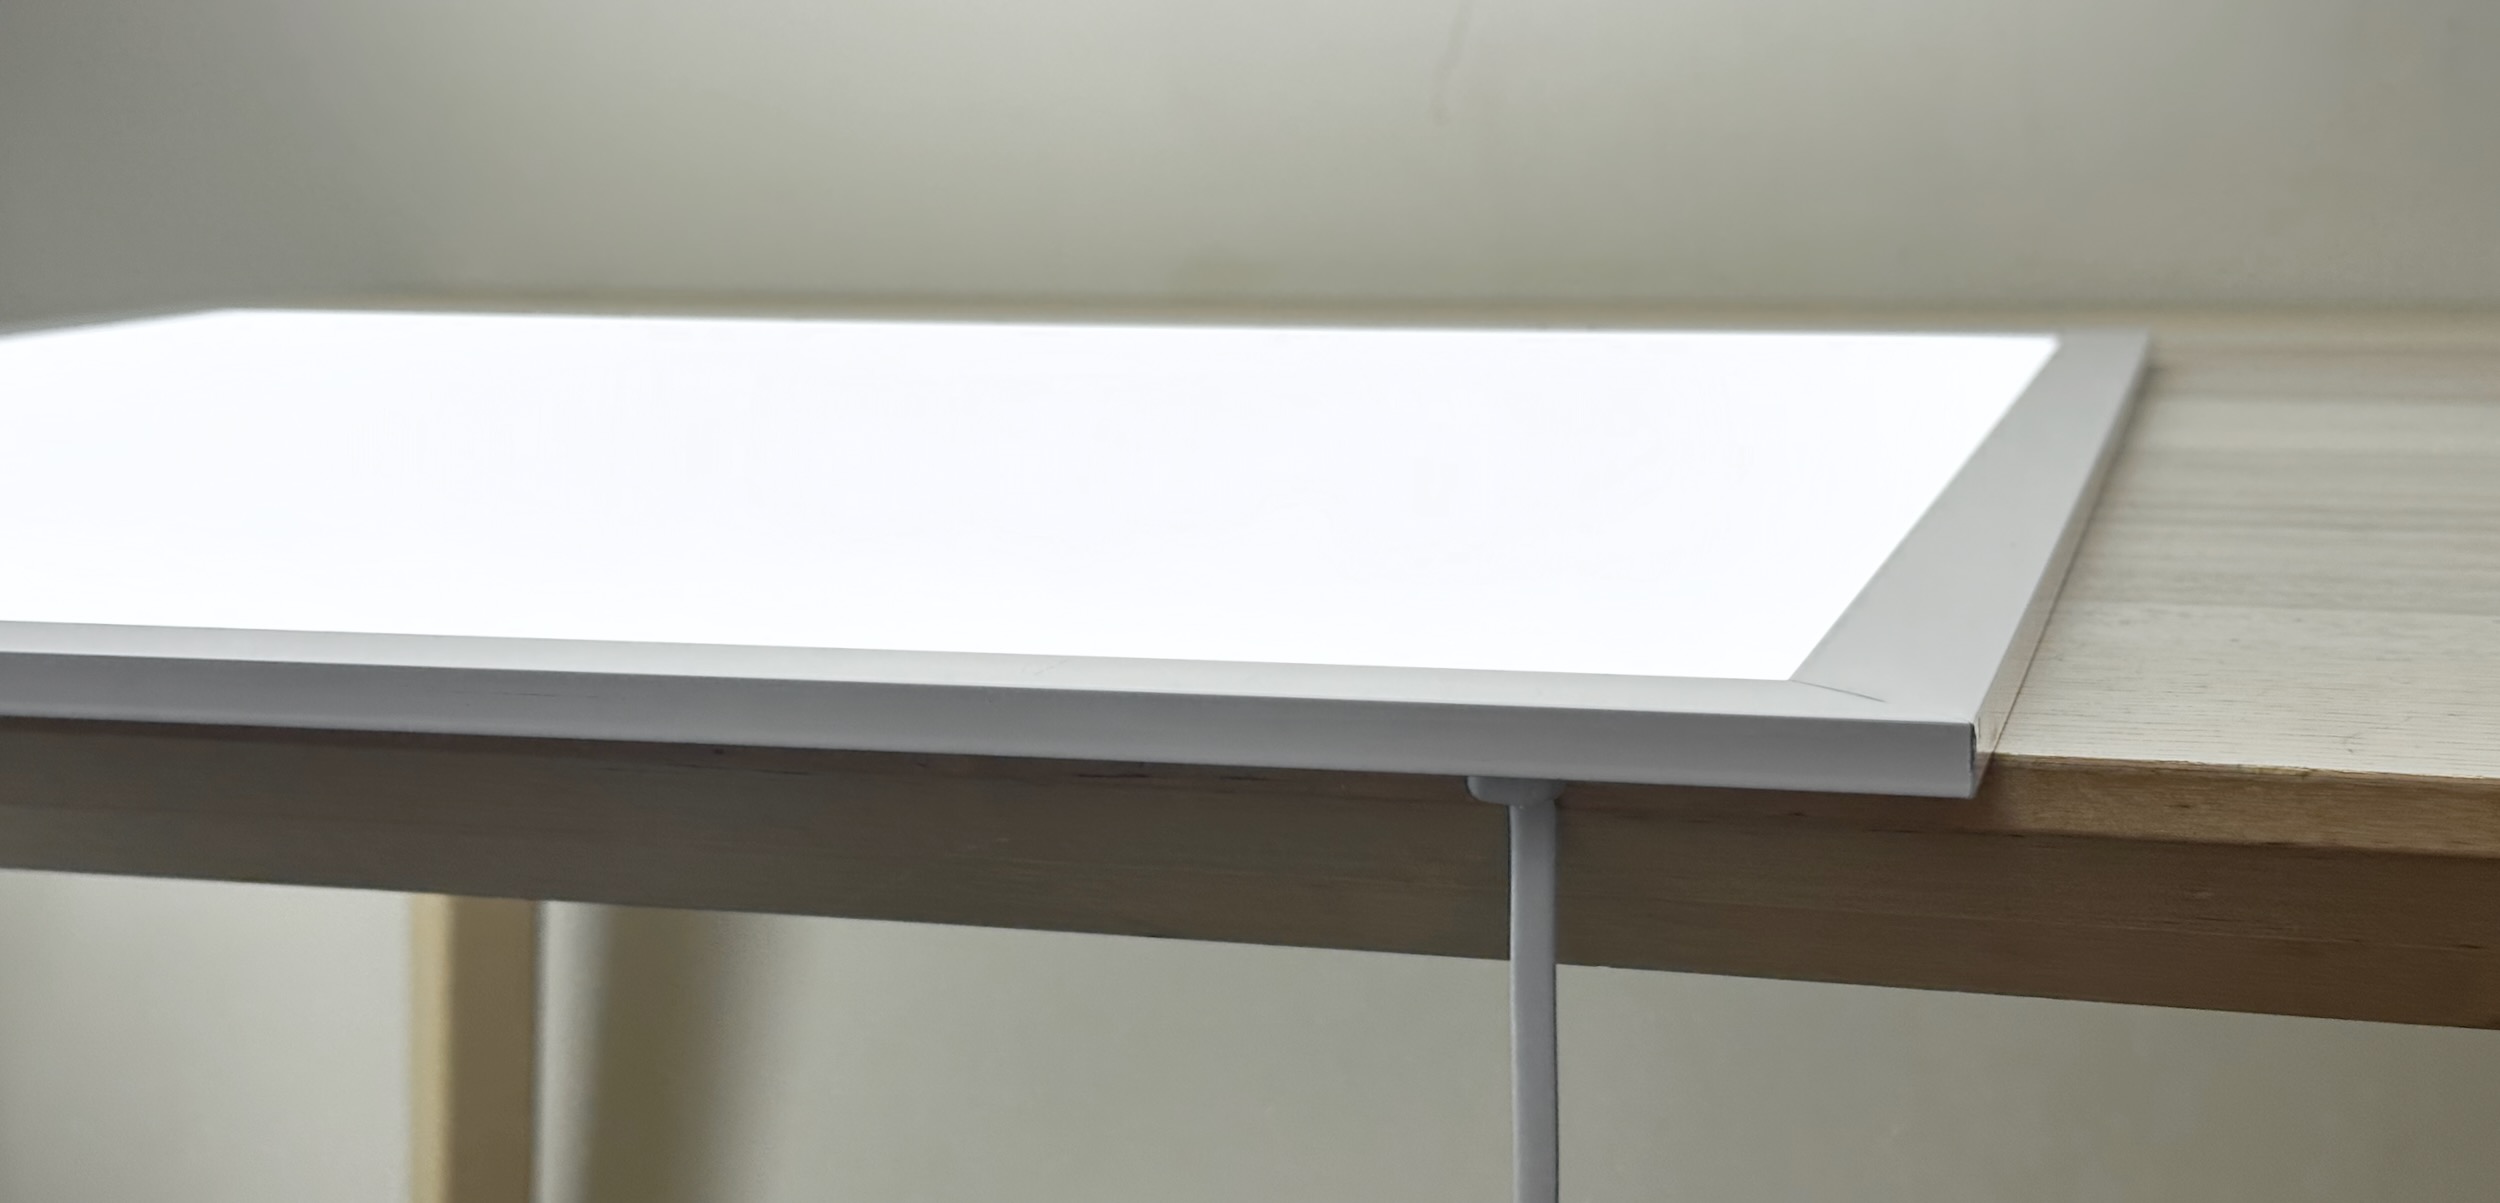 The panel should be flat and not wobble. ### White Balance Set a **custom white balance** to your light table. Usually involves taking a picture of the blank table. Refer to user manual. ### RAW Output Select RAW output format for best quality, needed for most converting software. 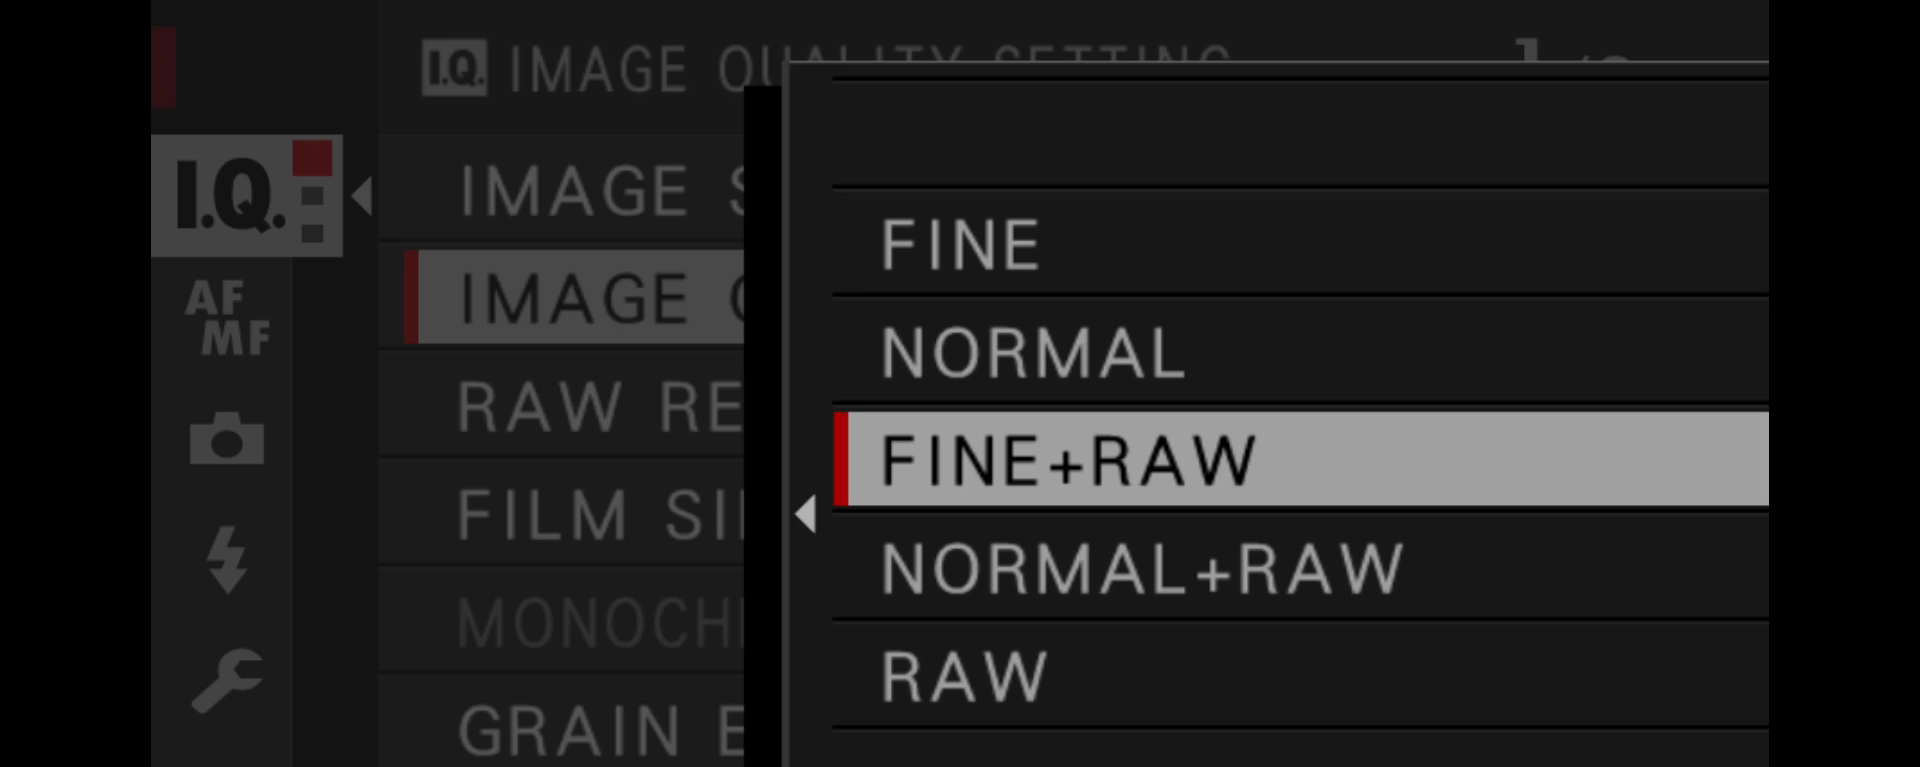 ### Focus Assist We are going to manually focus on the negative. **Focus peaking** is essential to ensure a sharp scan. Make sure it's on. Color blue has good contrast against orange negatives. 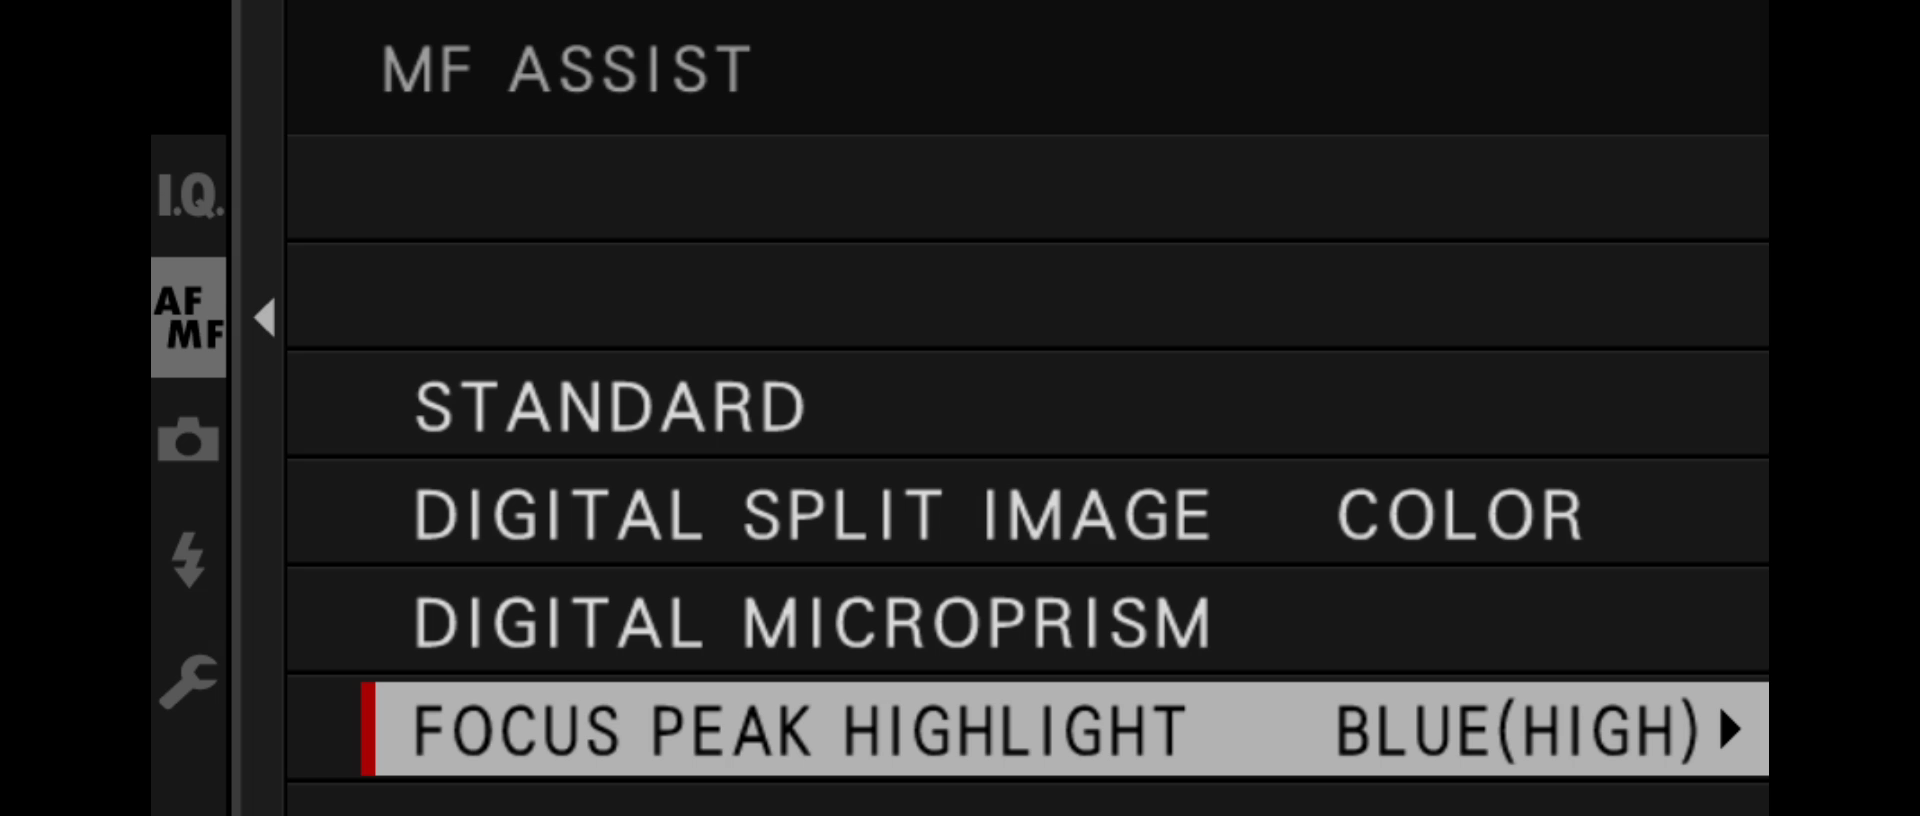 ### Dust Management We have a few potential surfaces for dust, so it is crucial to be as clean as possible. #### WEAR GLOVES * **DO NOT** touch film / glass with bare hands! * I use disposable gloves, make sure its **powder-free**. * Reusable gloves works too, but may shed lint. 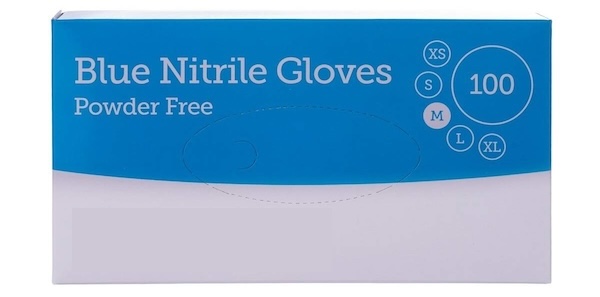 #### Wipe-down * Before a scanning session, wipe clean the light table and glass (both sides). * I use **Chamois Leather**. They are inexpensive, but make sure it's real (as in from an animal). * Microfibre cloths works too, but I find them shed a lot of lint. 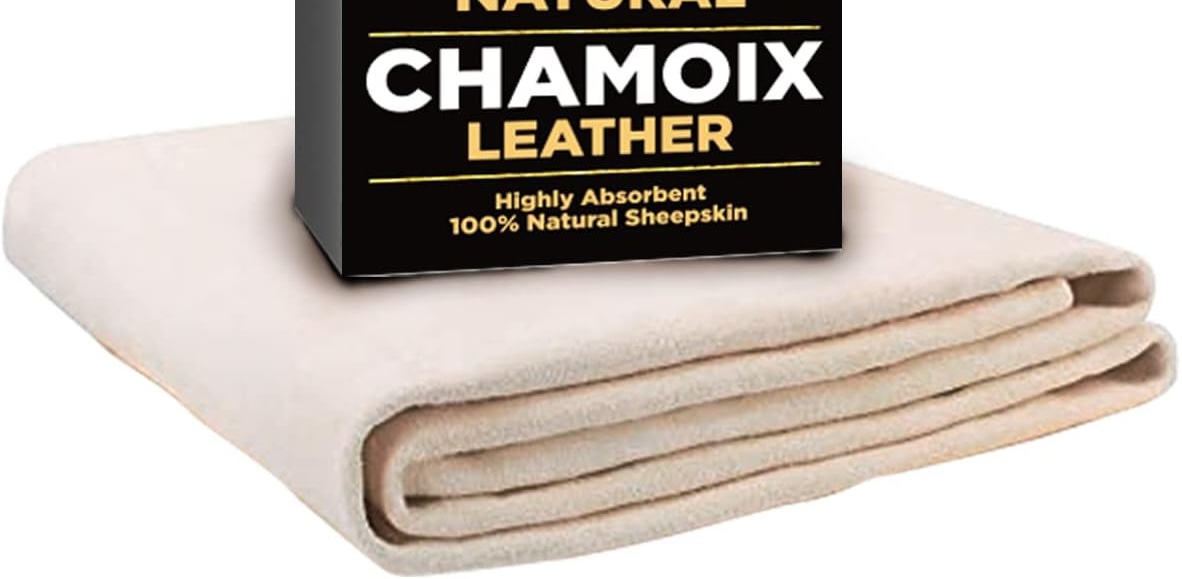 ## Scanning Procedures Finally! Let's start. * **Wear gloves** * Wipe down the glass and light table with chamois leather * Place film strips **emulsion side up** * The side that **curls up** * Picture/edge markings should **look mirrored** * Place near the **CENTER** of the light table * Can be the entire roll if your glass is big enough 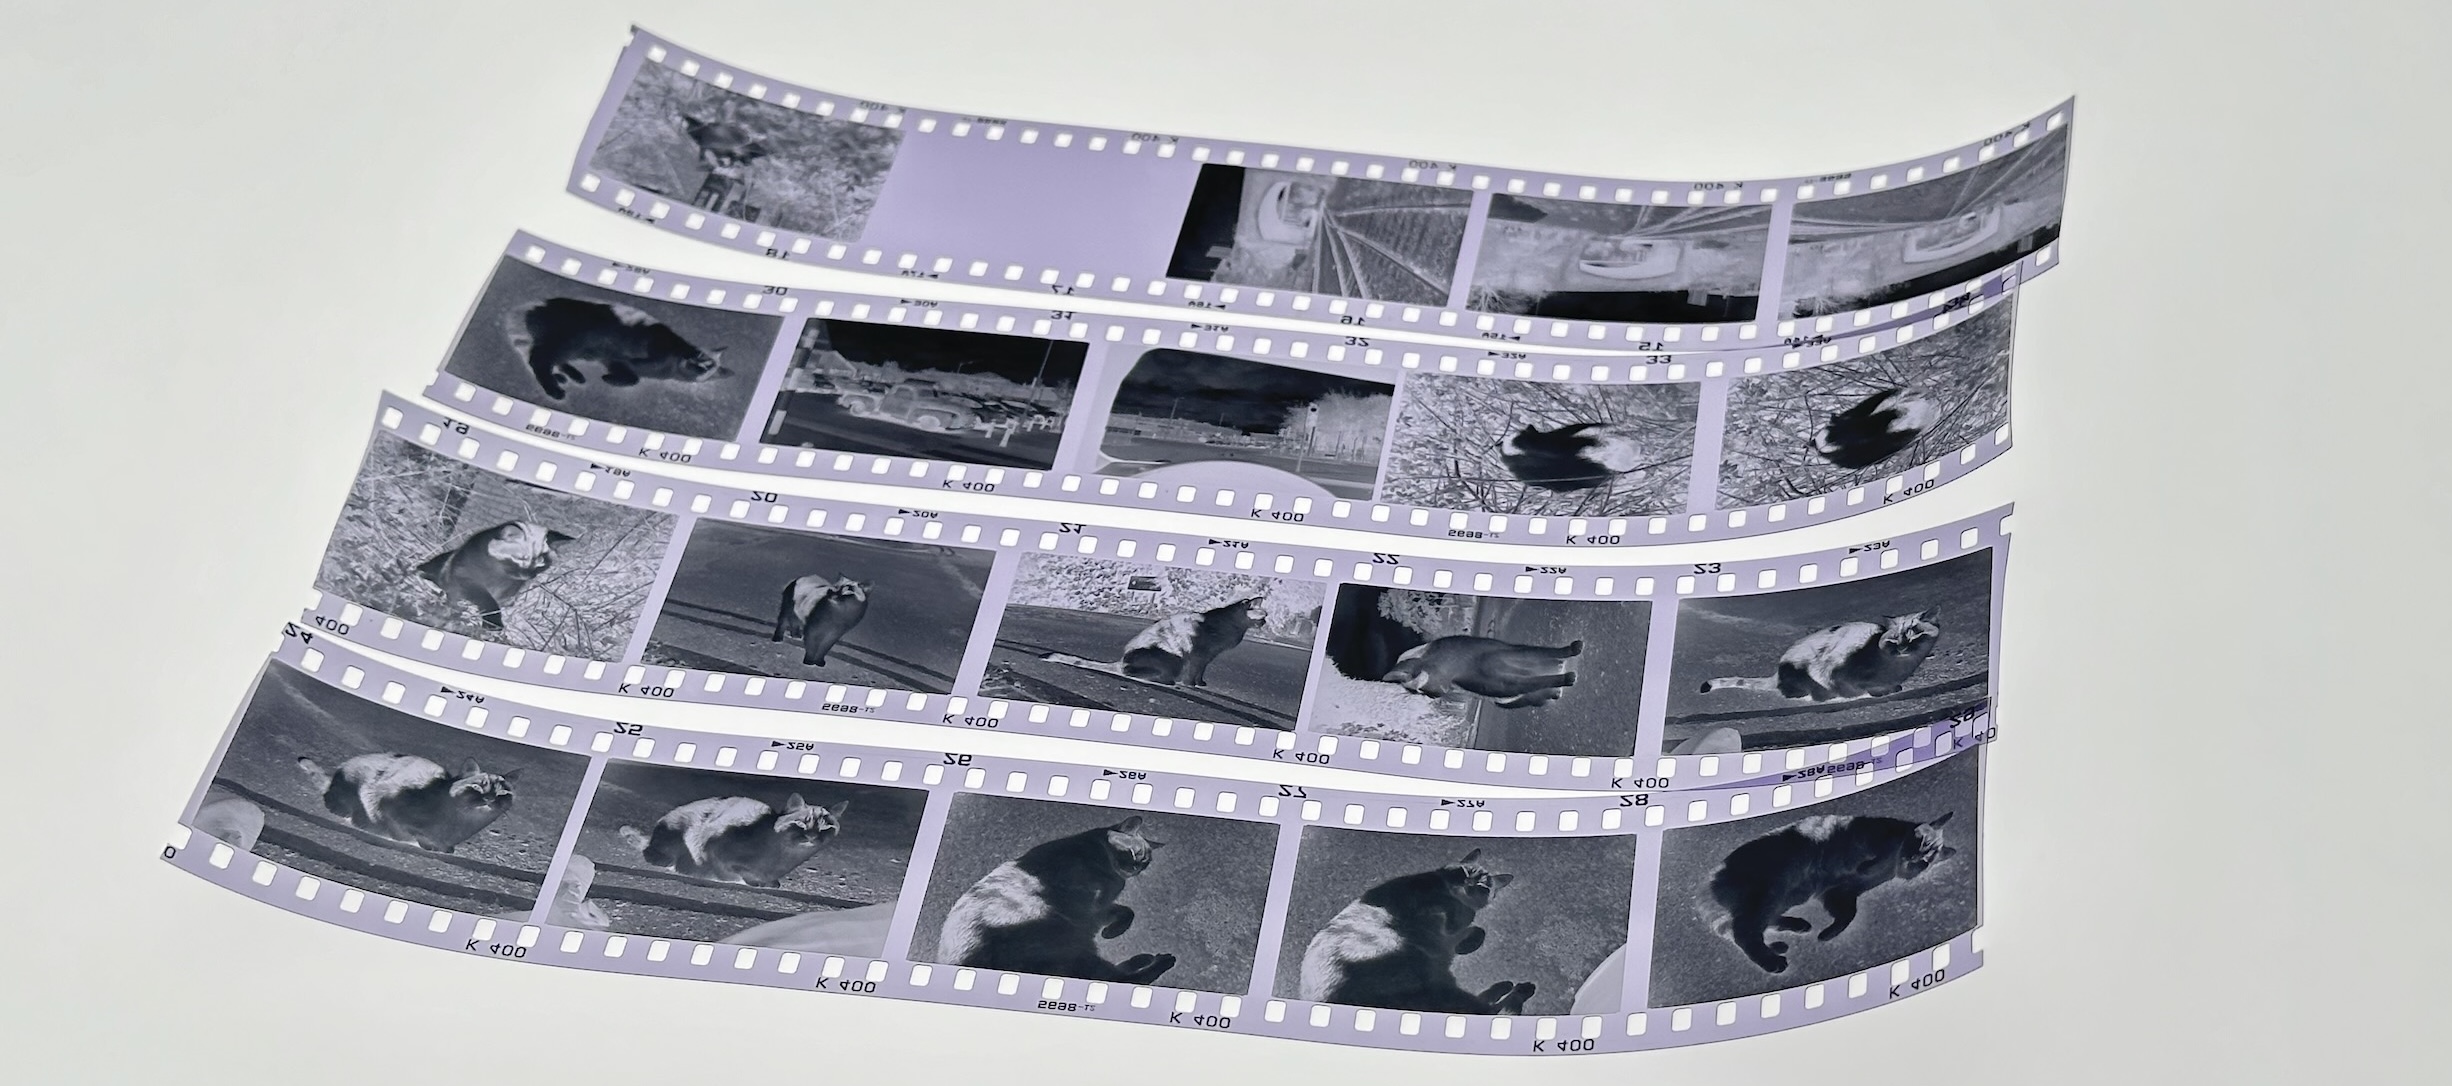 * Glass on top. Ensure **no overlapping** 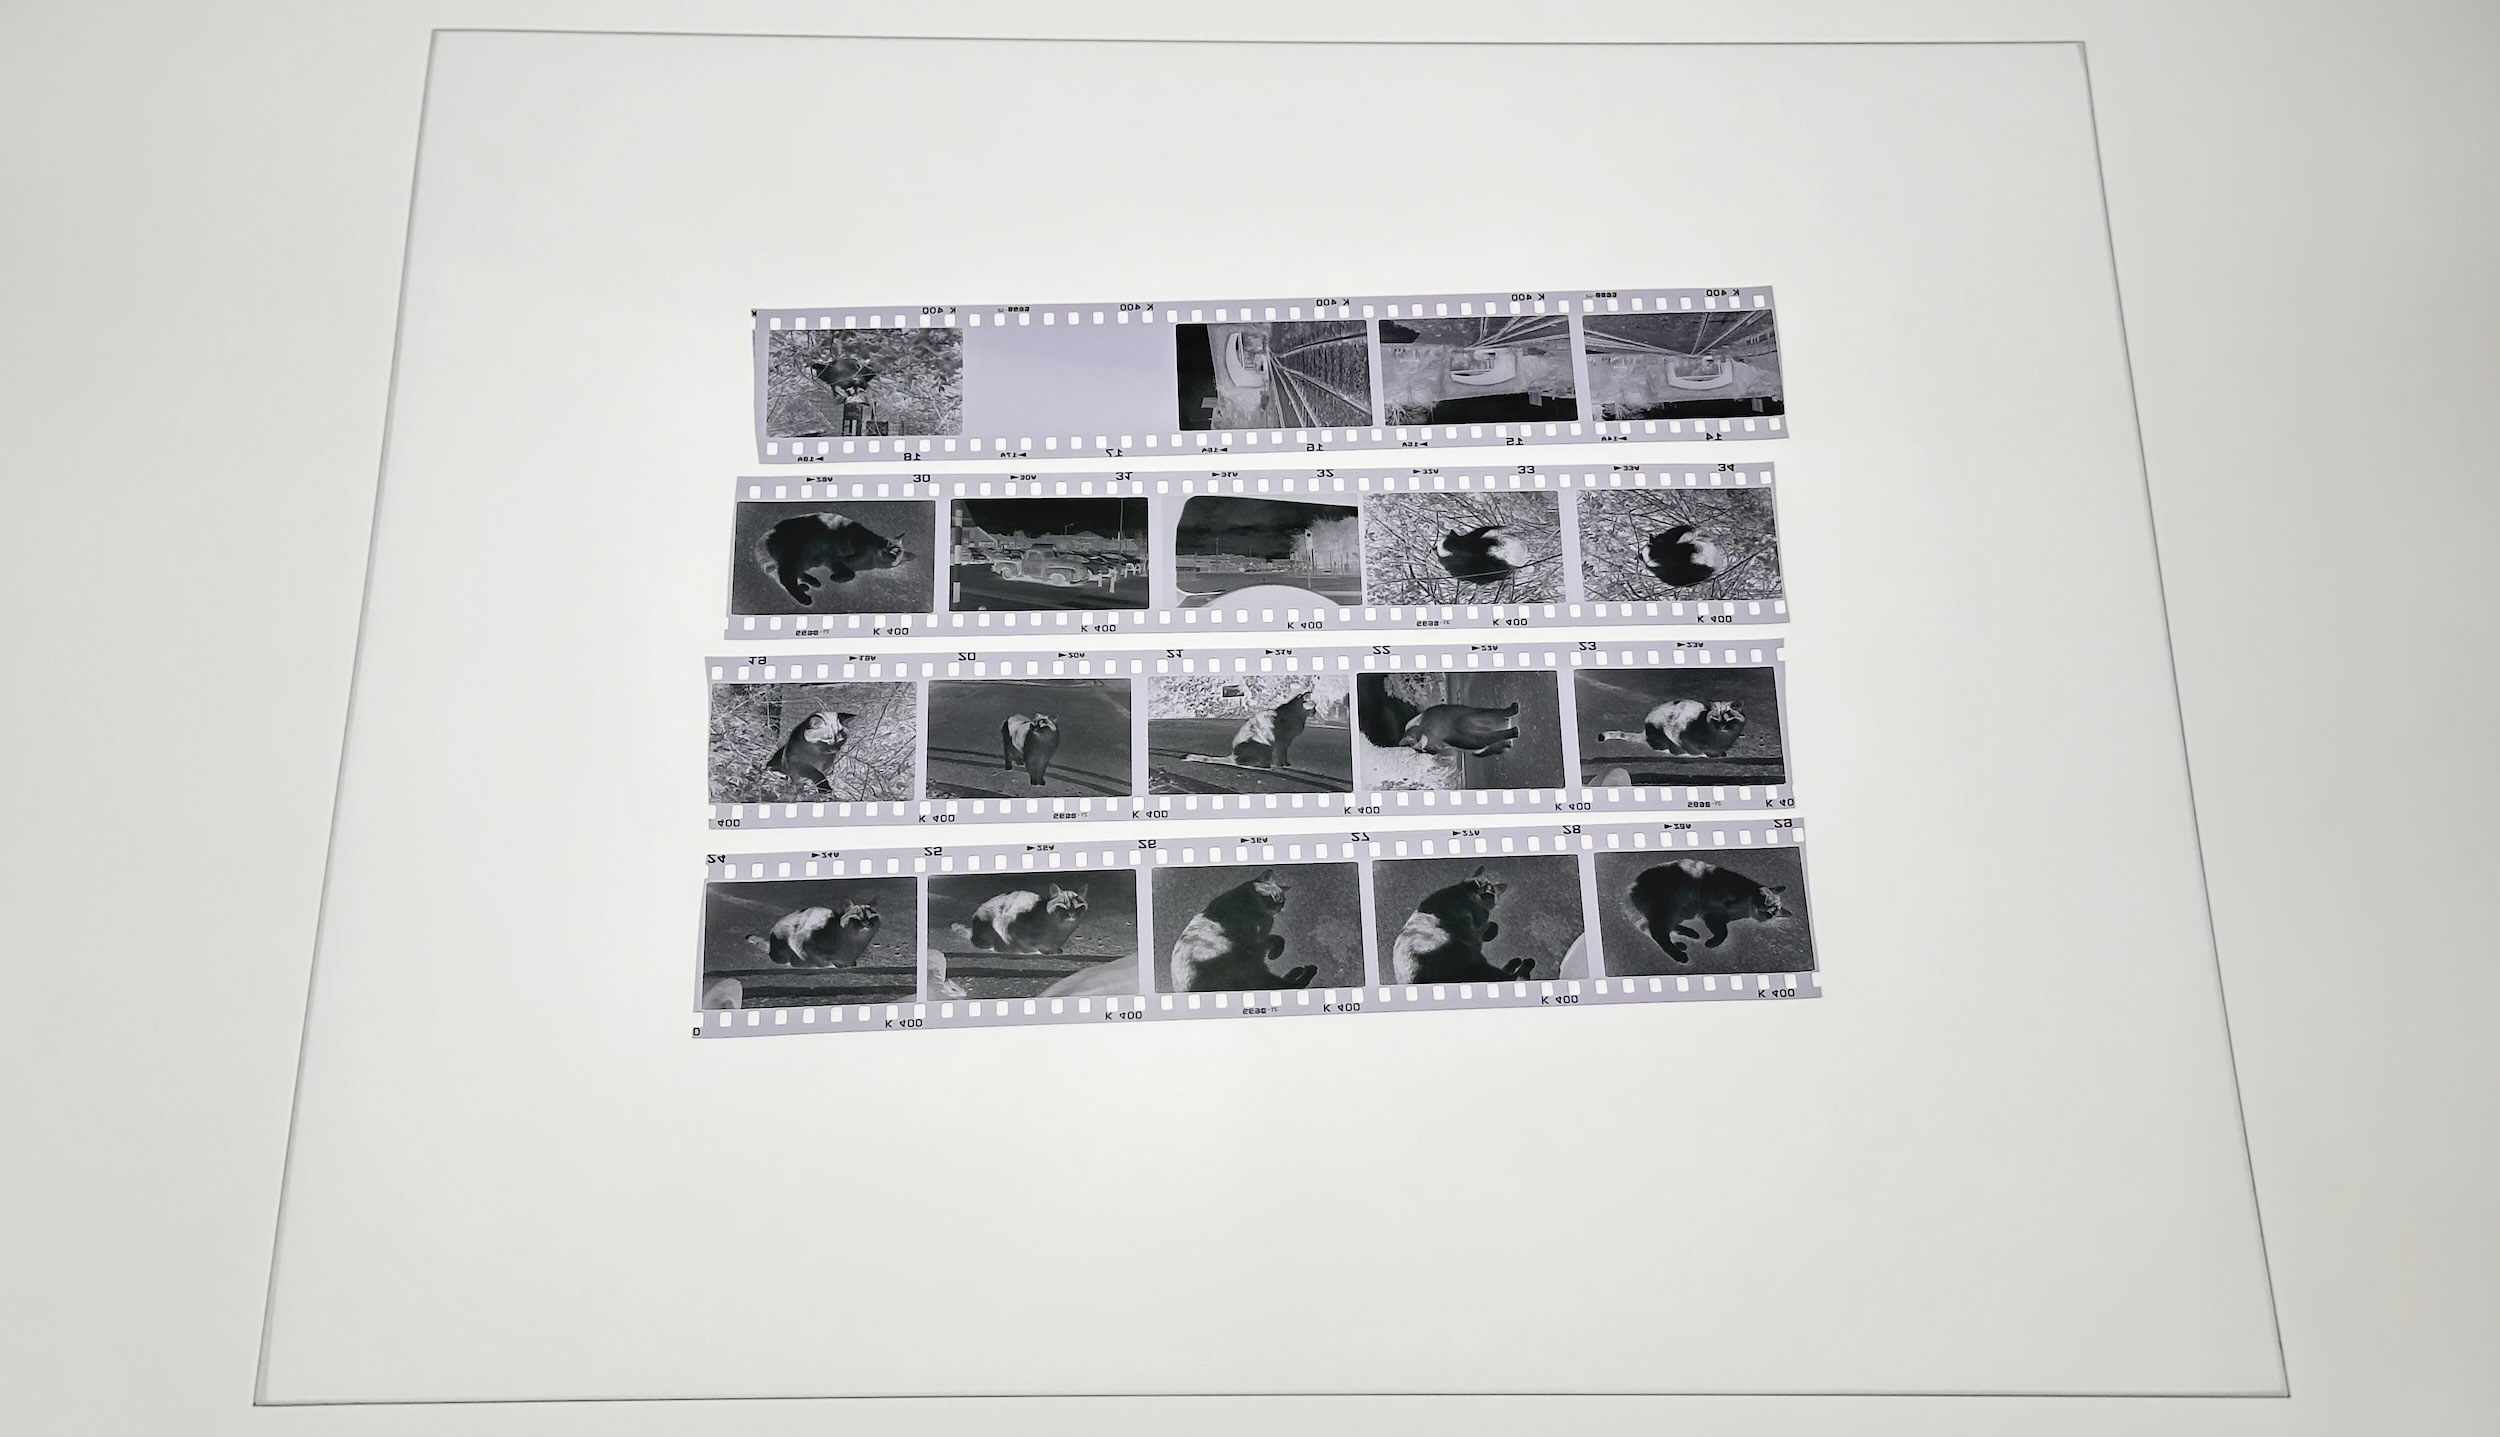 * Double check camera settings: * Custom white balance * RAW output * Manual focus w/ **focus peaking** * Lowest ISO * Set aperture to f/8 * Too small aperture (large f number) would soften the image due to diffraction * Too large aperture (small f number) makes it difficult to focus * f/8 is just about right * Use **center-weighted autoexposure**. Or fully manual if you want. * Using a **remote release** is strongly recommended to reduce vibration and speed up the process * The type with 2.5mm jack are all the same, just get the cheapest one * You camera might also support wireless remote or phone app 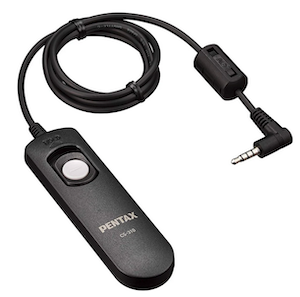 --------- * Attach cone to the camera * Place over a negative 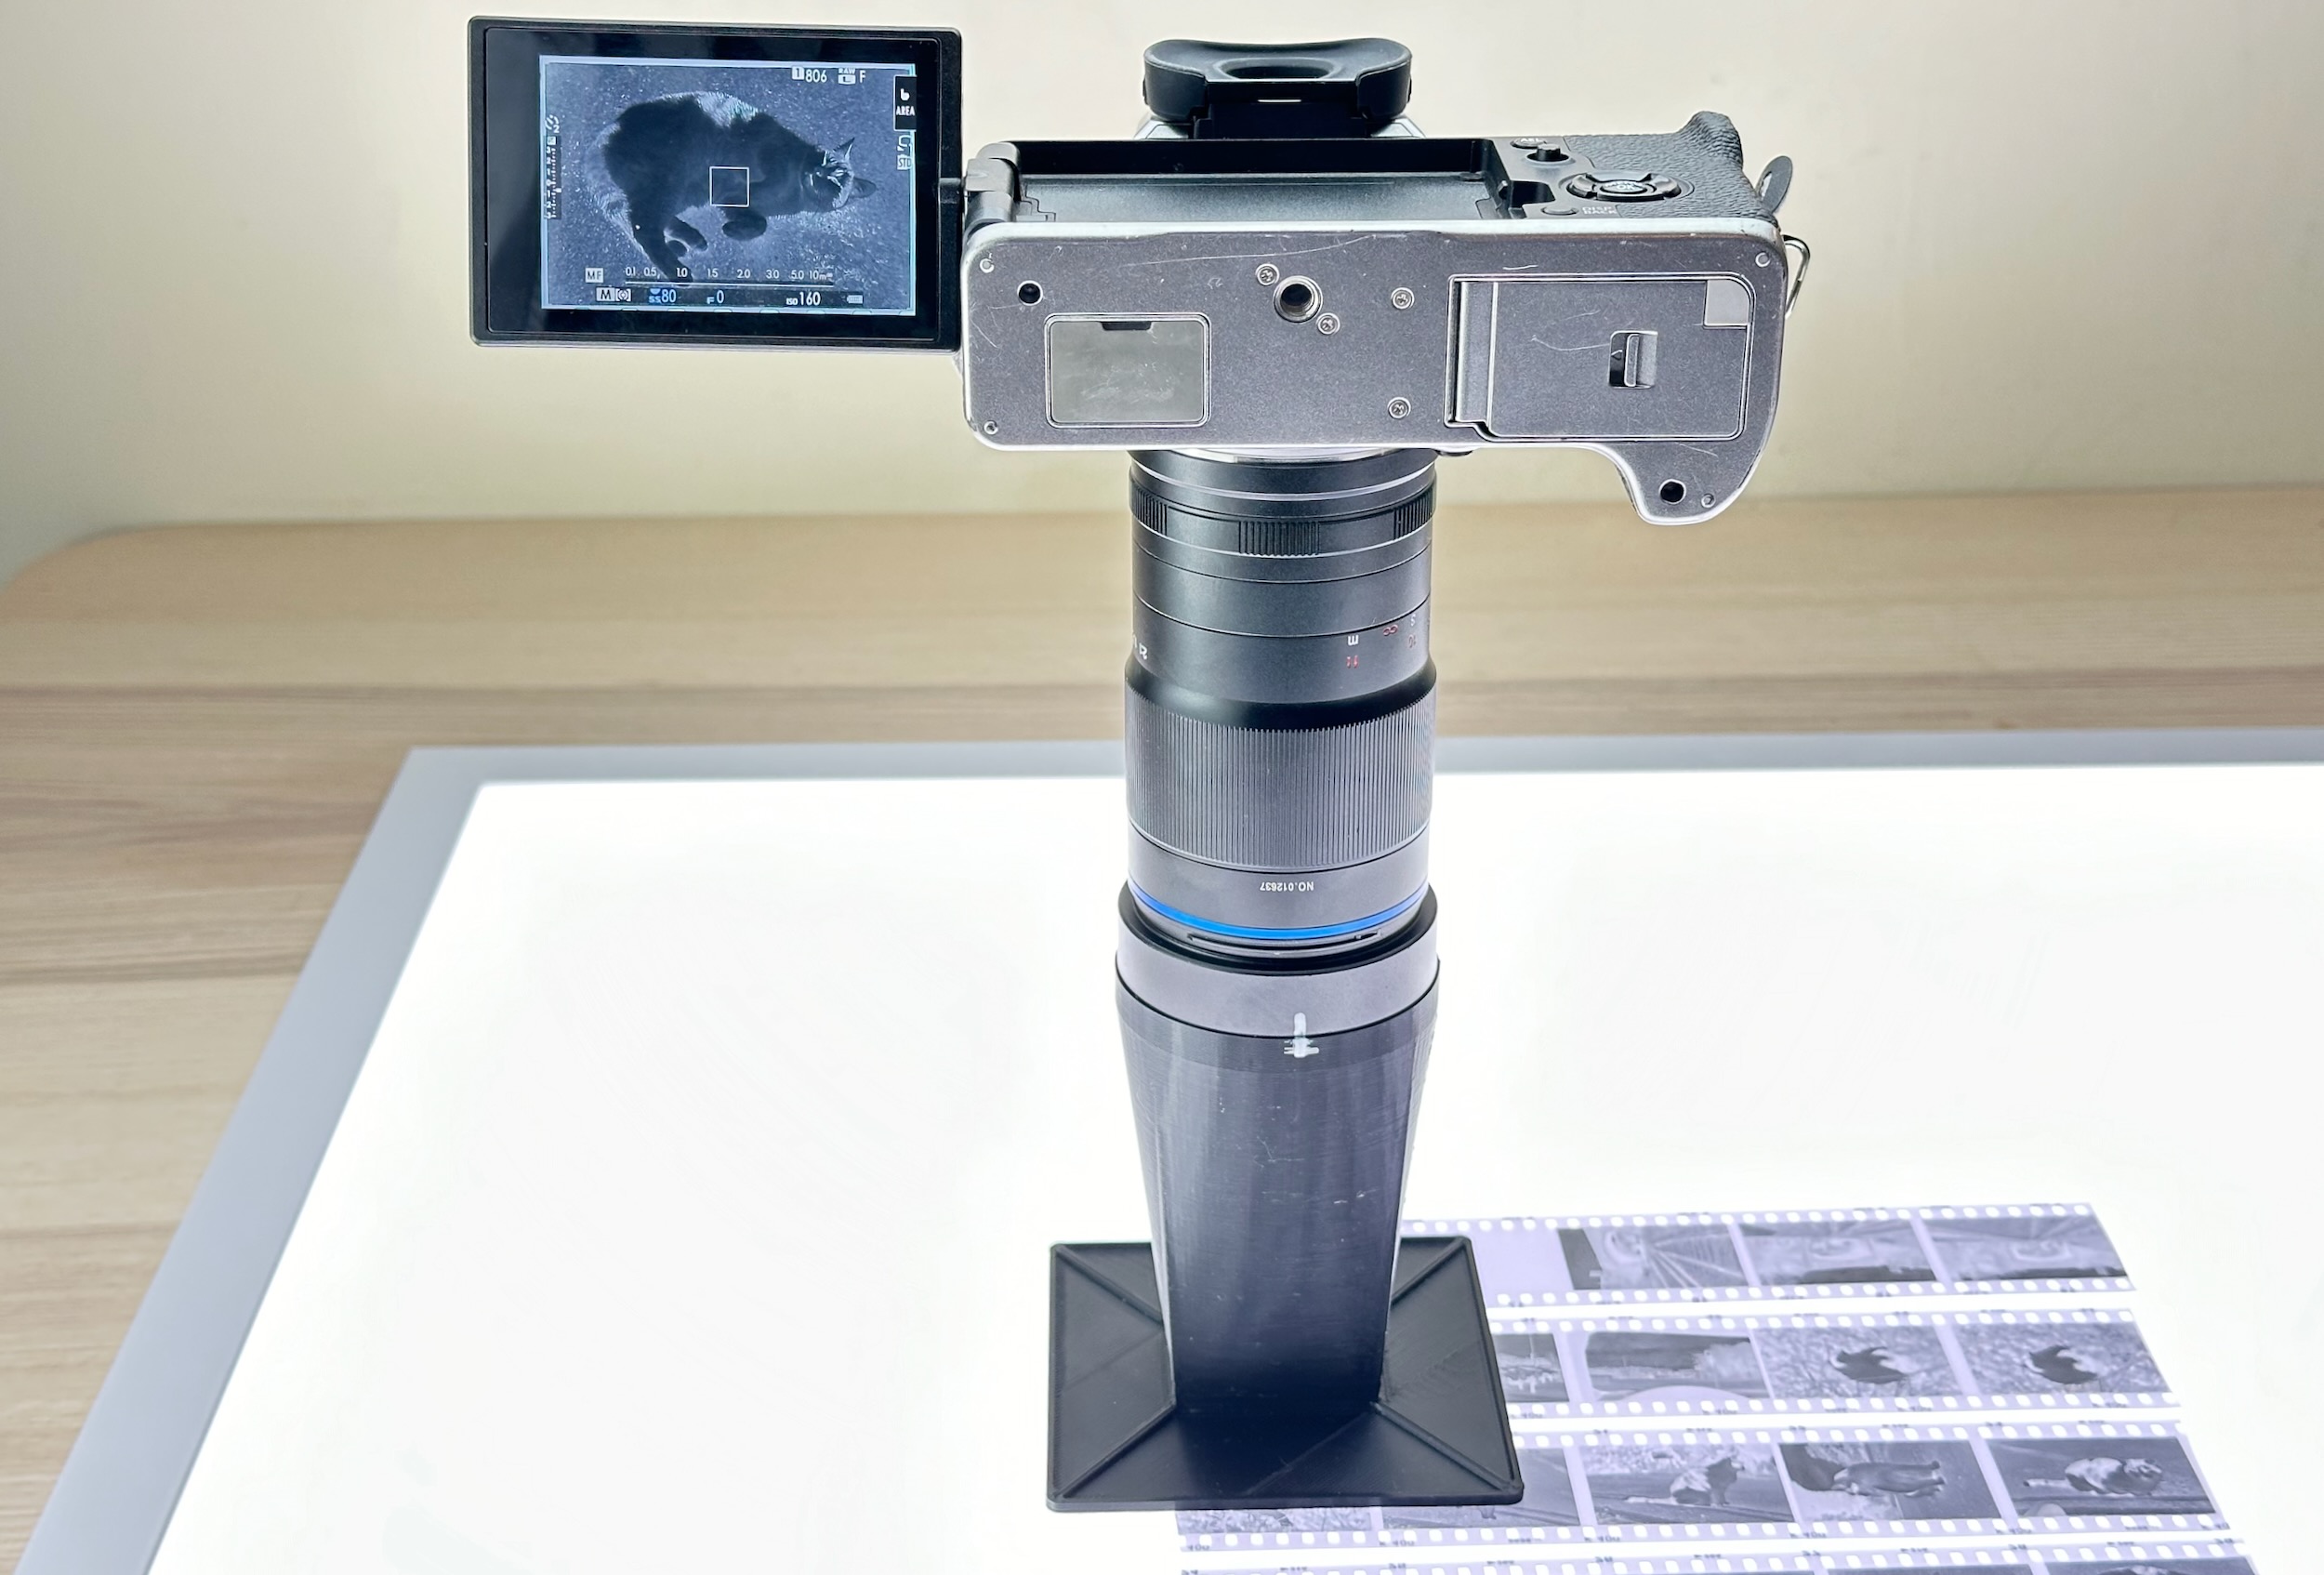 * Line up the picture 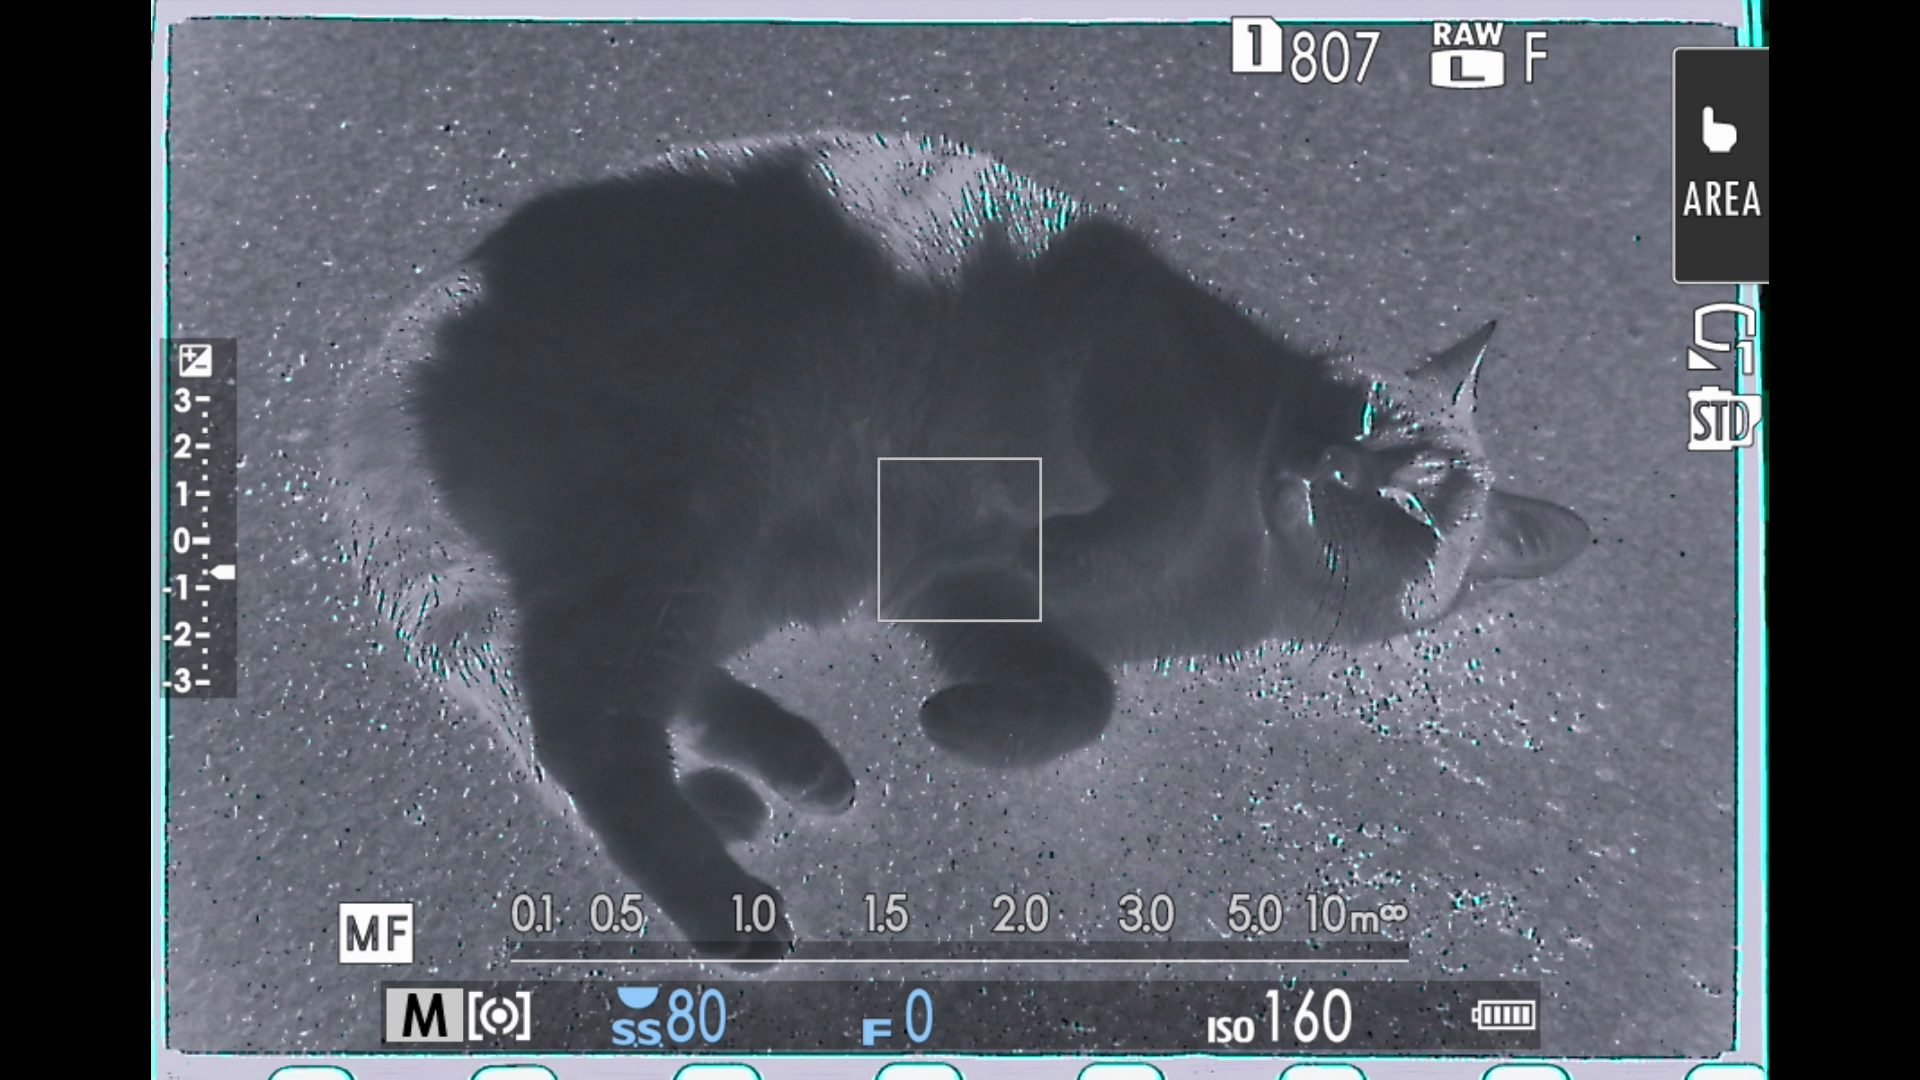 * Enter **magnified view** with focus peaking * On Fuji X-T4, push the rear thumbwheel. Look up how to do it on yours. * Find a sharp area on the negative * Adjust focus ring. **Try not to apply too much downward pressure**. * Until you achieve **maximum amount of "sparkles"** 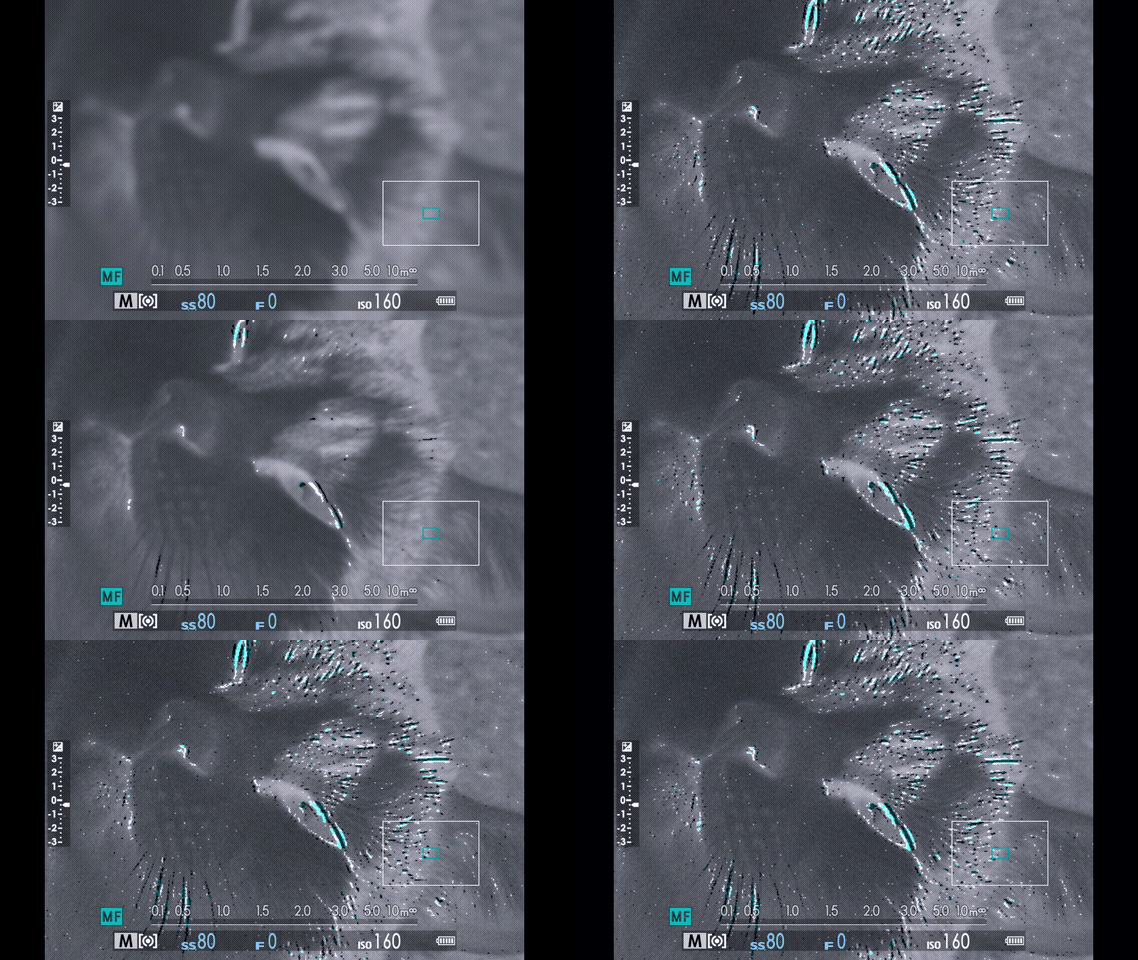 * The tolerance is razor-thin! Tiny amount of movement is all you need. ----- Now we are in focus! From now on, avoid touching the camera as much as possible! * Take a photo using remote release / remote app / self timer. * Slide the cone around the glass for each frame * Grab the neck of the cone, not the lens, to avoid accidentally knocking out focus. -------- It should stay in focus for the whole session. If you're paranoid, re-focus every time you lift the glass to put new negative in. Definitely re-focus if left overnight. Temperature changes can cause focus drift. ## Post-Processing Now we have high-quality scans in RAW format. Additional processing is needed to get the final result. We need to **invert**, **mirror**, and adjust the color of the photo. 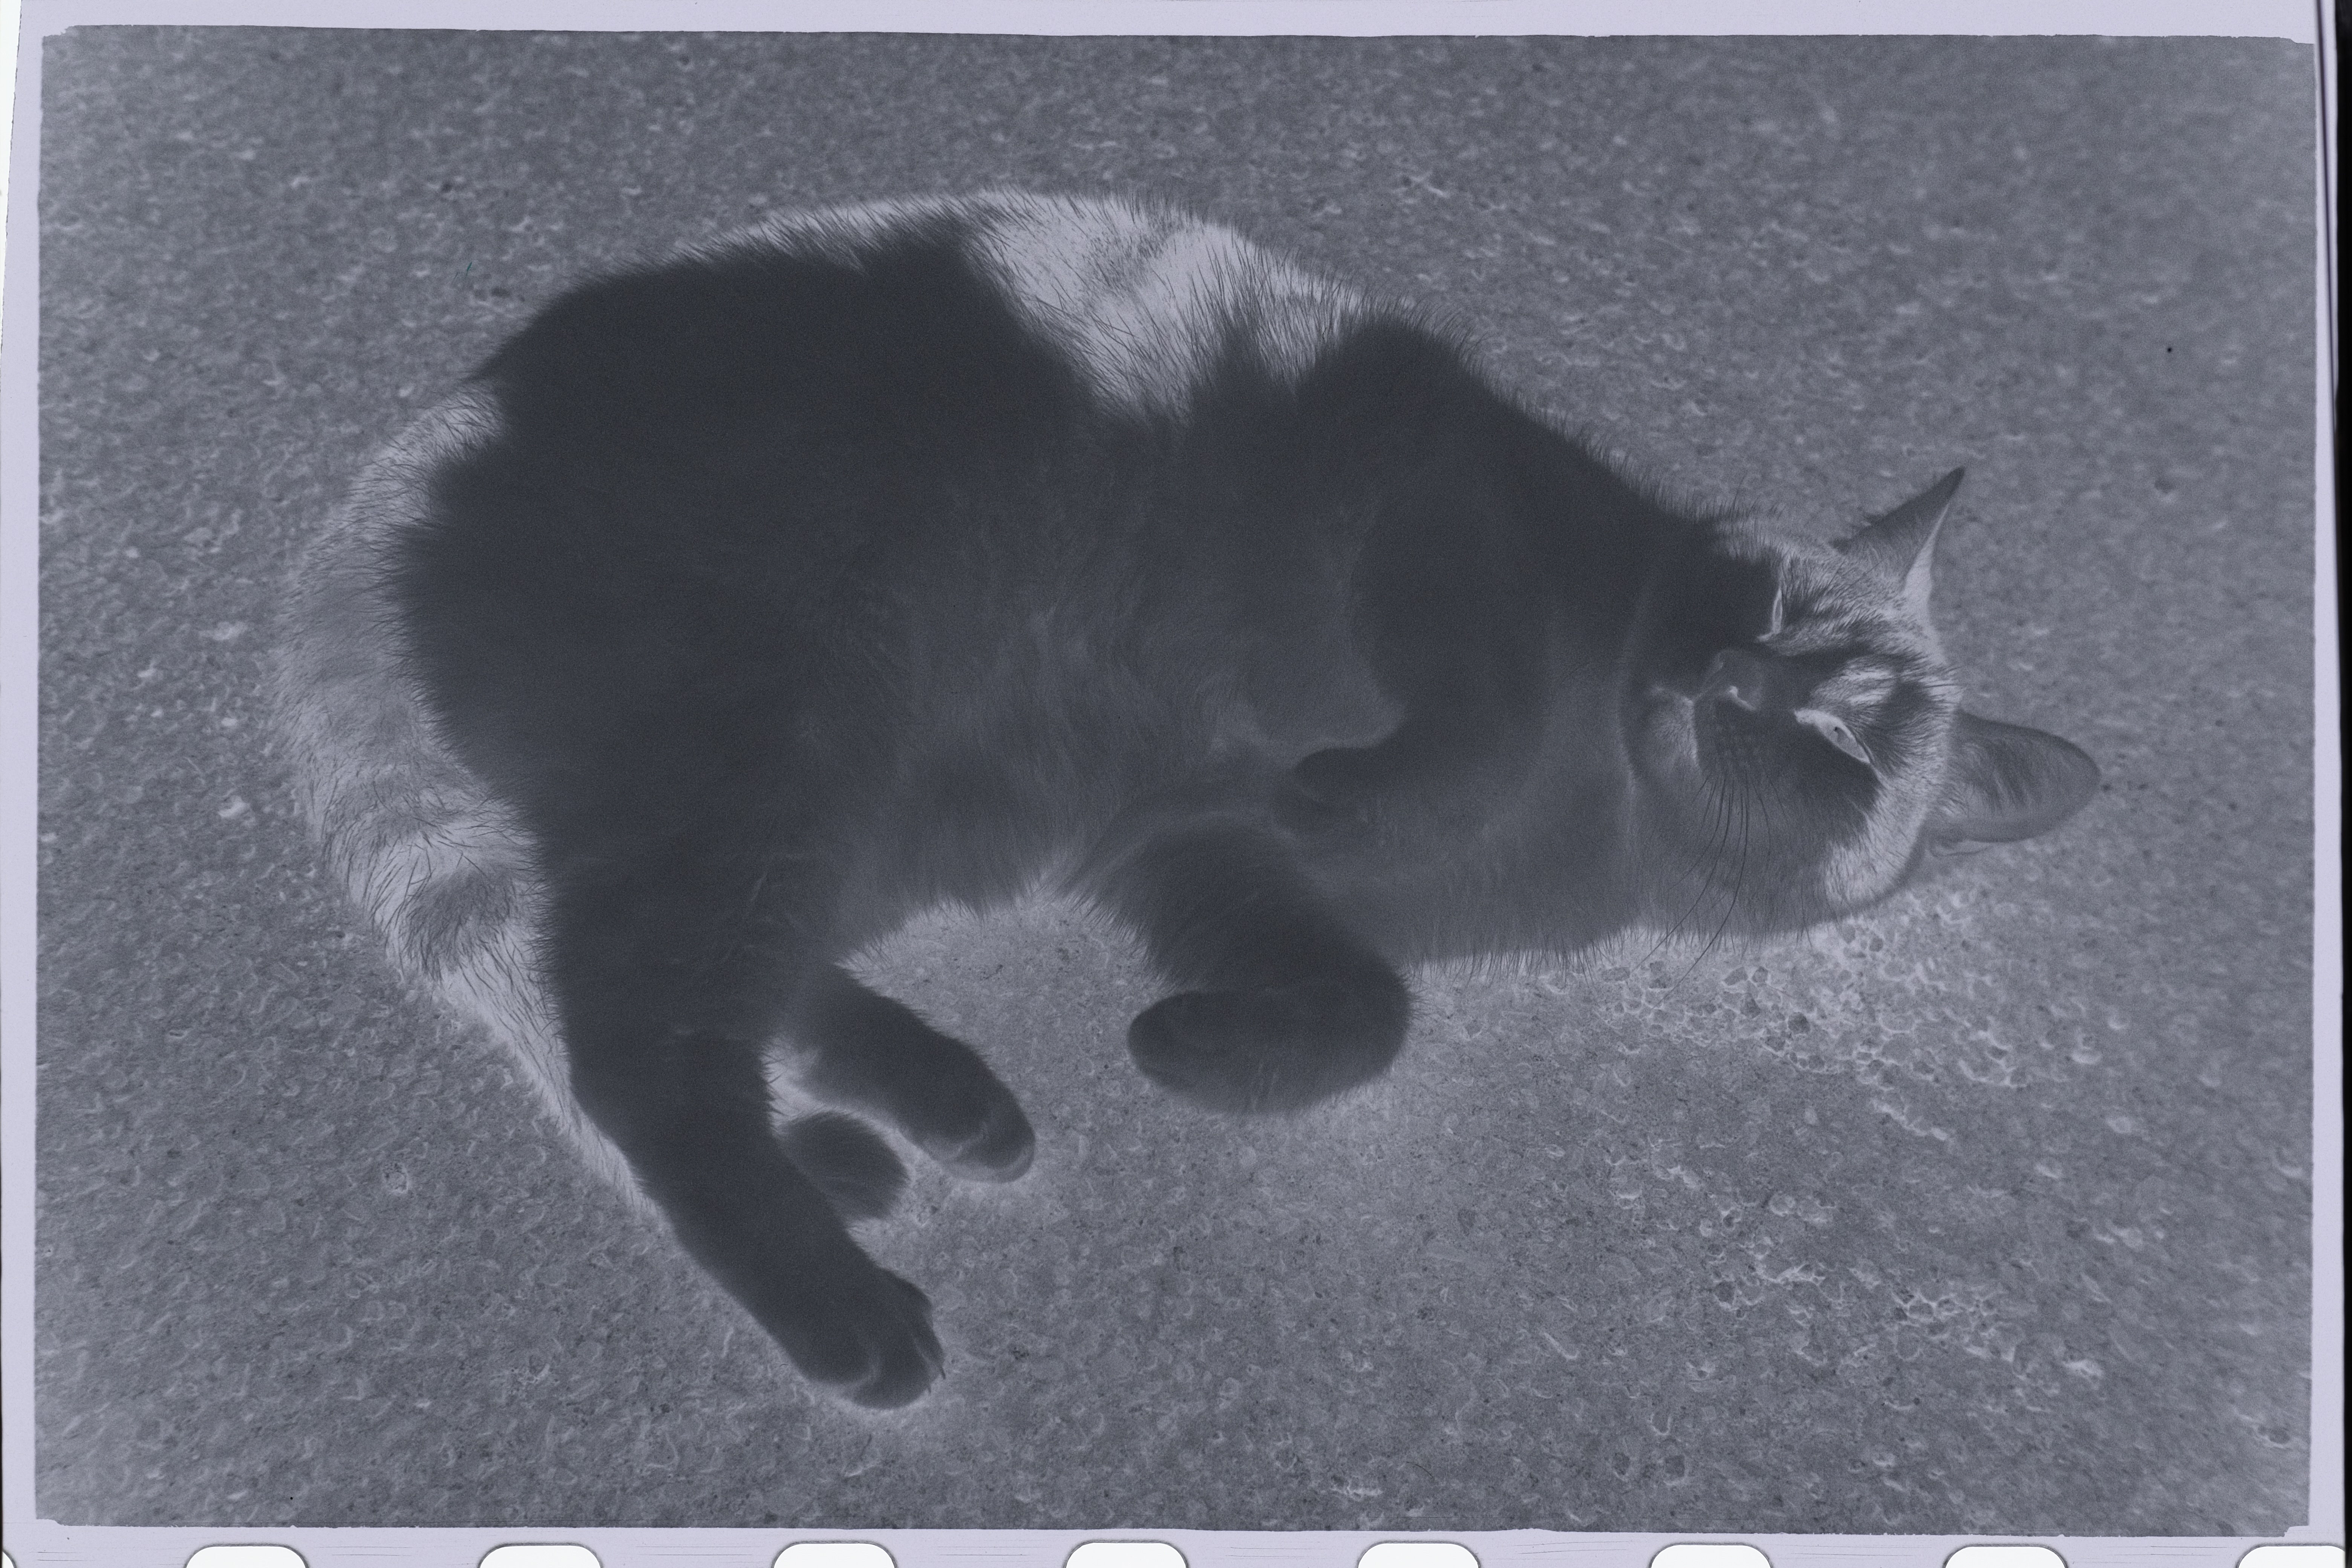 There are a lot of guides online, so I'm not going to cover the details. For black and white, I find it doable manually. But for color, it's much easier with a dedicated software. Popular ones include: * [Negative Lab Pro](https://www.negativelabpro.com/) (paid, requires Adobe Lightroom) * [Grain2Pixel](https://grain2pixel.com) (free, requires Adobe Photoshop) * [Darktable + Negadoctor](https://docs.darktable.org/usermanual/3.8/en/module-reference/processing-modules/negadoctor/) (free, but very fiddly last time I tried) * [Filmomat SmartConvert](https://www.filmomat.eu/smartconvert) (paid, standalone) ------- Personally, I use Filmomat SmartConvert to invert the negative, and macOS photos app for minor adjustments. Zeiss Ikon Contessa 35 (Folding, 533/24), c. 1952. 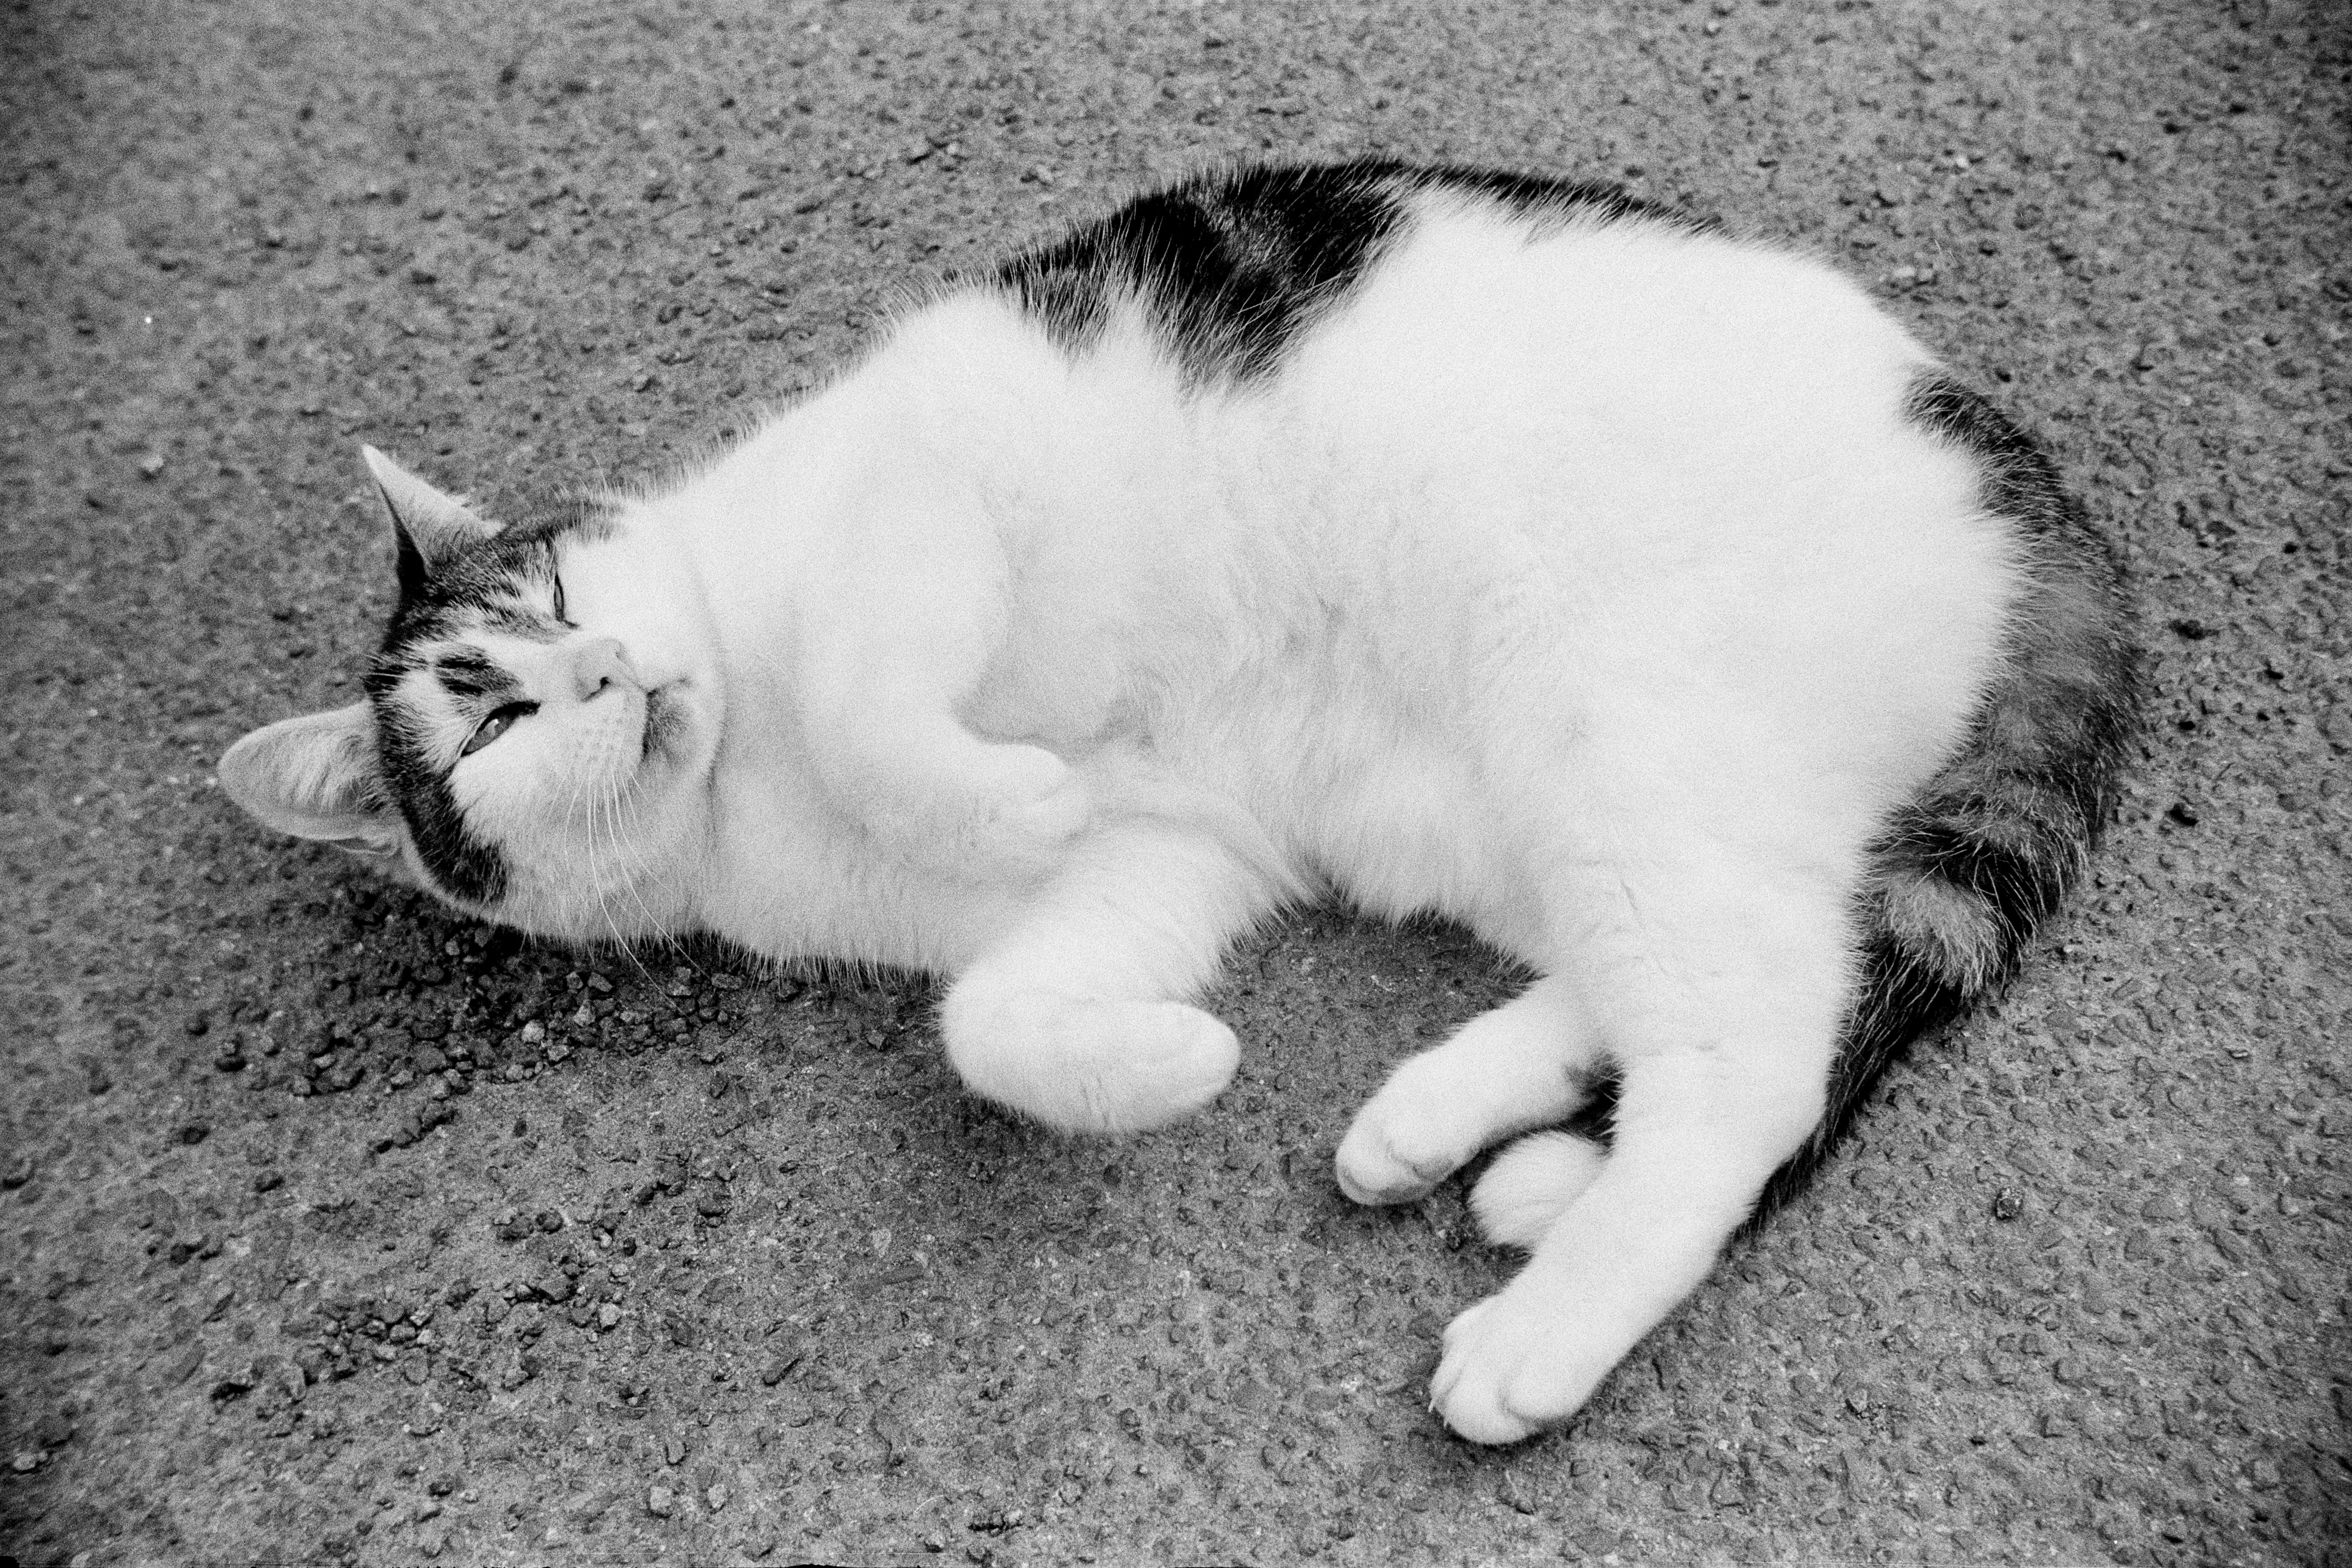 Amazing how good it looks despite being over 70 years old! ## Key Points As always, you'll get quicker with time. To recap, those are the most important points to remember: * **Wear gloves** * Chamois leather wipe-down * Emulsion side up * White balance / RAW output / Low ISO * f/8 * Nail the focus * Use remote release ## A Word on Newton Rings Newton rings are circular interference patterns caused by close proximity of two smooth surfaces. They often appear where film touches smooth glass: 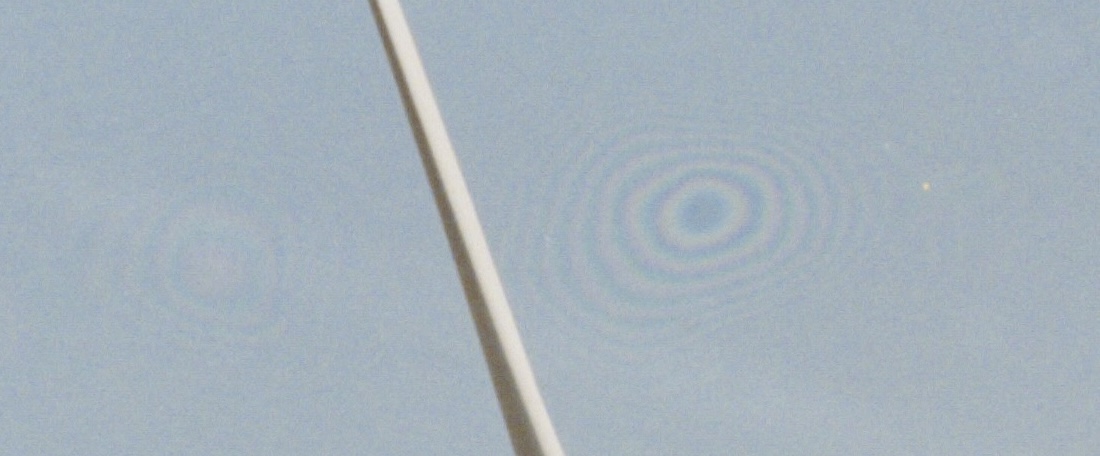 Curiously, from my experience, it almost never occurs with TCFS, even with plain glass. I have a theory: * We scan with emulsion side up, which is typically more matte. * Film are also placed near the center of the light table. * Due to its size, there might be a minuscule amount of curvature on its surface. * Such that the film are not squished right against the glass! #### 😡 OMG that means the film is NOT FLAT!!1!🤬y didnt u tell me eariler what a waste of time!! * The curvature (if any) is absolutely tiny, especially with the camera pushing down. * Such curvature is well within the depth of field of your digital camera. * For 35mm, you have [2.6mm DoF](images/dof35mm.png). * That's the thickness of 4 credit cards, or 20 times thicker than the film itself! * You'll definitely notice if it's that much. * For 120, [DoF is 7.6mm](images/dof120.png). More than a quarter inch! --------- * I would suggest: * Follow the instructions * Focus properly on the negative * Look at the result yourself and decide. The proof is in the pudding. * Feel free to examine my [full-size samples](https://github.com/dekuNukem/traffic-cone-film-scanning/tree/master/sample_scans). * Finally, if it really bothers you, you can always get some ANR glass. * [Useful discussion here](https://old.reddit.com/r/AnalogCommunity/comments/pex269/anr_glass_alternative_using_etched_frame_glass/). ## How'd It Go? That's it! If you read this far, hopefully you have already made some scans, or at least interested in trying! I would love to hear about your experience, good or bad, as well as any comments, questions, and suggestions, in order to improve this process. Get in touch [via Discord](https://discord.gg/wB9mKjD2Cn), or email: dekuNukem&gmail.com! ## License Note The **scanning cone** design is under [CC BY 4.0 License](https://creativecommons.org/licenses/by/4.0/deed.en) You can: * Share, modify, remix, and redistribute the material, even commercially. * **AS LONG AS** you give appropriate credit to me (dekuNukem) and [the project page](https://github.com/dekuNukem/traffic-cone-film-scanning). The sample photos are **NOT** under CC BY 4.0 and are all rights reserved.
