KO
|
EN
gitlite — search
Search
#typescript
#ai-agents
#ai
#dsh-plugin
#deepseek-harness
#open-source
#claude-code
#codex
#cli
#developer-tools
#react
#windows
SwiftTweener
★ 93
Open GitHub ↗
A pure Swift animation engine.
Download README (.md)
Explore Similar Repositories
databricks-notebooks
:
Collection of Sample Databricks Spark Notebooks ( mostly for Azure Databricks )
react-datetimepicker
:
No description available.
secure-oauth2-oidc-workshop
:
Hands-On Workshop for OAuth 2.0 and OpenID Connect 1.0
commanded-ecto-projections
:
Read model projections for Commanded using Ecto
netlify-cms-react-starter
:
A starter project for creating lightning-fast, offline-first websites with Netlify-CMS and React
// repository documentation
Was this content helpful?
★ 0
(0 ratings)
Select Rating:
★
★
★
★
★
Submit Feedback
Recent Feedback
×
Download README
Do you want to download the
README.md
file for
SwiftTweener
?
Download (.md)
# Swift Tweener Swift animation engine, make more powerful and creative Apps.  This project has rewritten in pure Swift from [CocoaTweener](https://github.com/alexrvarela/cocoatweener) ### Prerequisites * Swift 5.0 ## Features ### Declarative & chainable syntax Now, with Declarative Syntax and Tween chaining, to create a Tween: ```swift Tween(myView) .duration(1.0) .ease(.inOutCubic) .to( .key(\.alpha, 1.0), .key(\.frame, CGRect(x:20.0, y:20.0, width:UIScreen.main.bounds.width - 40, height:UIScreen.main.bounds.width - 40)), .key(\.backgroundColor!, .red)//NOTE:This property is an optional, add ! to keypath. ) .onComplete { print("Tween complete") } .after()//Creates a new tween after with same target and properties. .duration(1.0) .ease(Ease.outBounce) .to( .key(\.alpha, 0.25), .key(\.frame, CGRect(x:20.0, y:20.0, width:100.0, height:100.0)), .key(\.backgroundColor!, .blue) ) .play() ``` To create a Timeline: ```swift Timeline( //Place tweens here, separated by commas. //Tween 1 Tween(myView) .ease(.inOutQuad) .to(.key(\.center, .zero) ) .onStart { self.flipX(inverted: true) } .onComplete { print("Tween 1 complete") }, //Tween 2 Tween(myView) .to(.key(\.center, self.center) ) .onStart { self.flipY() } .onComplete { print("Tween 2 complete") } //Etc.... ) .play() ``` ### View's extensions To make it more friendly, now includes UIView's and NSView's extensions with predefined animations ready-to-use calling a single function from your view instance: ```swift .spring() .zoomIn() .zoomOut() .pop() .fadeIn() .fadeOut() .flyLeft() .flyRight() .flyTop() .flyBottom() .slideLeft() .slideRight() .slideTop() .slideBottom() .flipX() .flipY() .shake() .jiggle() .bounce() .swing() .spin() .loop() ``` 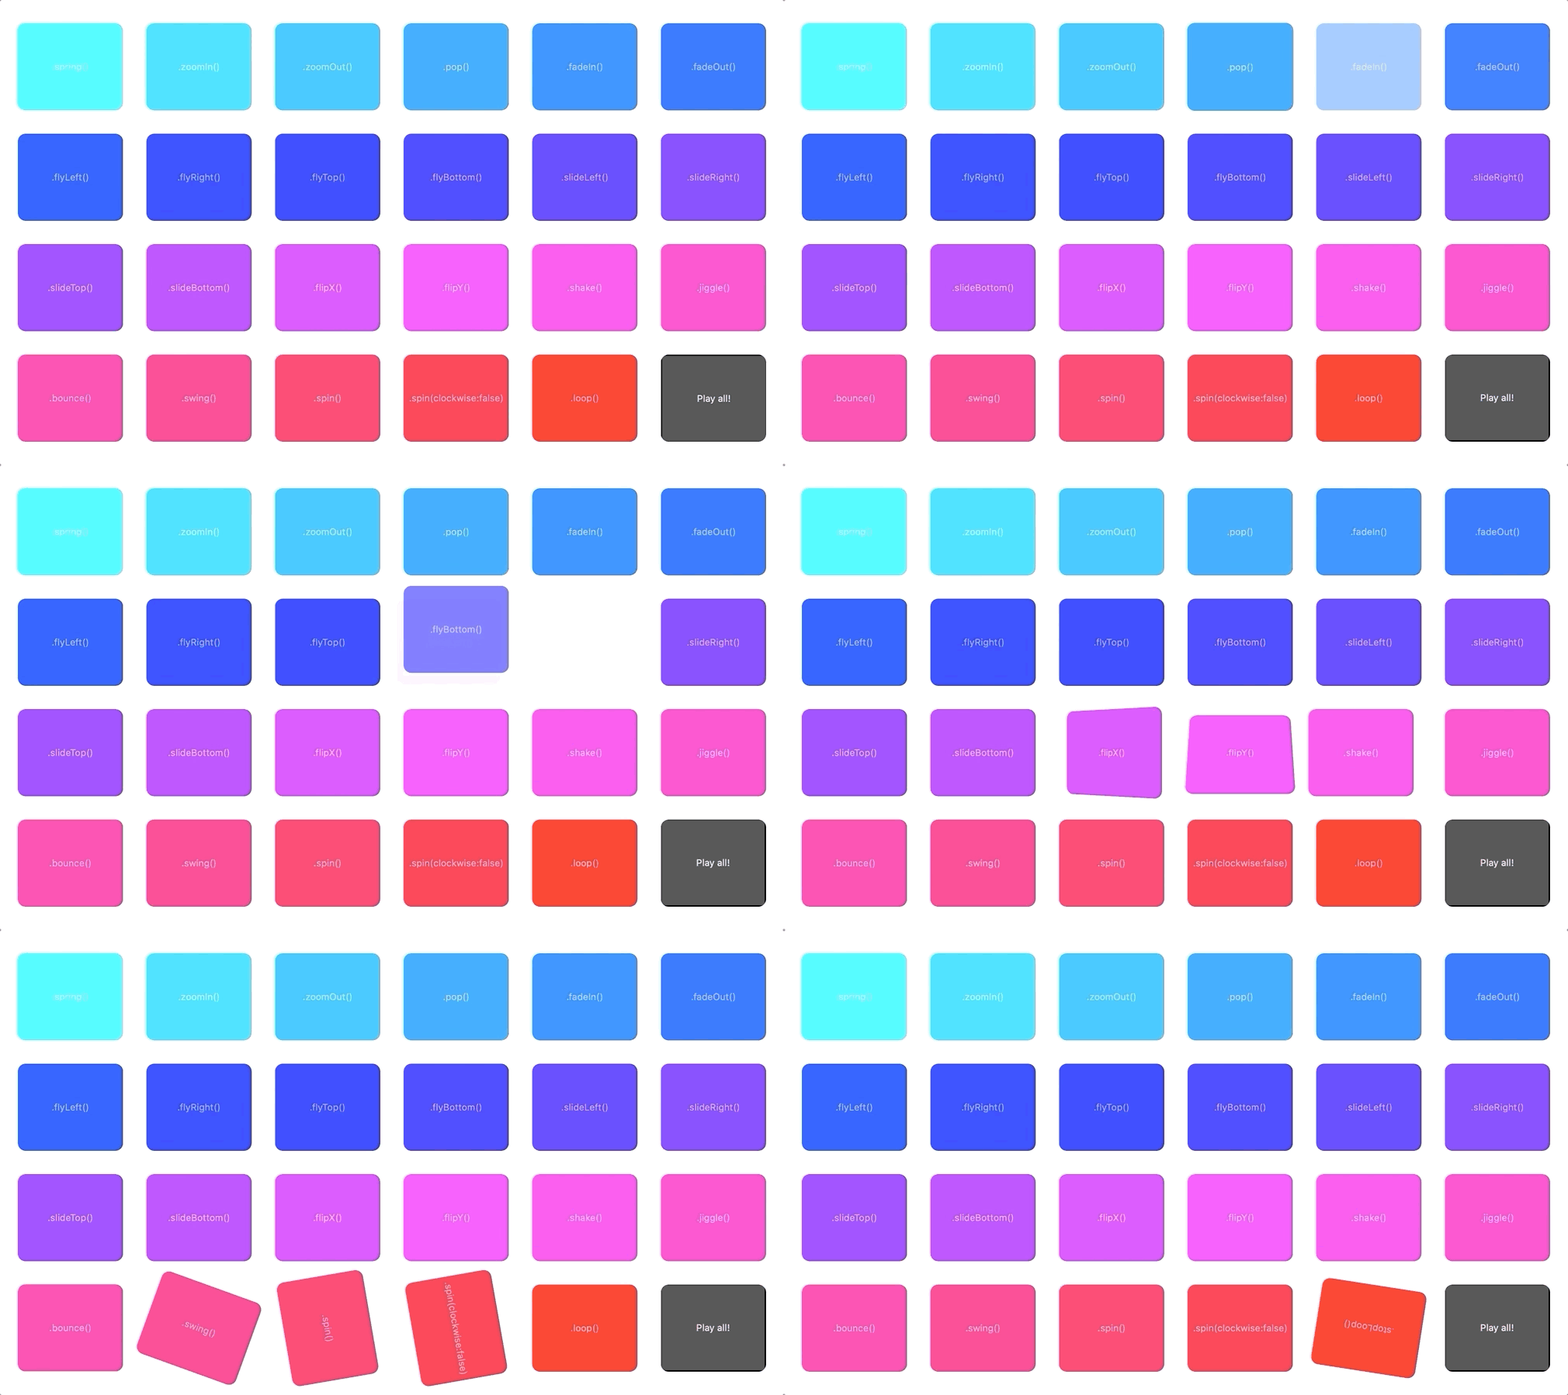 ### Any object Type Support To add support to other Types and custom Types, assuming there is a struct like this: ```swift public struct Vector3{ var x, y, z: Double func buffer() -> [Double] { return [x, y, z] } static func zero() -> Vector3 { return Vector3(x:0.0, y:0.0, z:0.0) } static var random: Vector3 { return Vector3( x:.random(in: 0...1.0), y:.random(in: 0...1.0), z:.random(in: 0...1.0) ) } } ``` Tweener is based on Double arrays so you have to tell it how to convert your object to Array and back to Object. ```swift Tweener.addType( toType:{ values in return Vector3(x:values[0], y:values[1], z:values[2]) }, toArray:{ point in return point.buffer() } ) ``` Now, you can animate a 'Vector3' Type object. ```swift Tween(myInstance) .to(.key(\.myVec3Property, .random)) .play() ``` ### MacOS support This version includes macOS support and samples. 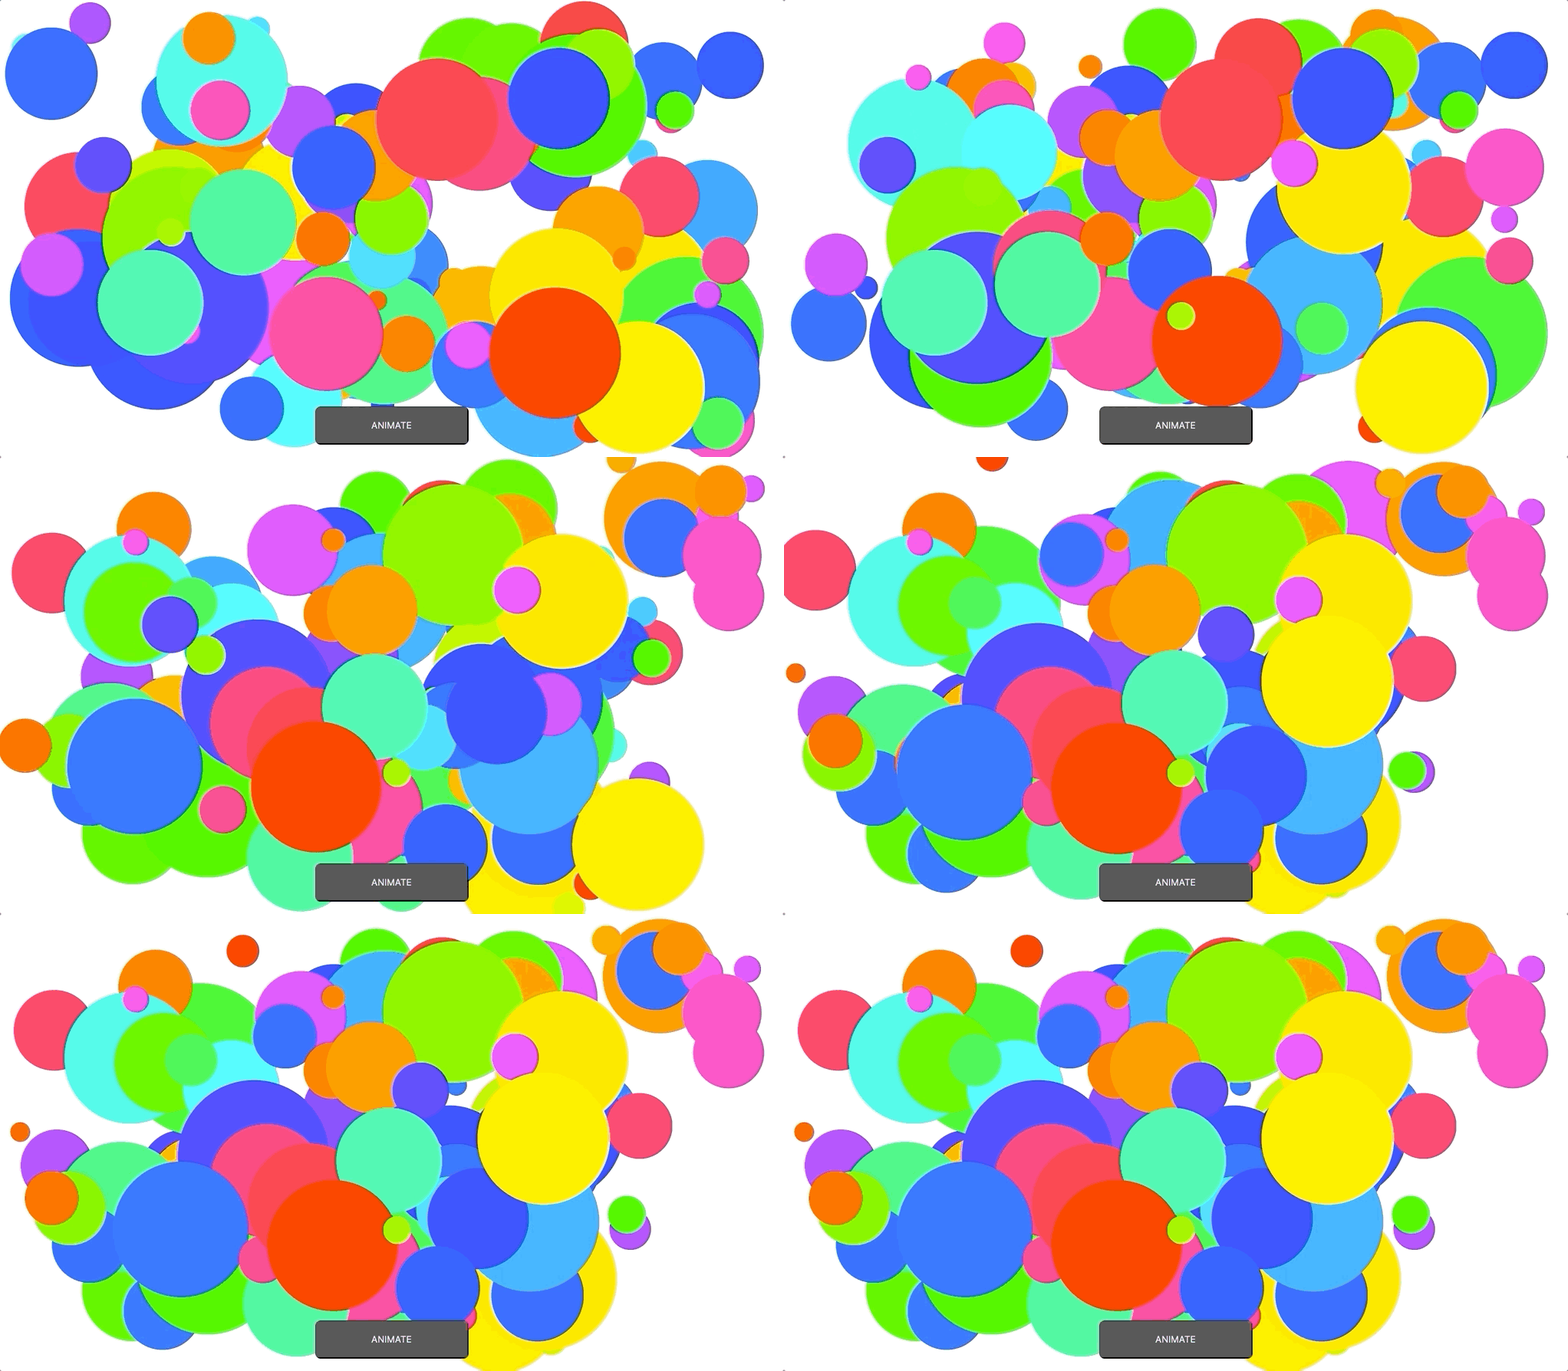 ## Installation ### Install using Cocoapods To integrate install [Cocoa Pods](http://cocoapods.org/) using this gem: ``` $ gem install cocoapods ``` Now, add Tweener to your Podfile ``` pod 'Tweener', '~> 2.1.1' ``` To install dependencies run this command: ``` pod install ``` ### Install using Carthage To integrate install [Carthage](https://github.com/Carthage/Carthage) with brew: ``` $ brew update $ brew install carthage ``` Now, add Tweener to your Cartfile ``` github "alexrvarela/SwiftTweener" ~> 2.1.1 ``` To install dependencies run this command: ``` $ carthage update ``` Finally, drag & drop Tweener.framework to your Xcode Project ### Install using Swift Package Manager To install, add dependencies to your Package.swift ``` dependencies: [ .package(url: "https://github.com/alexrvarela/SwiftTweener.git", .upToNextMajor(from: "2.1.1")) ] ``` ### Install manually Download, build and copy Tweener.framework to your Xcode project. ## Usage Import Tweener engine to your project: ```swift import Tweener ``` Animate by default any of these kinds of properties: Int, Float, Double, CGFloat, CGPoint, CGRect, UIColor, CGAffineTransform, CATransform3D First set initial state: ```swift myView.alpha = 0.25 myView.frame = CGRect(x:20, y:20, width:50, height:50) myView.backgroundColor = .blue ``` Create and add a simple Tween: ```swift Tween(myView) .duration(1.0)//One second .ease(.inOutCubic) .to( .key(\.alpha, 1.0), .key(\.frame,CGRect(x:20, y:20, width:250, height:250)), .key(\.backgroundColor!, .red) ) .play() ``` Or use 'from' and 'to' keys: ```swift Tween(myView) .duration(1.0)//One second .ease(.inOutCubic) .from( .key(\.alpha, 0.25), .key(\.frame, CGRect(x:20, y:20, width:50, height:50)), .key(\.backgroundColor!, .blue) ) .to( .key(\.alpha, 1.0), .key(\.frame,CGRect(x:20, y:20, width:250, height:250)), .key(\.backgroundColor!, .red) ) .play() ``` To remove a Tween from Engine simply call stop(). ```swift myTween.stop() ``` 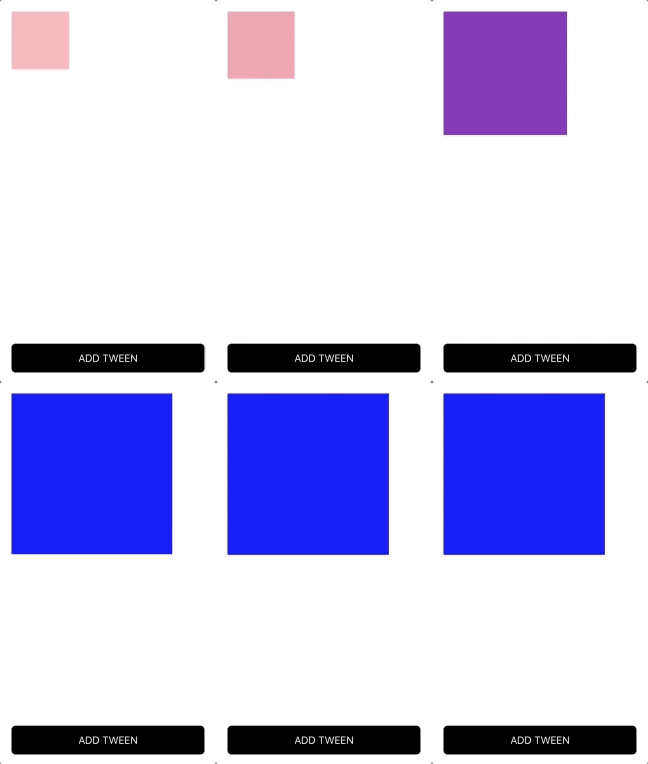 ### Tween chaining To create and chain a Tween with same target and properties just call .after() ```swift let firstTween = Tween(myViewInstance) // This creates and chains a new tween whith time delay after 'firstTween'. let secondTween = firstTween.after() //This plays firstTween and secondTween. secondTween.play() ``` To create and chain a Tween with different target and Type pass the second Tween as parameter. ```swift let firstTween = Tween(myViewInstance) let secondTween = Tween(otherViewInstance) // This chains booth and sets the second one after first one. firstTween.after(secondTween) //This plays firstTween and secondTween. secondTween.play() ``` You can chain as many Tweens as you want. ### Tween handlers Interact with your code using block handlers: ```swift myTween.onStart { self.backgroundColor = .green } myTween.onUpdate { doAnything() } myTween.onComplete { self.backgroundColor = .red } myTween.onOverwrite { self.backgroundColor = .blue } ``` 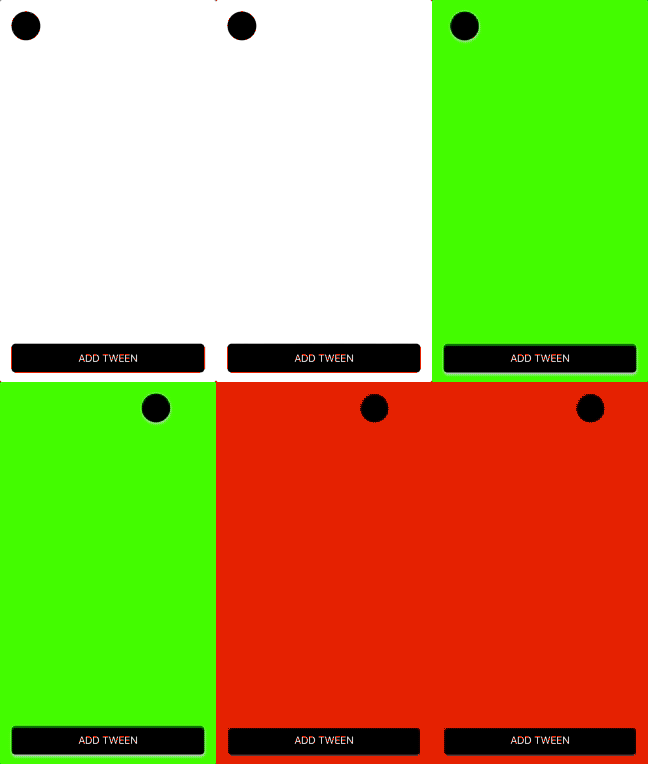 ### Remove and pause existing Tweens in the Engine You can pause, resume and remove existing tweens: For all existing tweens: ```swift Tweener.pauseAllTweens() Tweener.resumeAllTweens() Tweener.removeAllTweens() ``` By target: ```swift Tweener.pauseTweens(target:myView) Tweener.resumeTweens(target:myView) Tweener.removeTweens(target:myView) ``` By specific properties of a target: ```swift Tweener.pauseTweens(target:myView, keys:[\UIView.backgroundColor, \UIView.alpha]) Tweener.resumeTweens(target:myView, keys:[\UIView.backgroundColor, \UIView.alpha]) Tweener.removeTweens(target:myView, keys:[\UIView.backgroundColor, \UIView.alpha]) ``` Unleash your creativity! Touch point sample: 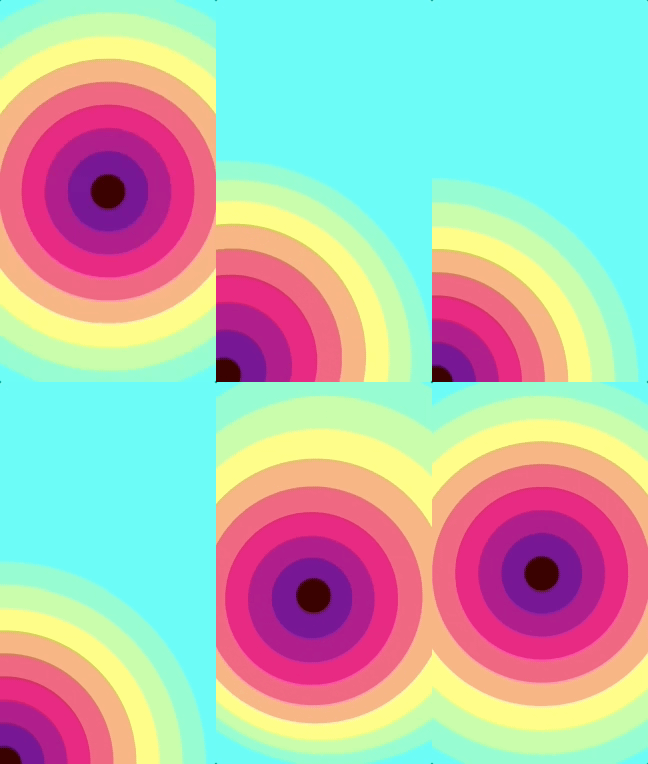 Drag views sample: 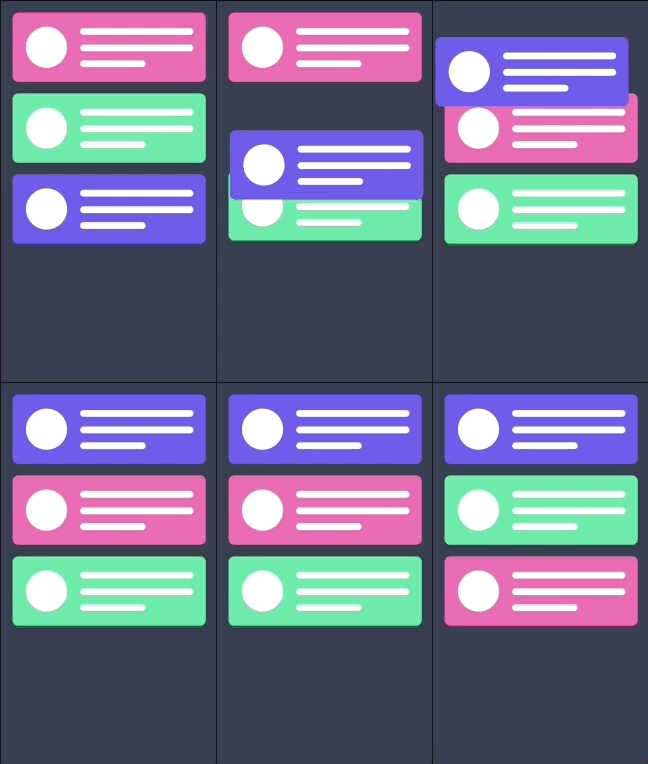 Pause tweens sample:  ### Easing This engine is based on Robert Penner's [Easing equations](http://robertpenner.com/easing/) 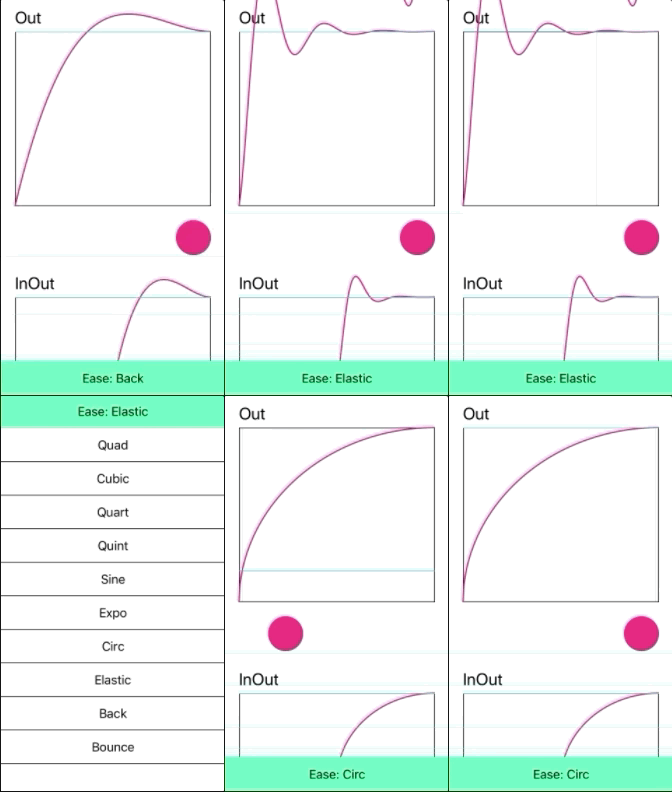 To create a custom easing equation: ```swift extension Ease{ public static let custom = Ease(equation:{ (t, b, c, d) in //Play with code here! if t < d/2 {return Ease.inBack.equation(t*2, b, c/2, d)} return Ease.outElastic.equation((t*2)-d, b+c/2, c/2, d) }) } ``` And use it: ```swift Tween(myView) .ease(.custom) .to(.key(\.frame, CGRect(x:20.0, y:20.0, width:280.0, height:280.0))) .play() ``` ### Timeline Add a Tween or animate with Timeline? It depends on what do you want, a Tween only animates “to” desired value taking the current value of the property as origin, that allows your App to be more dynamic, each Tween is destroyed immediately after completing the animation. Timeline stores “from” and “to” values of each Tween, contains a collection of reusable Tweens, to create Timeline and add Tweens use this code: ```swift let myTimeline = Timeline() .add( myTween1, myTween2 //etc... ) .play() ``` You can interact with Timeline play modes, the default value is Play once, it stops when finished, to change Tmeline play mode: Loop, repeat forever ```swift myTimeline.playMode(.loop) ``` 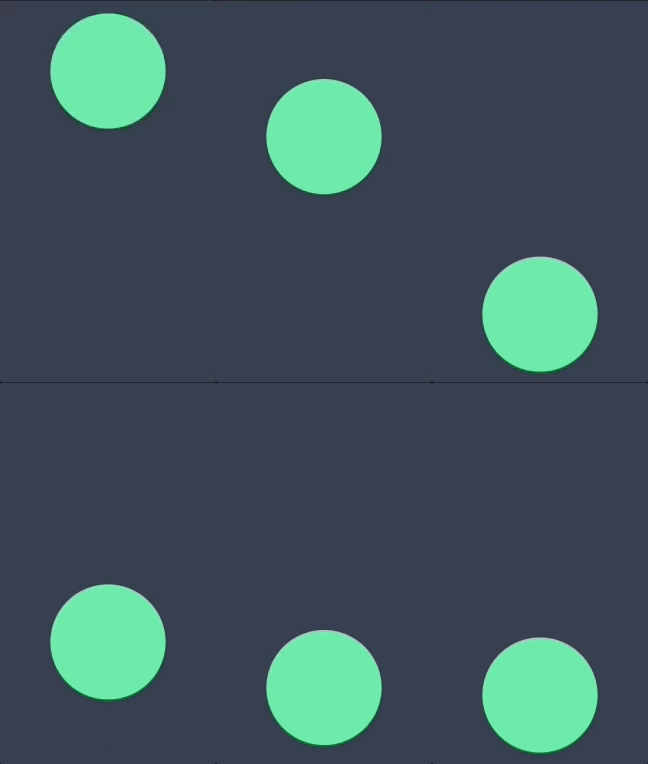 Ping Pong, forward and reverse ```swift myTimeline.playMode(.pingPong) ``` 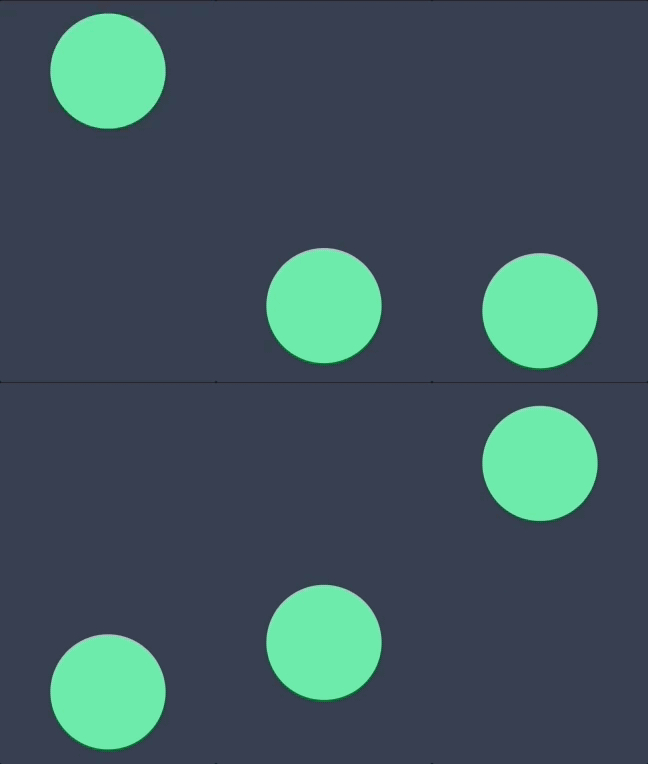 To remove a Timeline from Engine simply call stop(). ```swift myTimeline.stop() ``` Perform parallax scrolling effects controlling your timeline with UIScrollView: 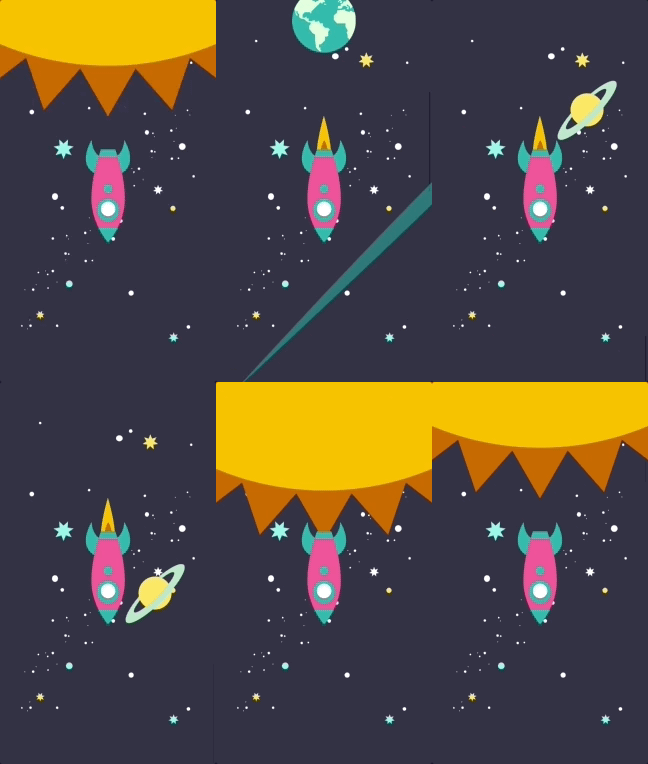 ### TimelineInspector You can use the Timeline inspector to debug and edit Tweens Visualize Tweens in real time: 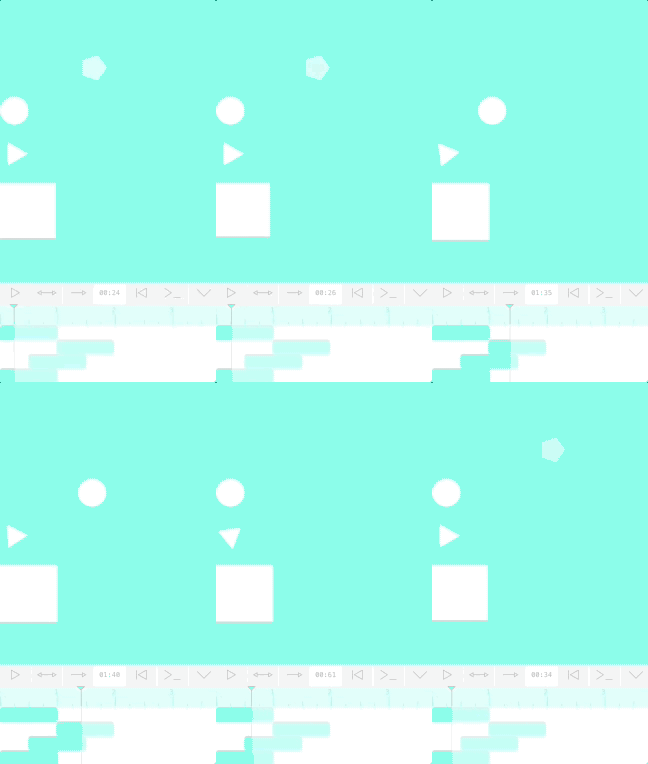 Edit Tweens: 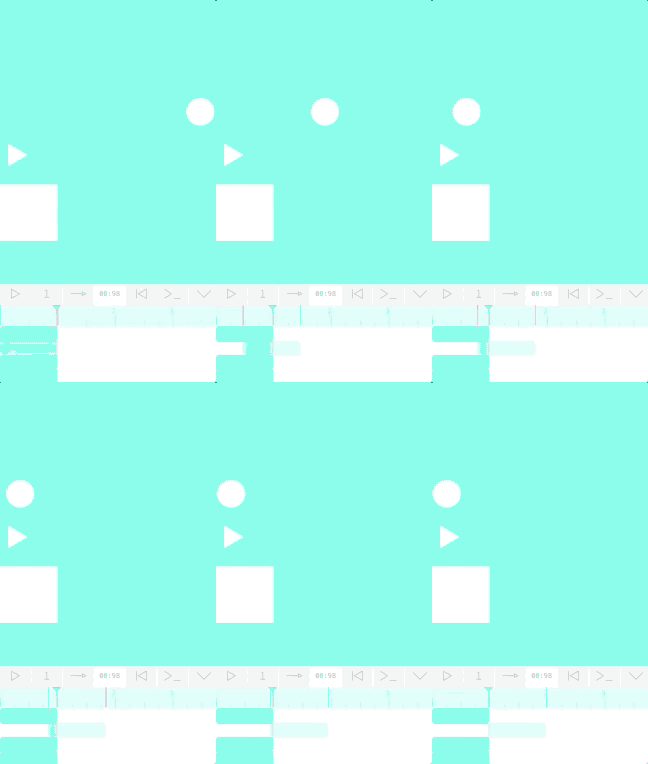 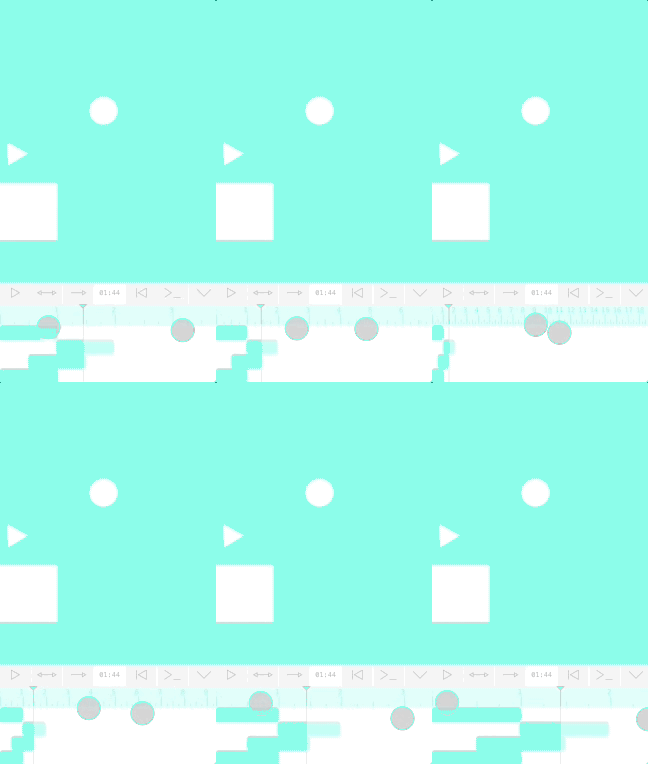 To create Timeline inspector: ```swift let myInspector = TimelineInspector(timeline:myTimeline) addSubview(myInspector) ``` ### PDFImageView Cut with the image dependency and easily import your vector assets using PDFImageView, forget to export to SVG and other formats iOs offers native support for PDF with CoreGraphics, this class simply renders one pdf inside a UIImageView To load your asset named "bee.pdf" from App bundle: ```swift let myAsset = PDFImageView(bundlename:"bee") addSubview(myAsset) ``` You can increase or reduce the size of your assets with a simple property: ```swift myAsset.scale = 1.5 ``` ### Aims Create more complex and impressive animations using Aims 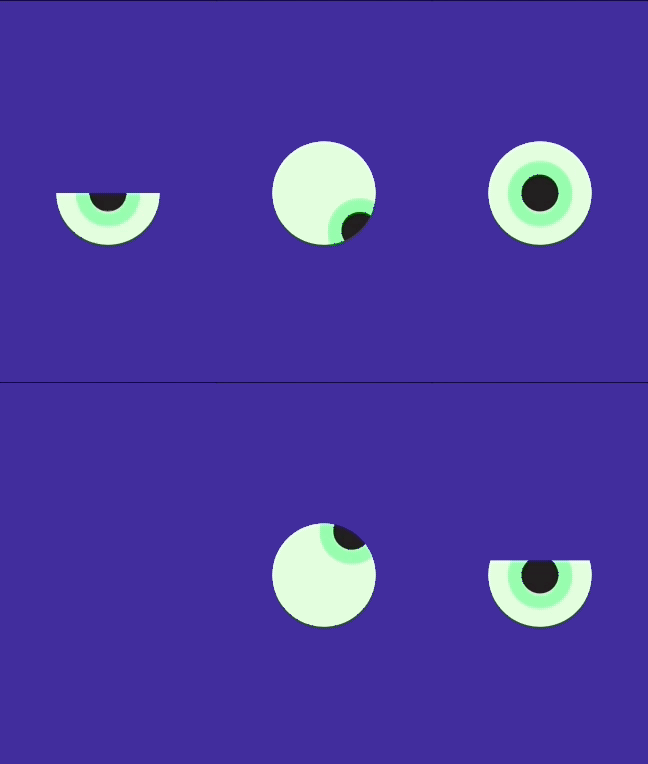 ### PathAim Control motion with paths:  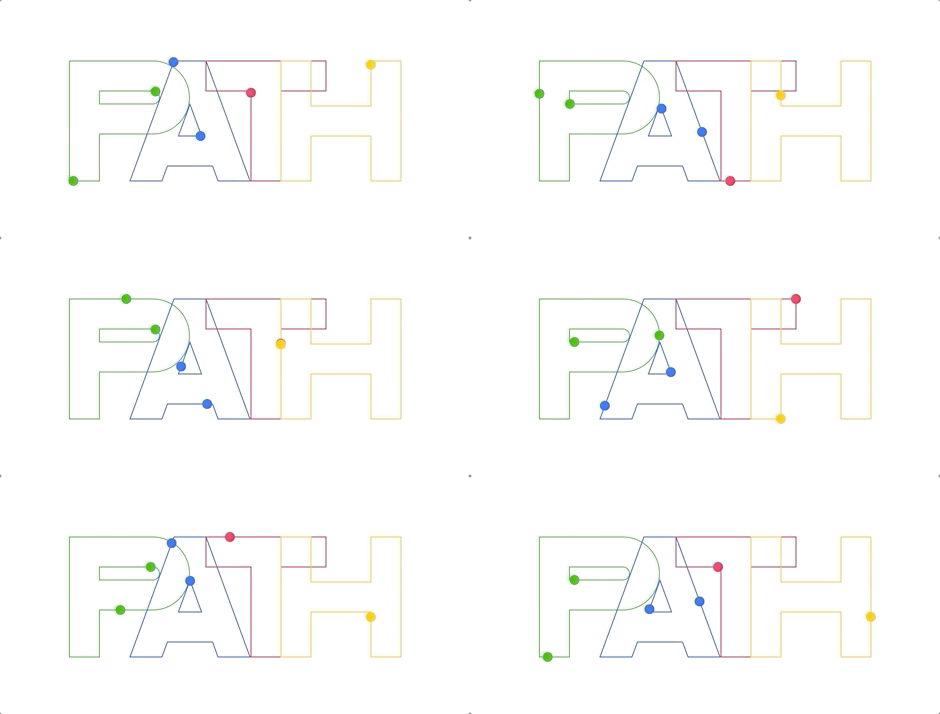 ```swift let myPathAim = PathAim(target:myAsset) myPathAim.path = myBezierPath ``` To change location at path change this property value: ```swift myPathAim.interpolation = 0.5 ``` And simply animate path interpolation: ```swift Tween(myPathAim) .from(.key(\.interpolation, 0.0)) .to(.key(\.interpolation, 1.0)) .play() ``` You can export your paths to code from illustrator with this simple Script: https://github.com/alexrvarela/generatePathCode ### RotationAim Animate rotation of any view  ```swift let myRotationAim = RotationAim(target:myView) Tween(myRotationAim) .from(.key(\.angle, 90.0)) .to(.key(\.angle, 360.0)) .play() ``` ### ArcAim Create Arc animations 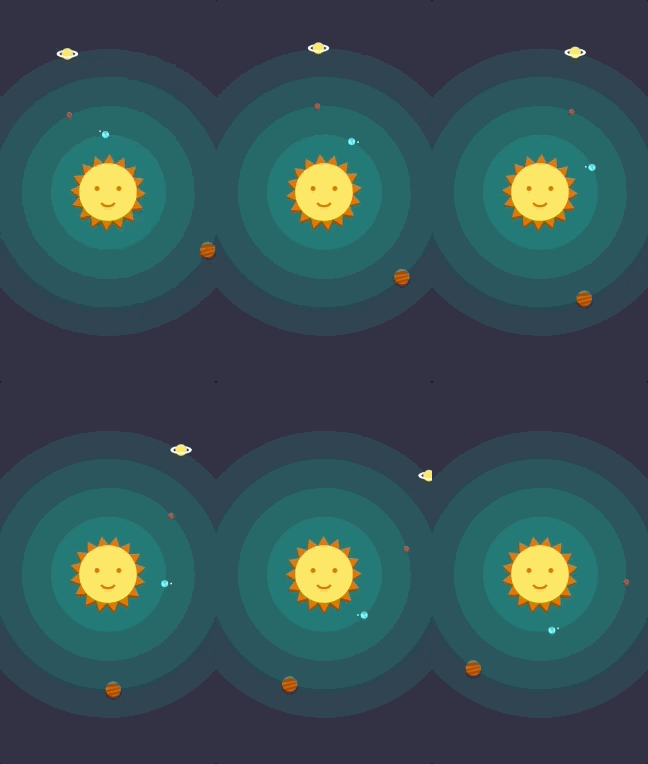 ```swift let myArcAim = ArcAim(target:myView) //Set desired radius myArcAim.radius = 100.0 //Animate arc angle Tween(myArcAim) .from(.key(\.arcAngle, 0.0)) .to(.key(\.arcAngle, 360.0)) .play() ``` ### StringAim Animate text transitions 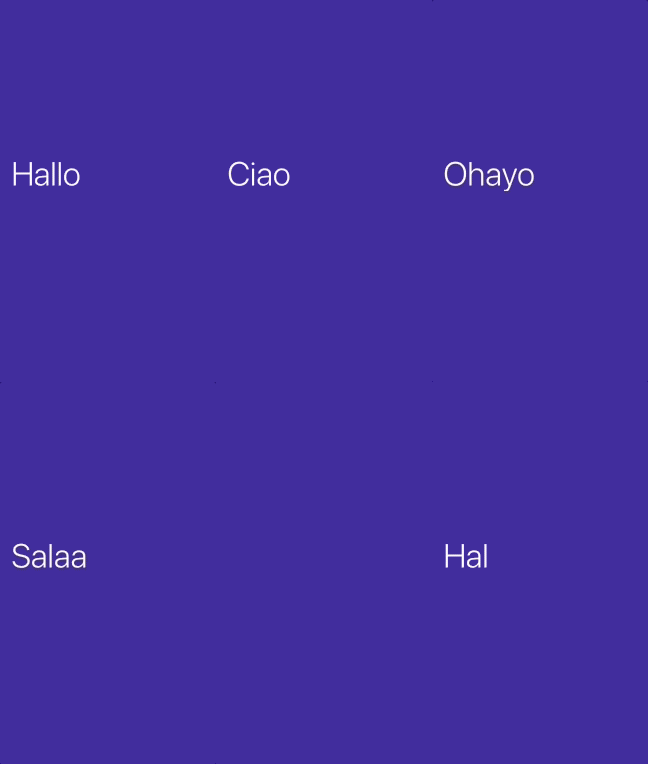 ```swift //Create string aim let stringAim = StringAim(target:myUILabel, keyPath:\UILabel.text) stringAim.from = "hello" stringAim.to = "hola" //Set initial interpolation stringAim.interpolation = 0.0 //Animate, using timeline to repeat forever. Timeline( //Create tween with StringAim target and animate interpolation. Tween(stringAim) .delay(0.5) .duration(0.5) .from(.key(\.interpolation, 0.0)) .to(.key(\.interpolation, 1.0)) .onComplete { self.swapText() } ) .mode(.loop) .play() ``` Play with everything, combine different types of Aim: 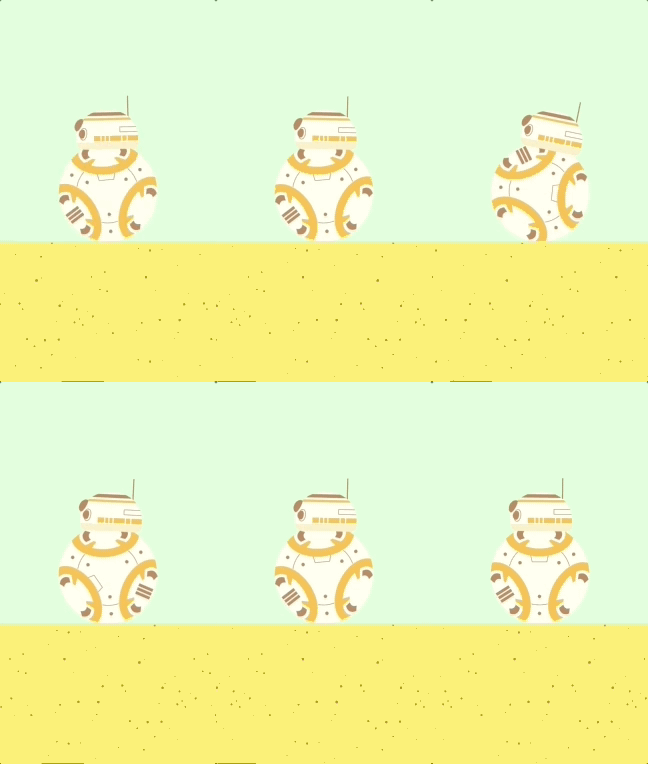 ### TweenVisualizer Visualize all tweens and timelines in real time Create a TweenVisualizer and attach it to Tweener's update loop : ```swift let visualizer = TweenVisualizer() visualizer.center = viewController.view.center Tweener.addVisualizer(visualizer) //Add to UIView addSubview(visualizer) ``` To detach visualizer from update loop just use this code: ```swift Tweener.removeVisualizer(visualizer) ``` 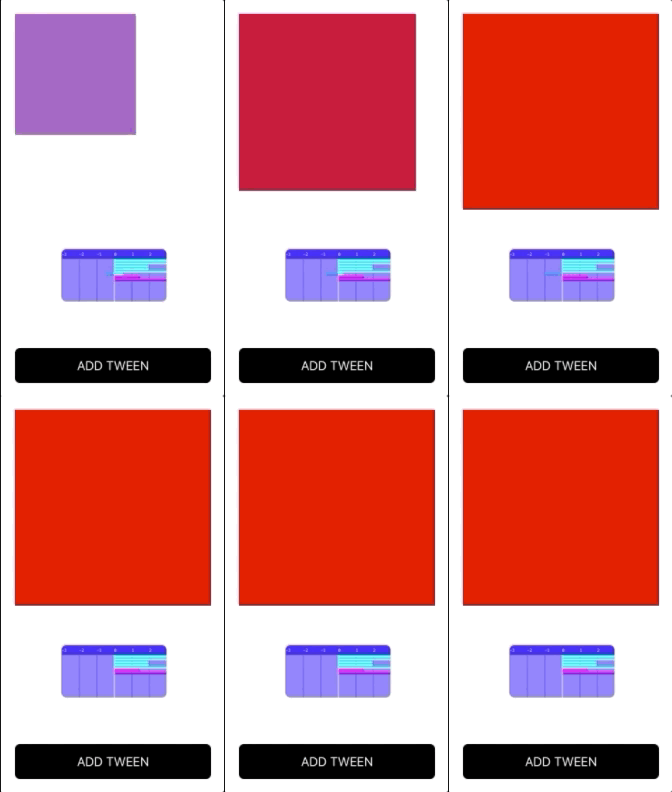 Also, you can drag, pinch and resize visualizer at your convenience, to resize just drag the bottom-right corner: 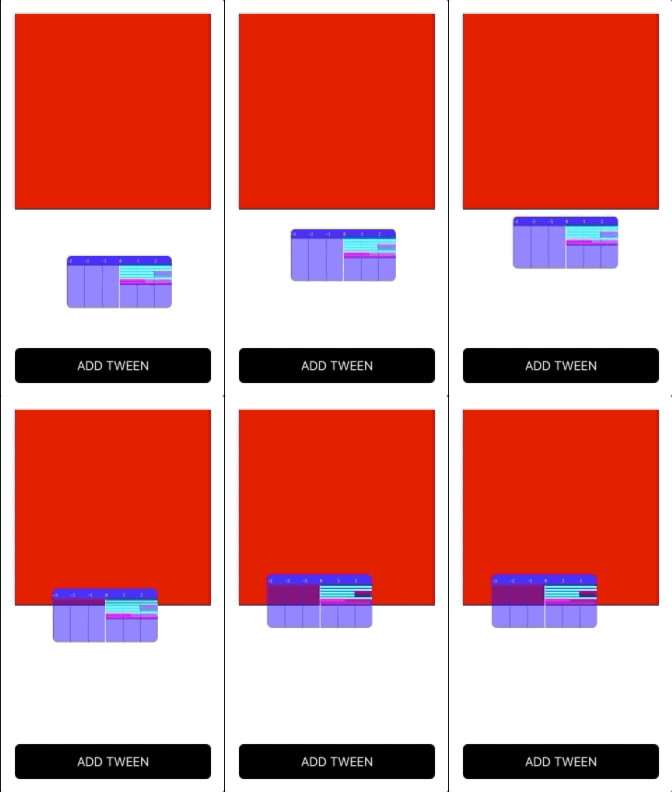  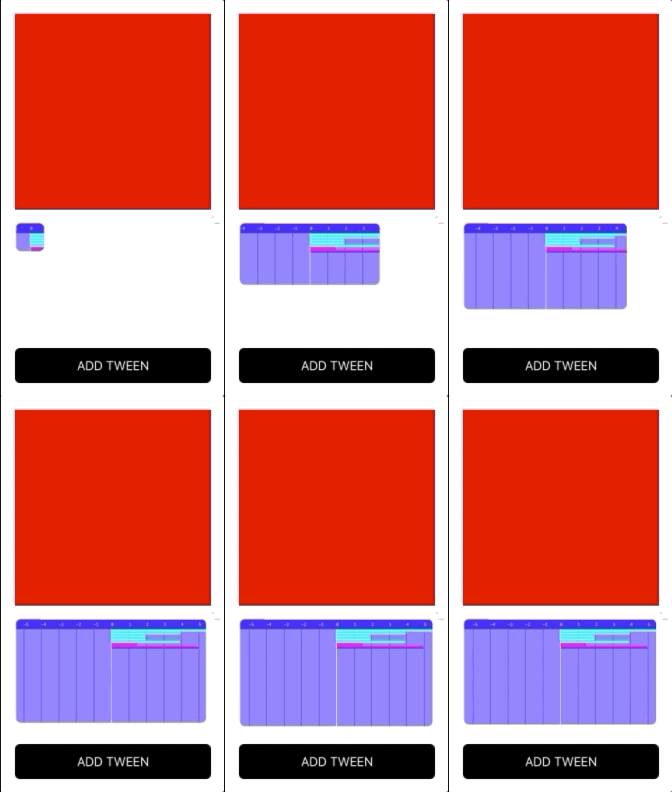 This library was created to give dynamism to UI elements, if you are looking to make more complex animations I recommend you implement them with [Lottie](https://airbnb.design/lottie/). ## Contributions Pull requests are welcome! The next release will include: SwiftUI samples, watchOs & tvOs samples and unit tests. ## Authors * **Alejandro Ramírez Varela** - *Initial work* - [alexrvarela](https://github.com/alexrvarela) ## License This project is licensed under the MIT License - see the [LICENSE](LICENSE) file for details ## Acknowledgments * Based on [Robert Penner](http://robertpenner.com) [Easing functions](http://robertpenner.com/easing/) * Based on [Tweener](https://github.com/zeh/tweener), AS3 Library by [Zeh Fernando](https://github.com/zeh), Nate Chatellier, Arthur Debert and Francis Turmel * Ported by [Alejandro Ramirez Varela](https://github.com/alexrvarela) and released as open source in 2019
