KO
|
EN
gitlite — search
Search
#python
#javascript
#pytorch
#hacktoberfest
#ethereum
#nodejs
#cli
#game
#reactjs
#ruby
#python3
#matlab
Godot-Voxel-Level-Editor
★ 38
Open GitHub ↗
No description available.
Download README (.md)
Explore Similar Repositories
pystark
:
Docs - https://pystark.codes
CORE
:
[SIGIR'22] Official PyTorch implementation for "CORE: Simple and Effective Session-based Recommendation within Consistent Representation Space".
go_inkwasm
:
Faster alternative to `syscall/js`. Code-generated Javascript and Assembly, up to 2x faster than native syscall/js.
RepoPromotion
:
A frontend page that displays the star and fork options by the repository. Don't forget to star 🌟 this repository.
rubocop-gradual
:
Gradually improve your code with RuboCop
// repository documentation
Was this content helpful?
★ 0
(0 ratings)
Select Rating:
★
★
★
★
★
Submit Feedback
Recent Feedback
×
Download README
Do you want to download the
README.md
file for
Godot-Voxel-Level-Editor
?
Download (.md)
# Godot-Voxel-Level-Editor Level Editor Plugin for Godot 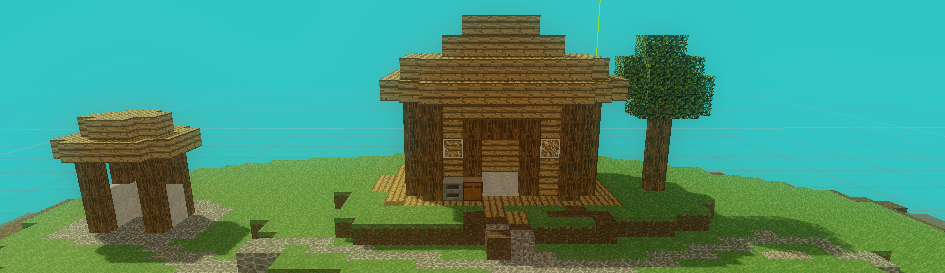 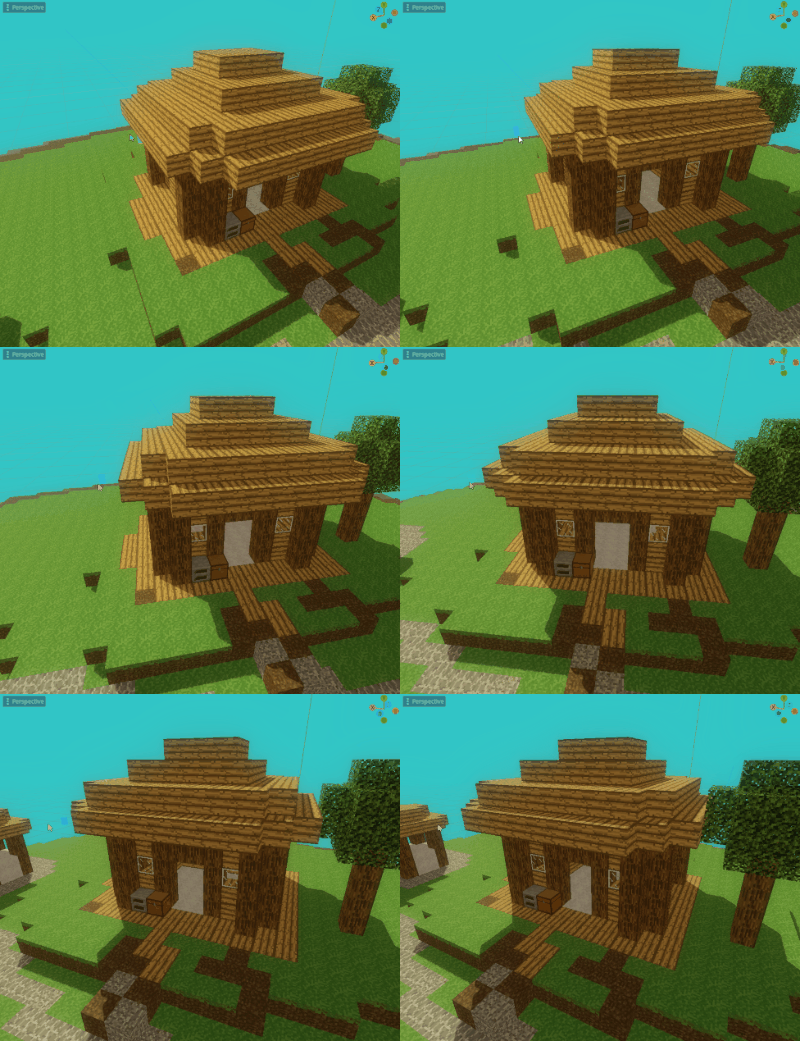 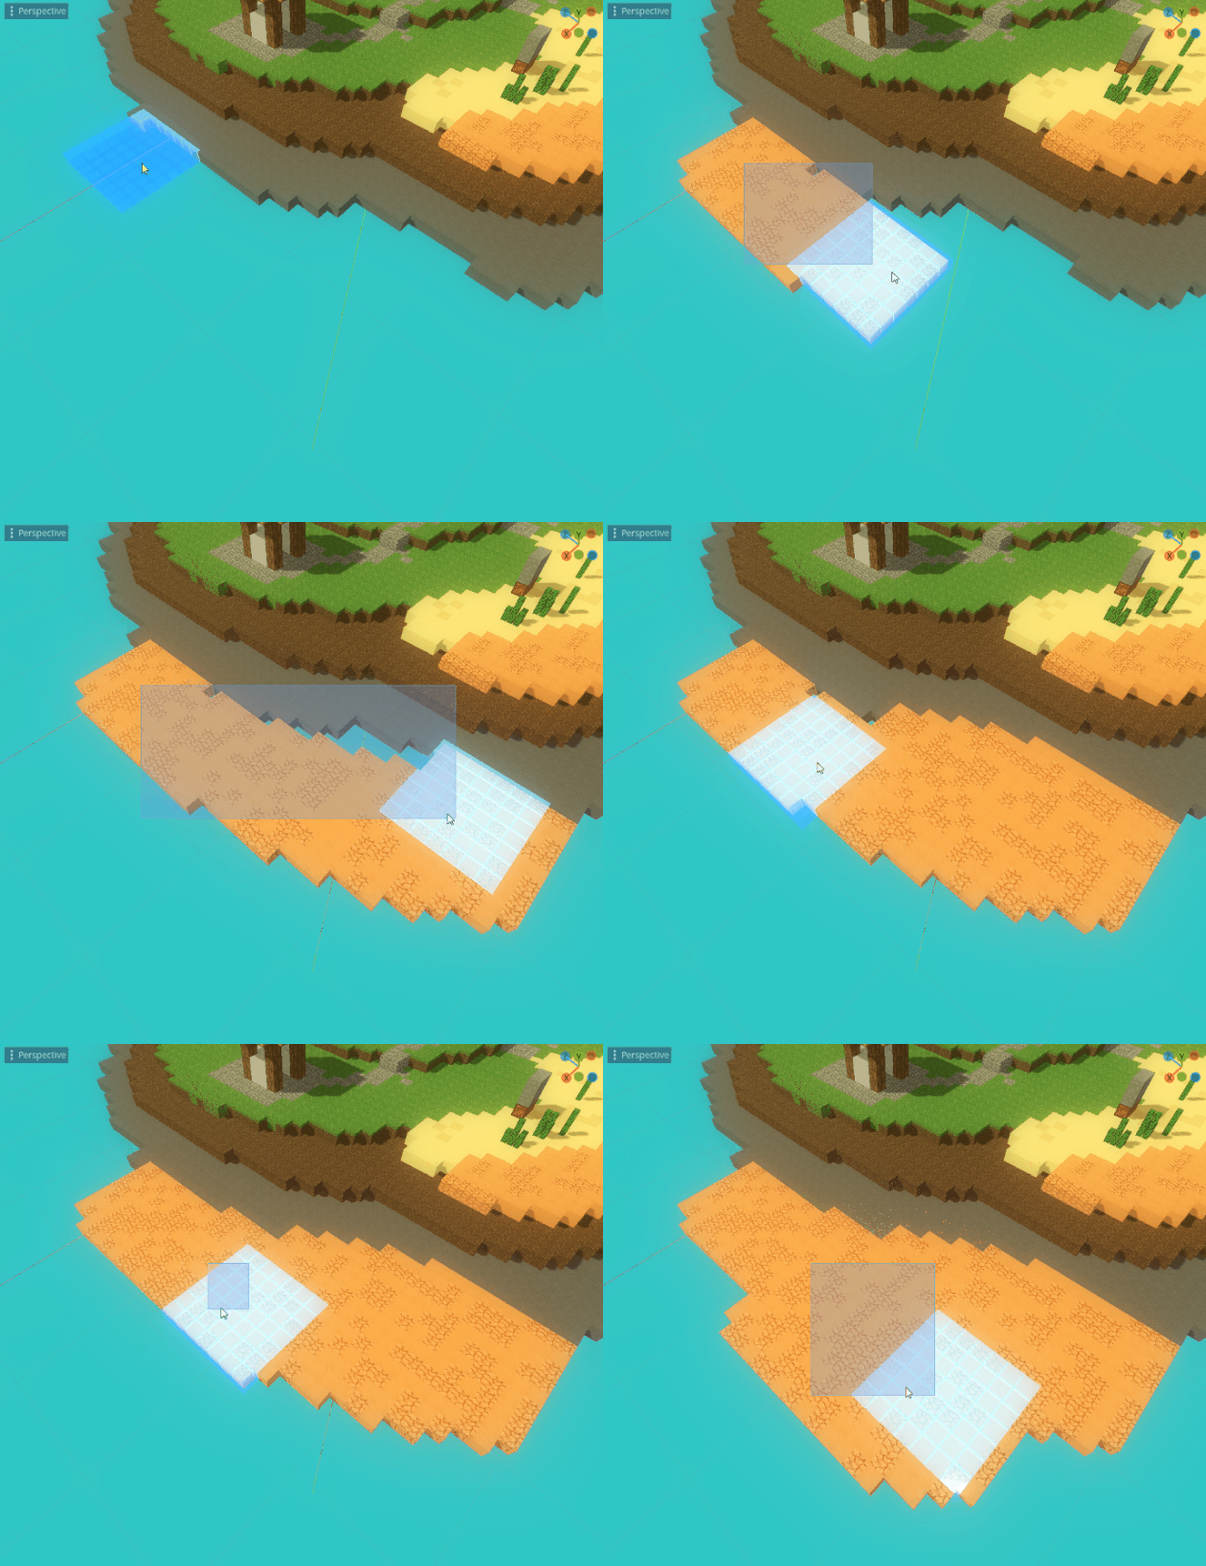 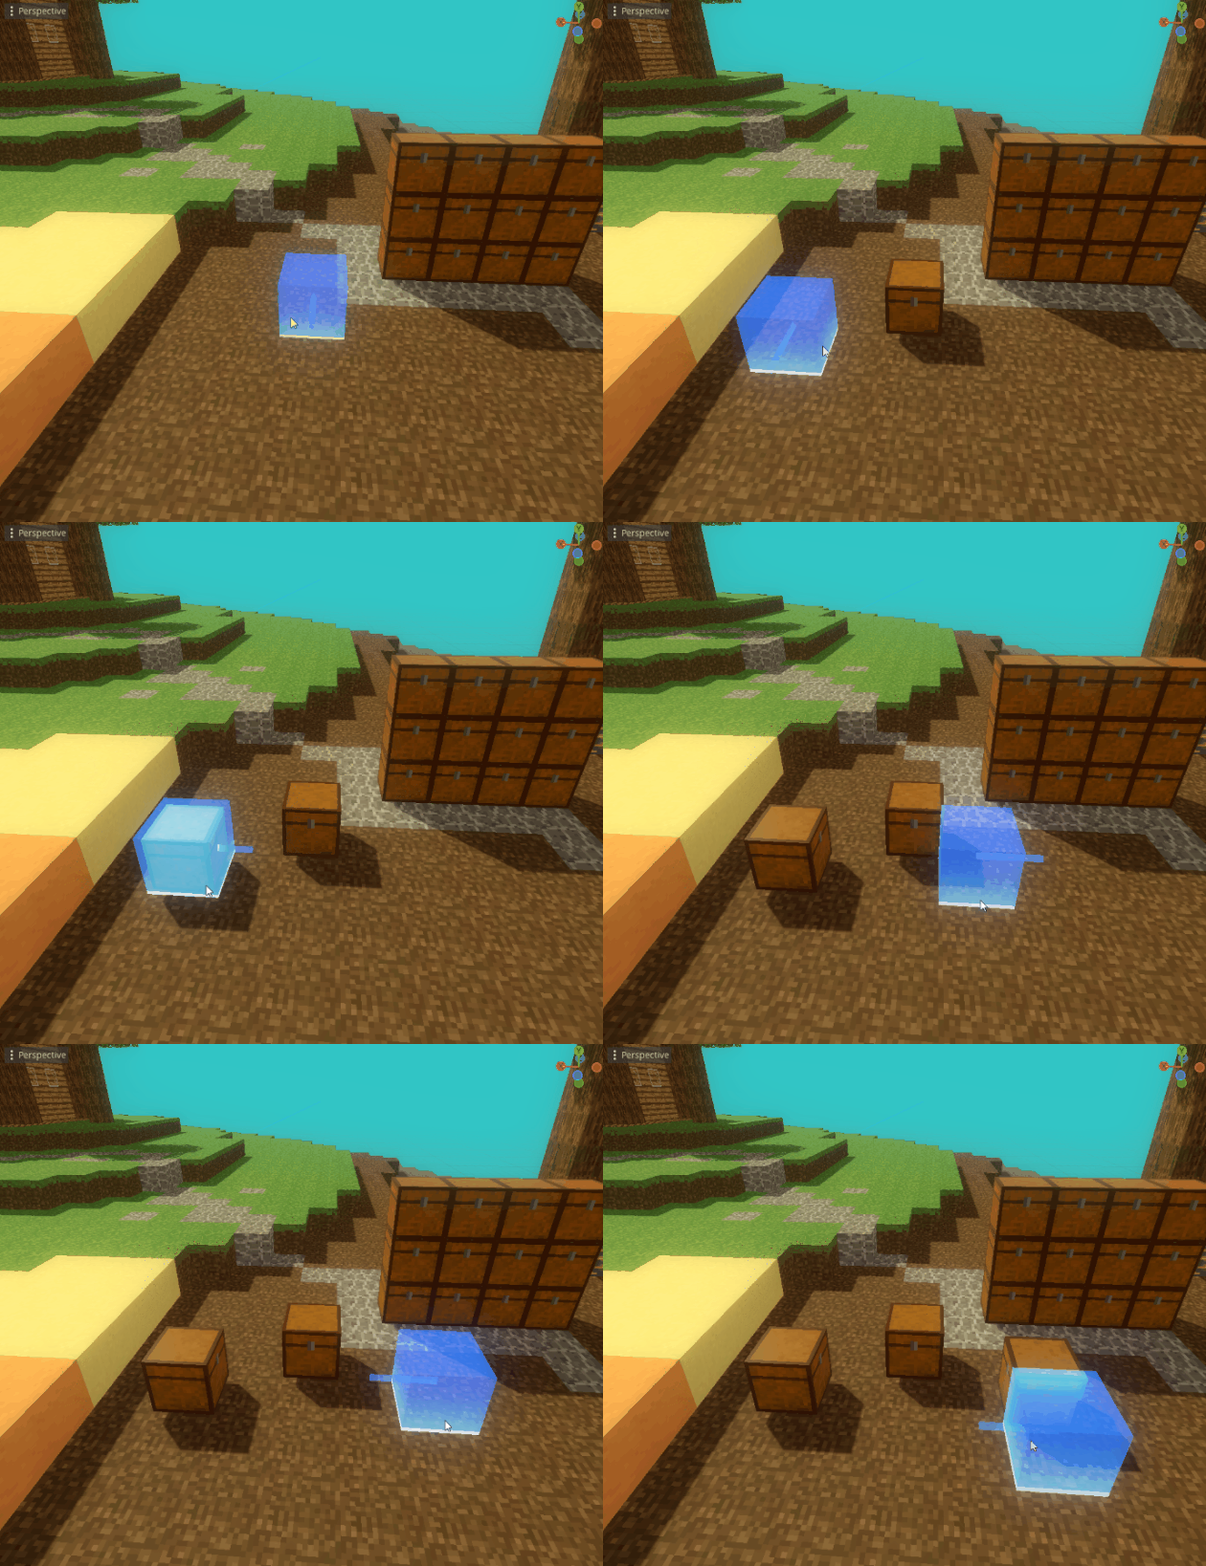 ## 1 - Description: This is a Plugi-in I made for the Godot Game Engine. It is a in-editor voxel editor plugin. ## 2 - Features: - Multiple Brush Sizes - Backface Culling for optimization and inidividual face drawing - Robust chunk system for loading/unloading chunks - multi-threaded chunk loading/unloading based on player position - Object/Block separation. This plugin understands blocks as individual faces, whilst objects as scenes that can be instanced - Object Rotation - All the textures are in one big atlas to optimize draw calls. The atlas textures also support texture separation. - It supports low and high res textureses - on the fly chunk creation and deletion. ## 3 - Controls: - <Z> and <X> to move the cursor Up and Down (changing layers) - <comma> and <period> to rotate objects (currently blocks cannot be rotated) - <left mouse click> to place blocks - <shift + left mouse click> to remove blocks ## 4 - How To Use import it into your own project: 1. Copy the addons folder into your project 2. Enable the plugin 3. Make a new scene. The root should be spatial3D, and must have the world_voxel.gd script in it 4. Make a child of this node called "Chunks", also spatial3D. Put the chunk_parent.gd script in it. 5. You should now be good to go. To add blocks, go to block_types.gd script and follow the instructions. same for objects. The instructions on the texture setup and such should be there. 6. To change texture sizes, tile sizes, or set separation between textures, modify the constants in chunk.gd 7. You may need to restart the editor for it to work. that's how godot plugins function for some reason. 8. This template is using the atlas_texture_material material. Changing it will change your atlas texture. The image used for it is the atlas_texture.png under the textures folder. 9. if you change your material, don't forget to also change its settings in chunk.gd. There, you can set: your atlas image size, your tile size, and also the separation between tiles. That way the code will know how to separate the textures in the atlas , and will draw your tiles accordingly 10. All of the project is commented and you can modify it to fit your needs. ##5 Known Issues: 1. Saving the scene takes long - The Godot Editor always give a "bad comparison function; sorting will be broken" error ## final notes: - There's an example scene into the project, called world.tscn. It has a camera, a functional player and a scene all set up If you have any questions, feel free to ask! [Twitter](https://twitter.com/pixelipy) [itch-io](https://pixelipy.itch.io/godot-voxel-level-editor) ## License [MIT](https://choosealicense.com/licenses/mit/)
