KO
|
EN
gitlite — search
Search
#python
#java
#python3
#arduino
#golang
#machine-learning
#rust
#html
#flask
#javascript
#seismology
#nodejs
xmrcheckout
★ 23
Open GitHub ↗
No description available.
Download README (.md)
Explore Similar Repositories
ai_cli_assistant
:
No description available.
SillyTavern-Persona-Management-Extended
:
No description available.
Qwen-Image-Edit-StreamDiffusion
:
No description available.
worlds
:
Various Vercel workflow world implementations
rospian-repo
:
ROS2 Jazzy on Raspberry OS Trixie debian repo
// repository documentation
Was this content helpful?
★ 0
(0 ratings)
Select Rating:
★
★
★
★
★
Submit Feedback
Recent Feedback
×
Download README
Do you want to download the
README.md
file for
xmrcheckout
?
Download (.md)
<p align="center"> <img src="ui/public/logo.png" width="120" alt="XMR Checkout logo" /> </p> # xmrcheckout.com Non-custodial Monero checkout software for merchants. Payments go directly from the customer to the merchant wallet. xmrcheckout is open source and self-hostable. It creates invoices, shows payment instructions, and watches the chain for incoming payments using view-only wallet access (address + secret view key). It can also notify your systems via API and webhooks. Hard rules: - It never requests or stores private spend keys. - It never signs transactions. - It never moves funds on behalf of users. - View-only access (wallet address + private view key) is the maximum trust boundary. ## Contents - [Who it's for](#who-its-for) - [What it does](#what-it-does) - [Trust model](#trust-model) - [Repository layout](#repository-layout) - [Screenshots](#screenshots) - [Quick start](#quick-start) - [Self-hosted deployment](#self-hosted-deployment-docker-compose) - [Self-hosted deployment (no Docker)](#self-hosted-deployment-no-docker) - [Development (API)](#development-api-python) ## Who it's for If you want Monero payments to go straight to your own wallet, this is for you. Common fits: - A merchant who wants a clean hosted checkout UI (self-hosted by you). - A team that wants API + webhooks to plug into an existing order flow. - Anyone who prefers a conservative trust model (view-only access for detection). ## What it does Typical flow: 1. Your integration creates an invoice (defined in XMR). 2. The UI shows payment instructions (address + amount). 3. The system observes the chain using view-only wallet access to detect payments and update invoice status. 4. Optional integrations (for example webhooks) can be used to trigger your internal order flow. Not included (by design): - It does not provide custody, refunds, or any fund-moving automation. - It does not act as a financial intermediary. - It does not touch fiat rails in the core system. ## Trust model - Funds always move from the customer to the merchant wallet; xmrcheckout only observes the chain and reports status. - You keep spend authority. The maximum permission level xmrcheckout uses is view-only wallet access (wallet address + private view key). - If any configuration or integration implies spend authority, treat it as a misconfiguration and stop. ## Repository layout - `ui/`: web UI - `api/`: API service (Python) - `docker-compose.yml`: local stack and self-hosted deployment - `nginx/`: optional reverse proxy / TLS termination (used by Docker Compose) ## Screenshots Post-login UI: ### Dashboard 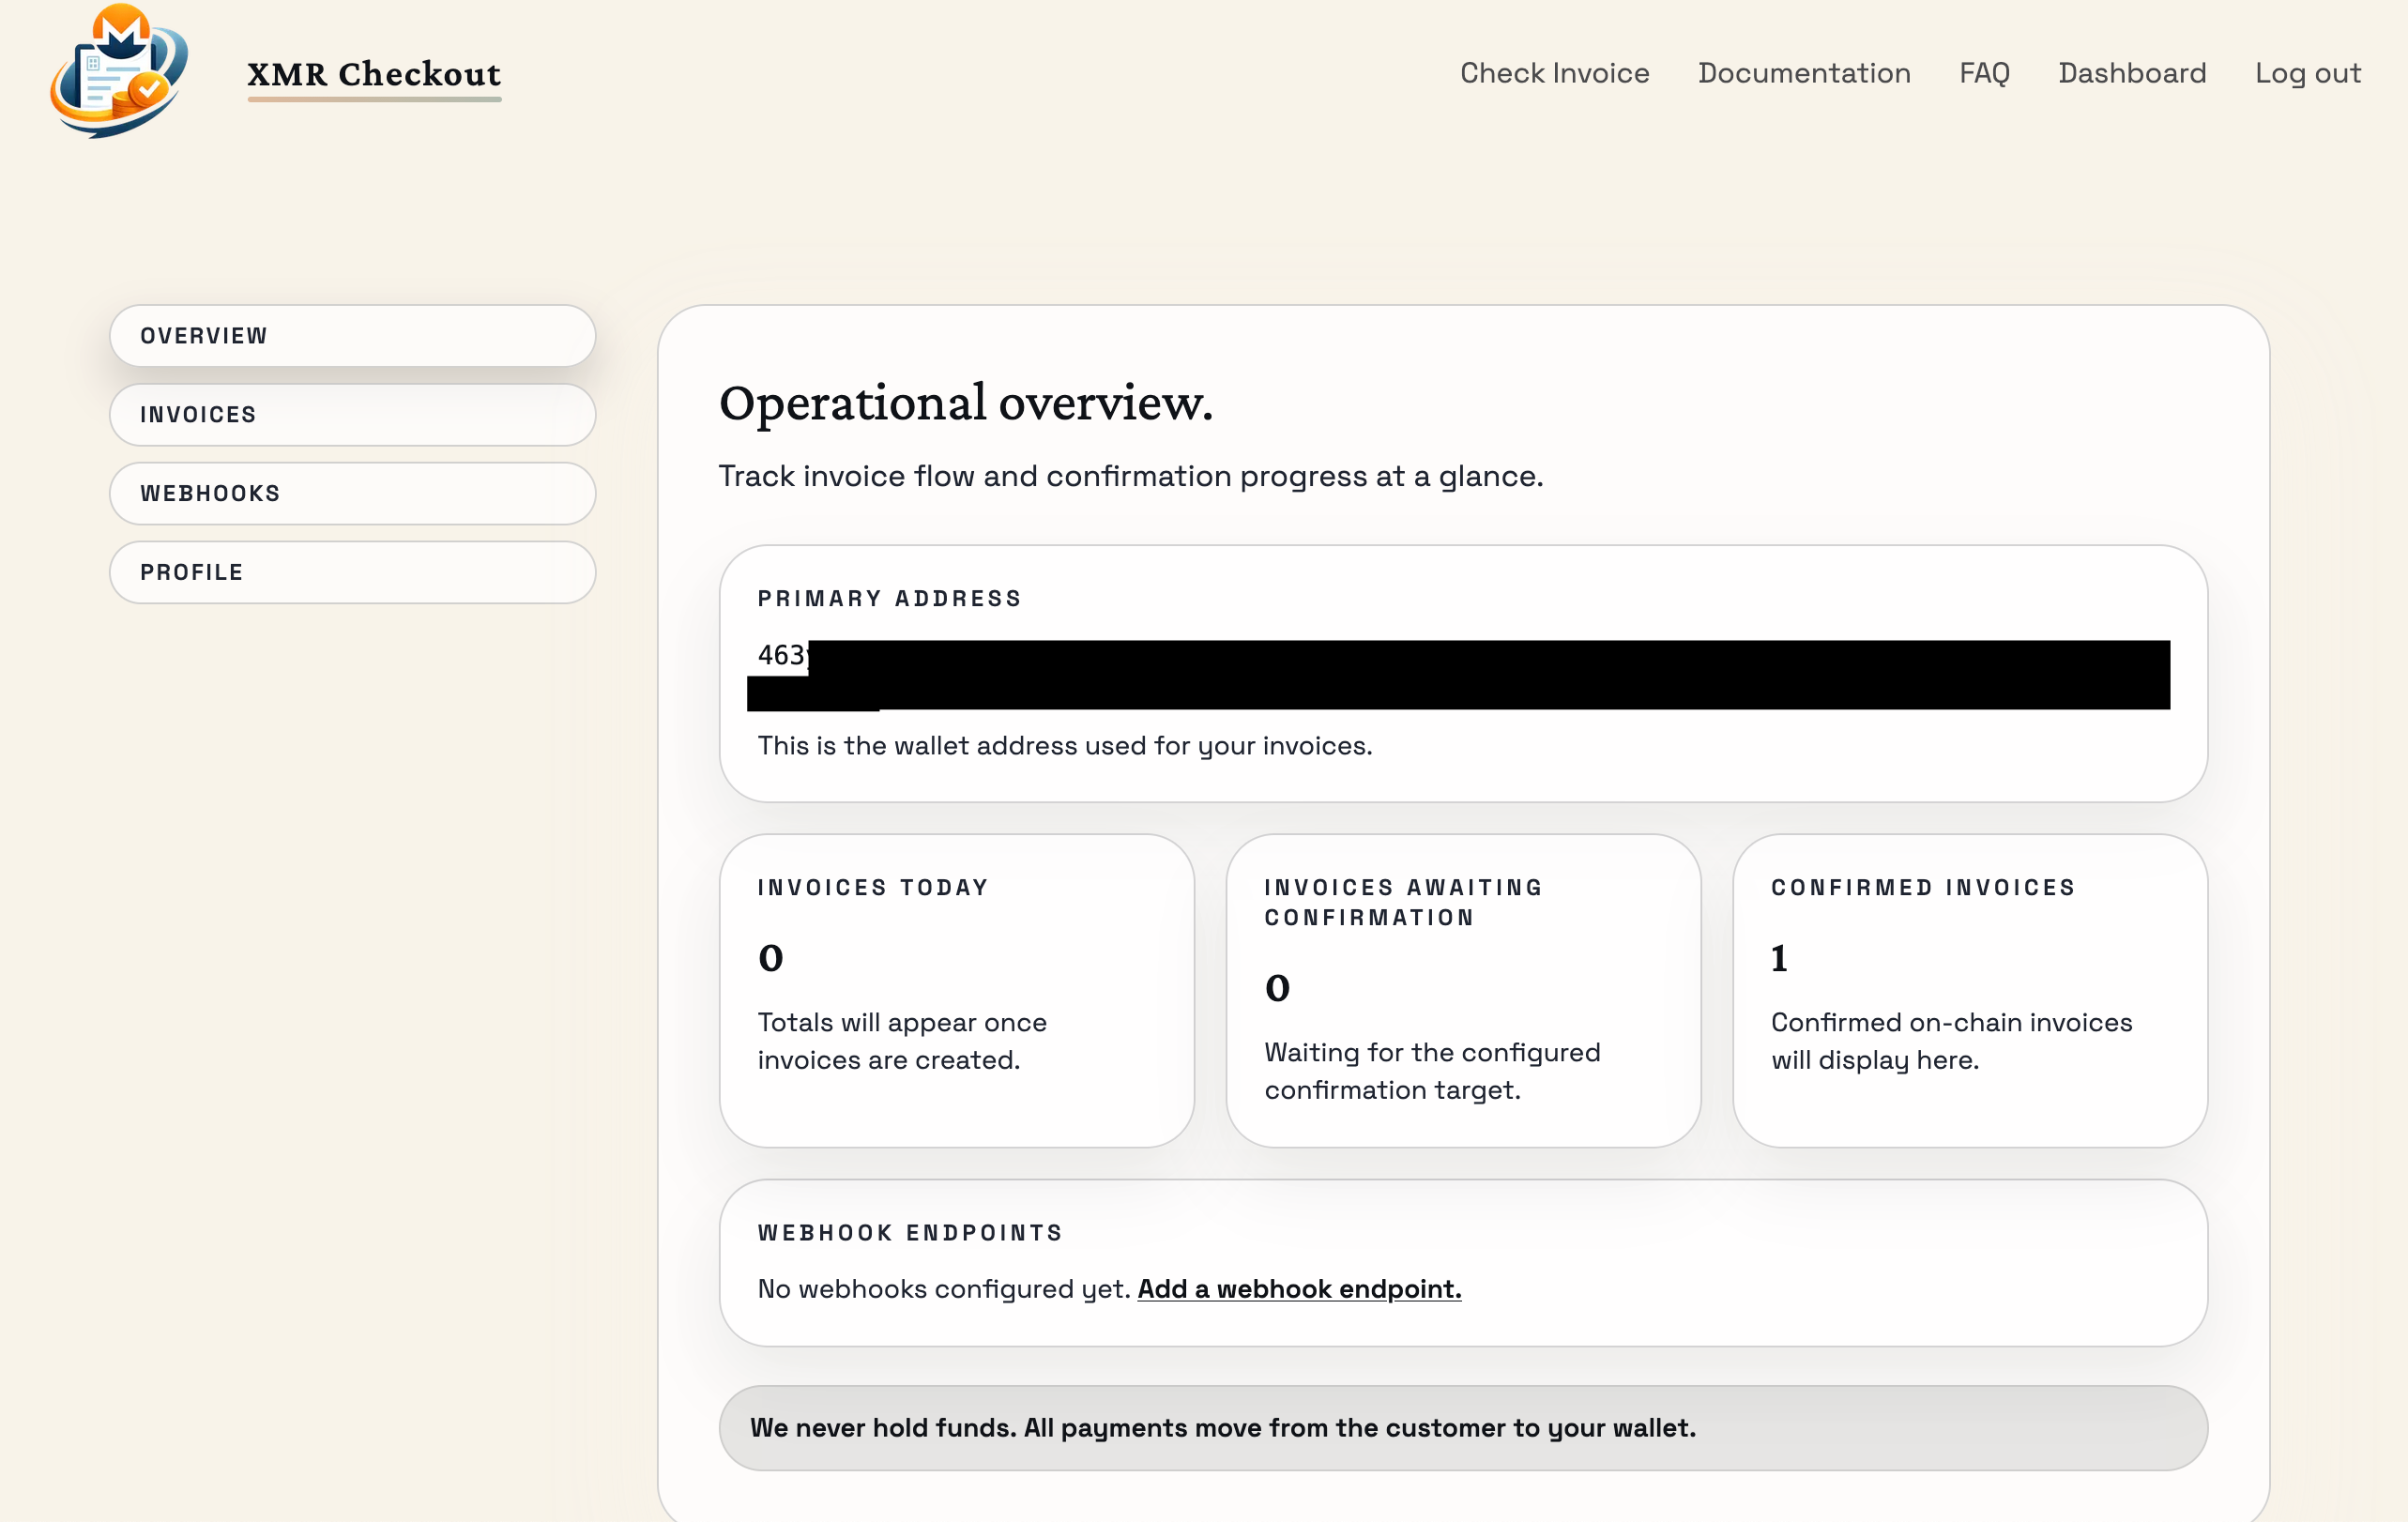 ### Invoices 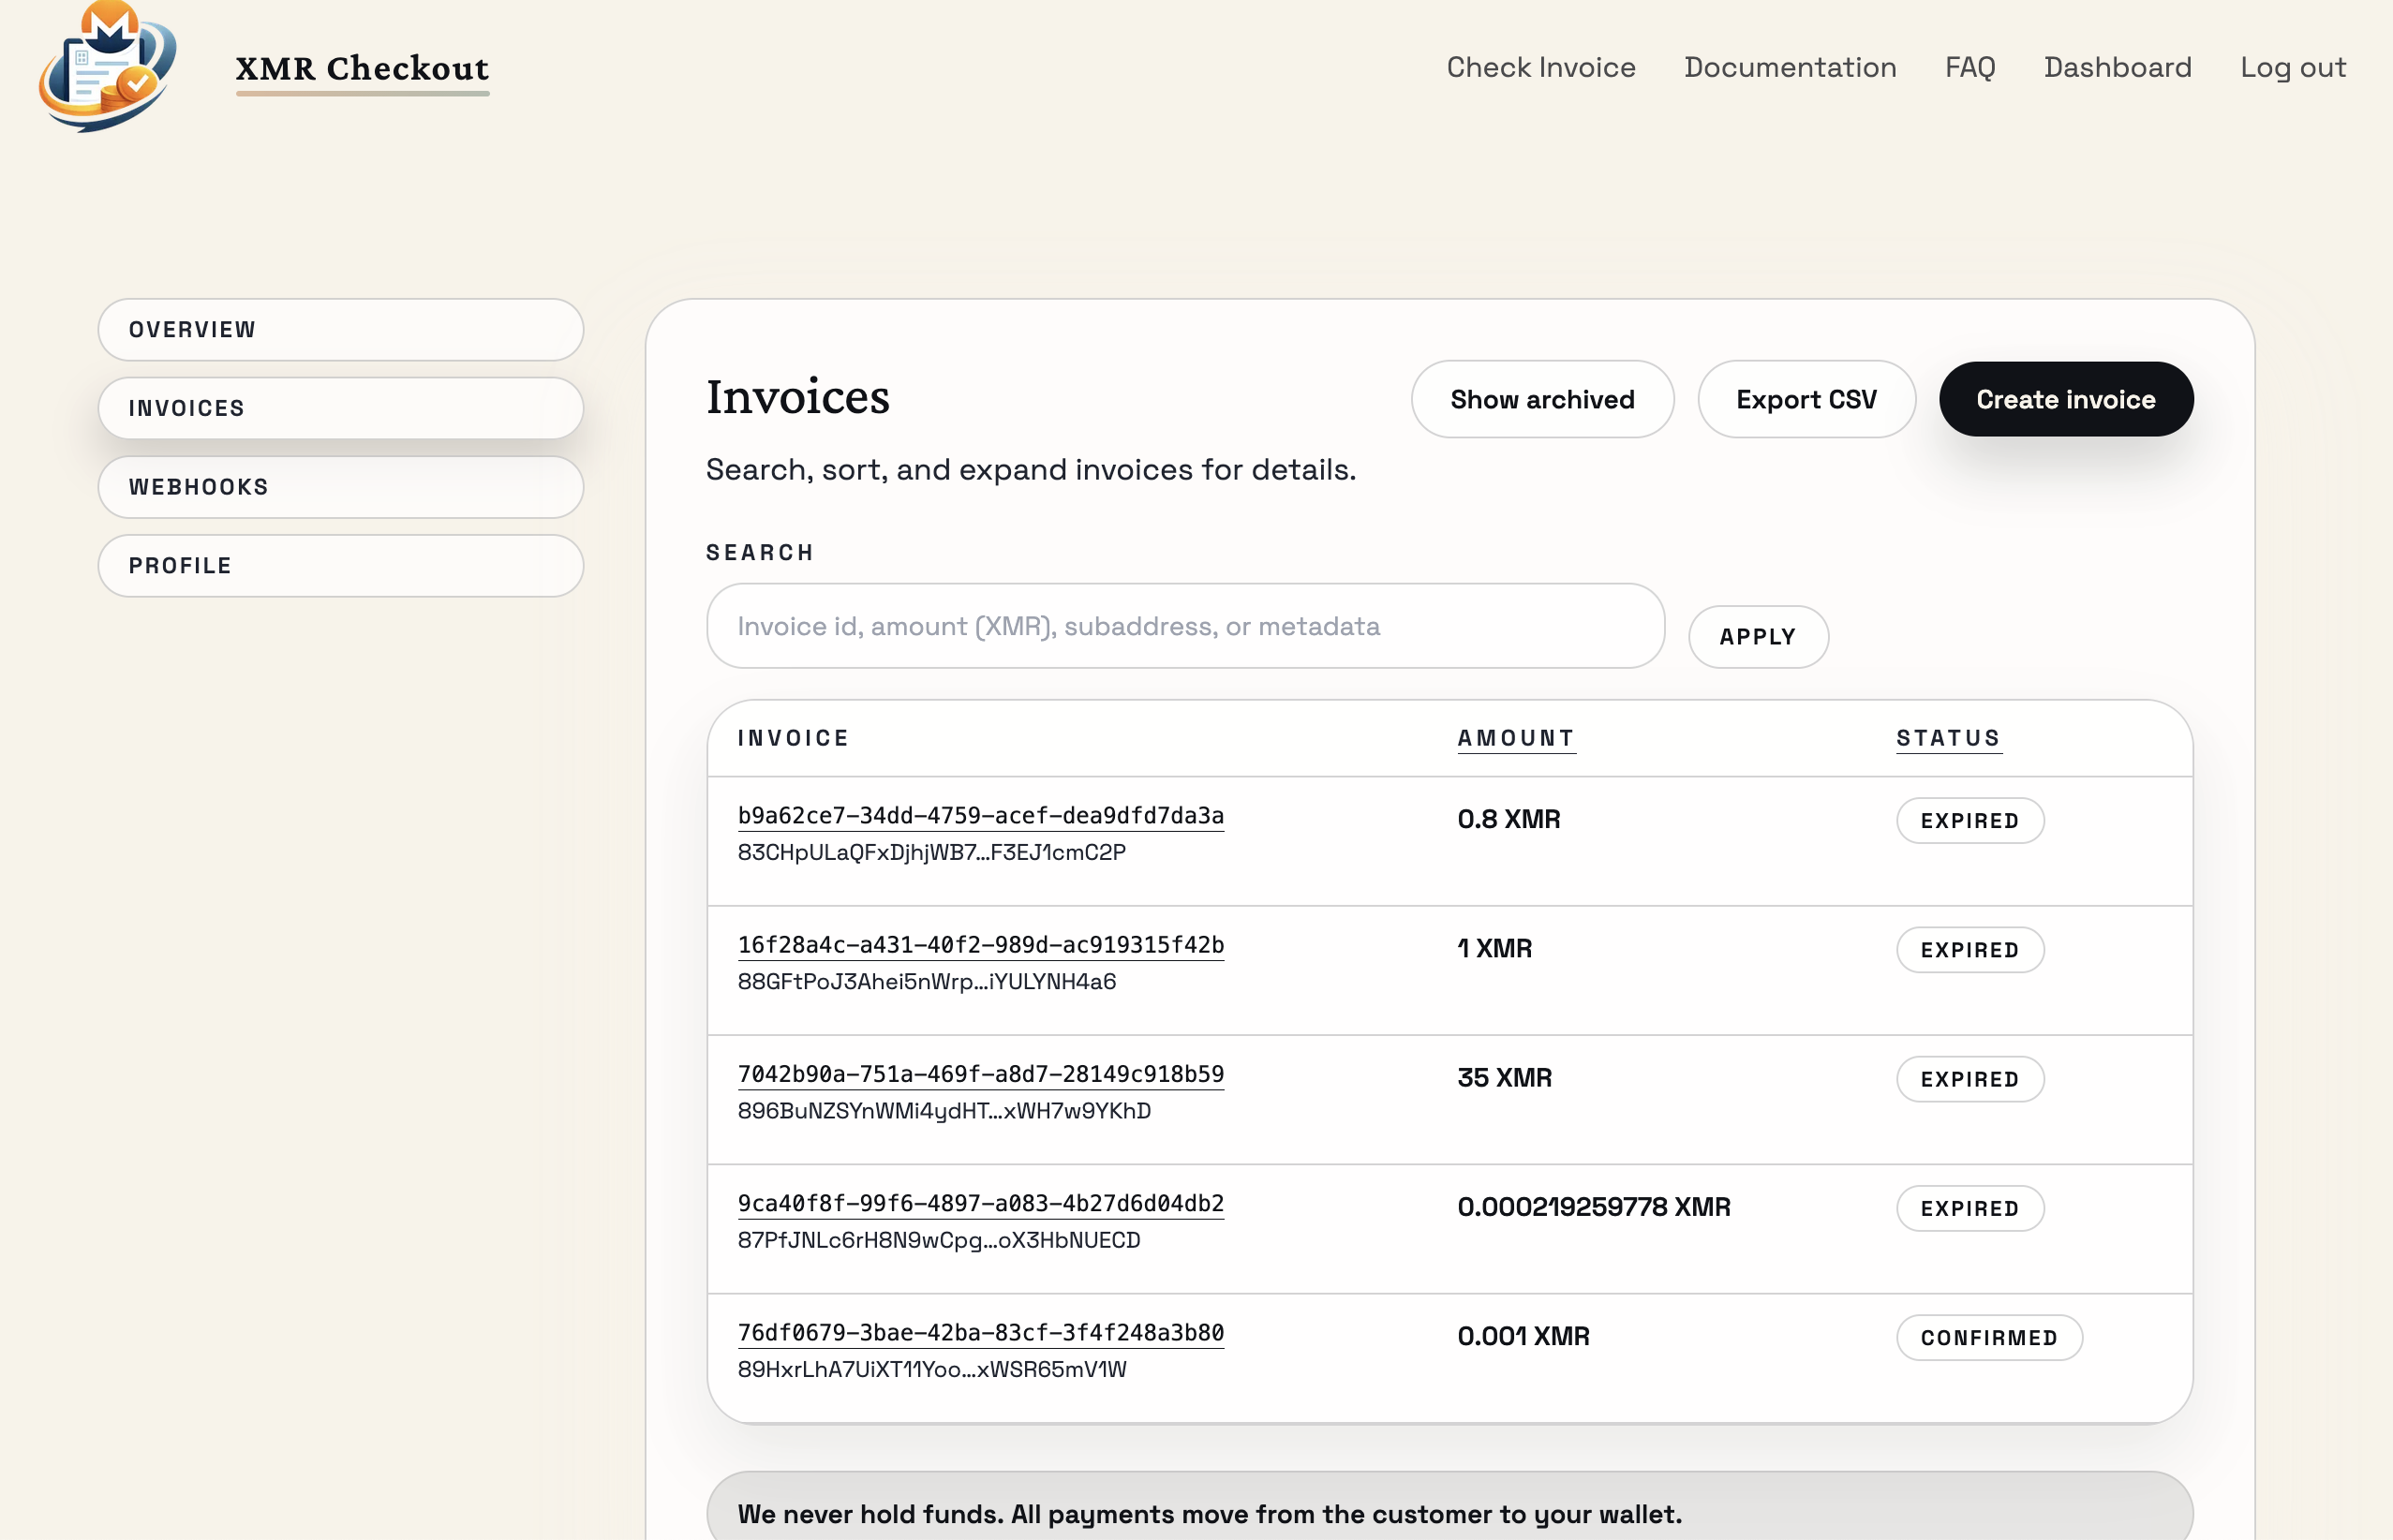 ### Create invoice 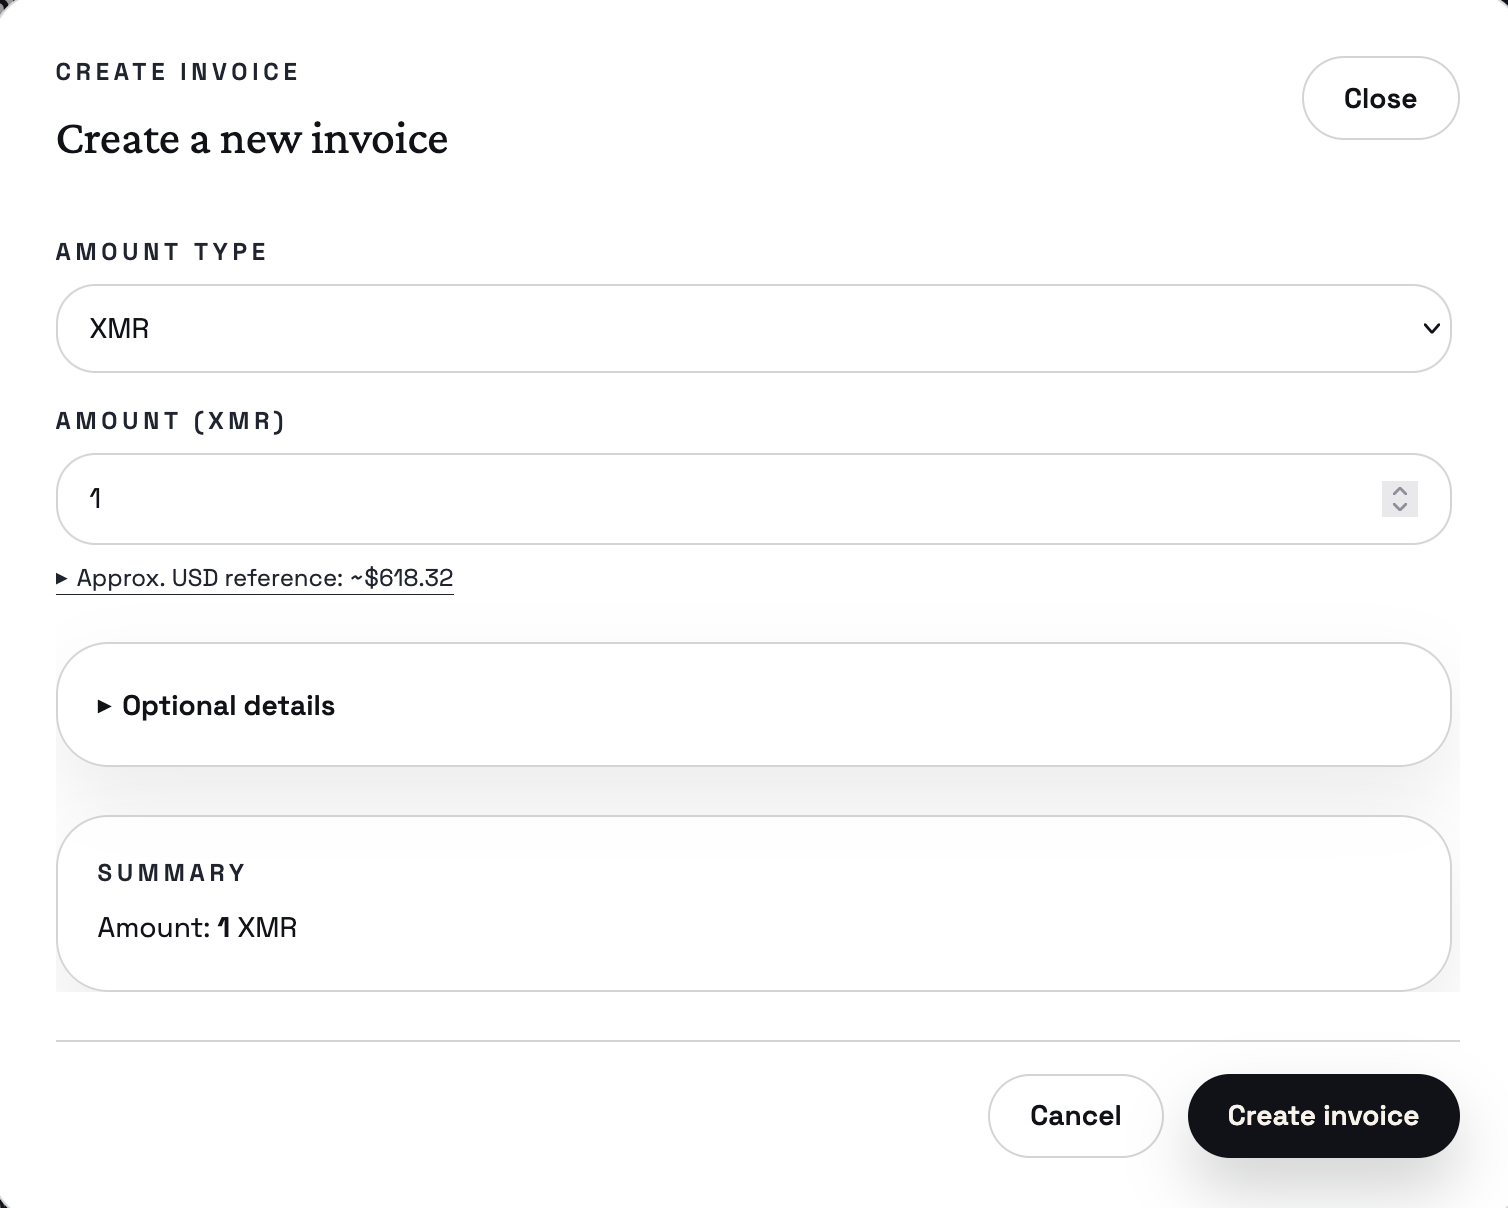 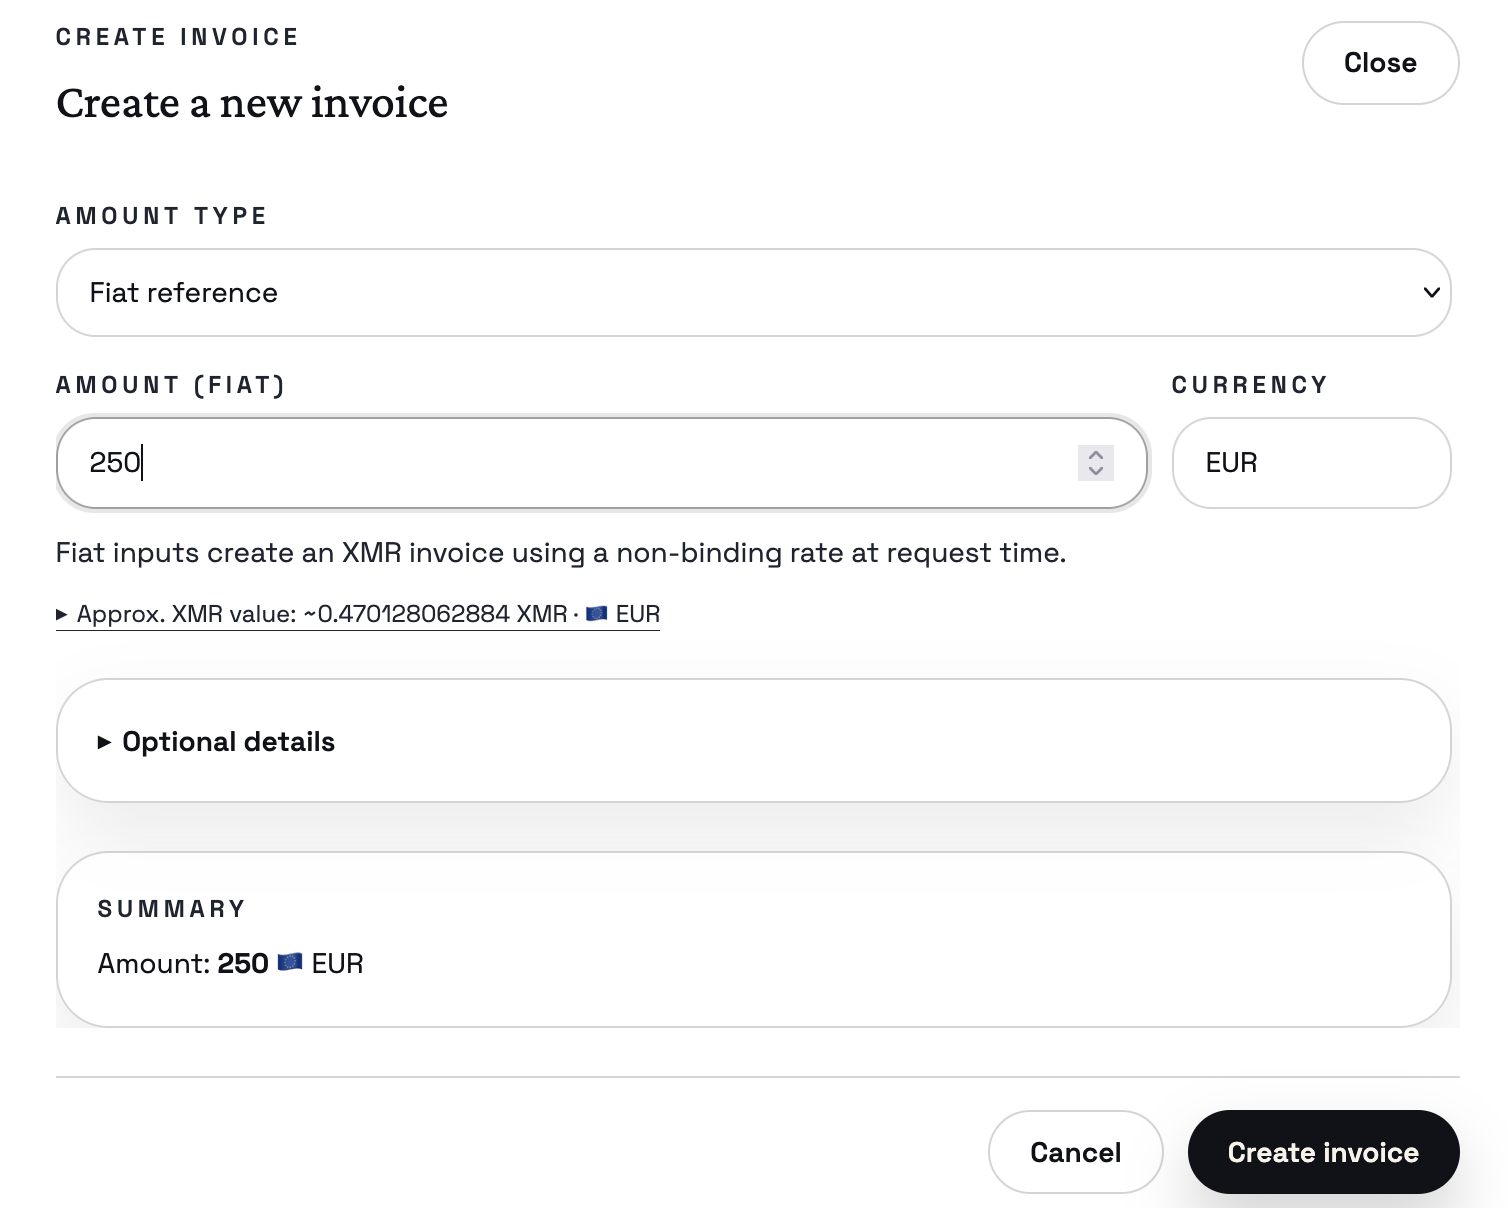 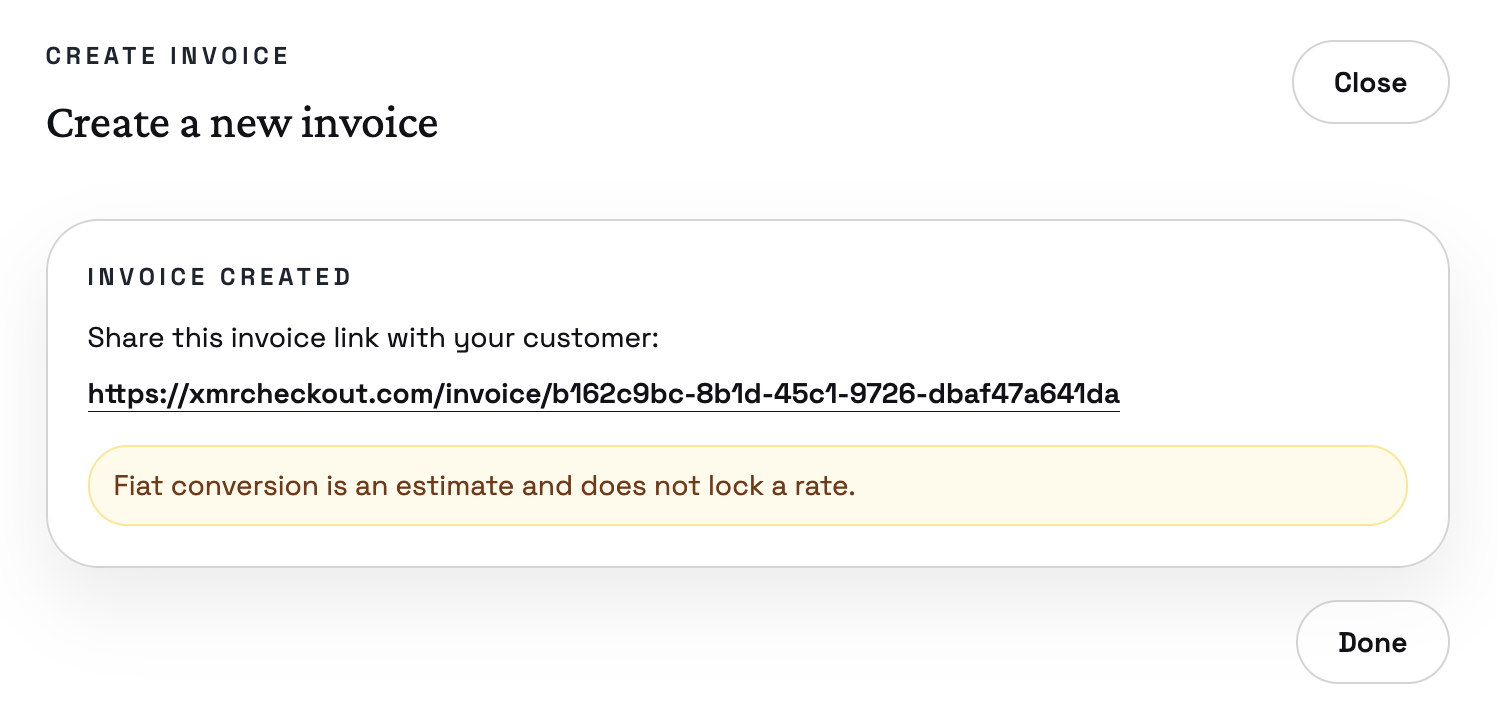 ### Public invoice page 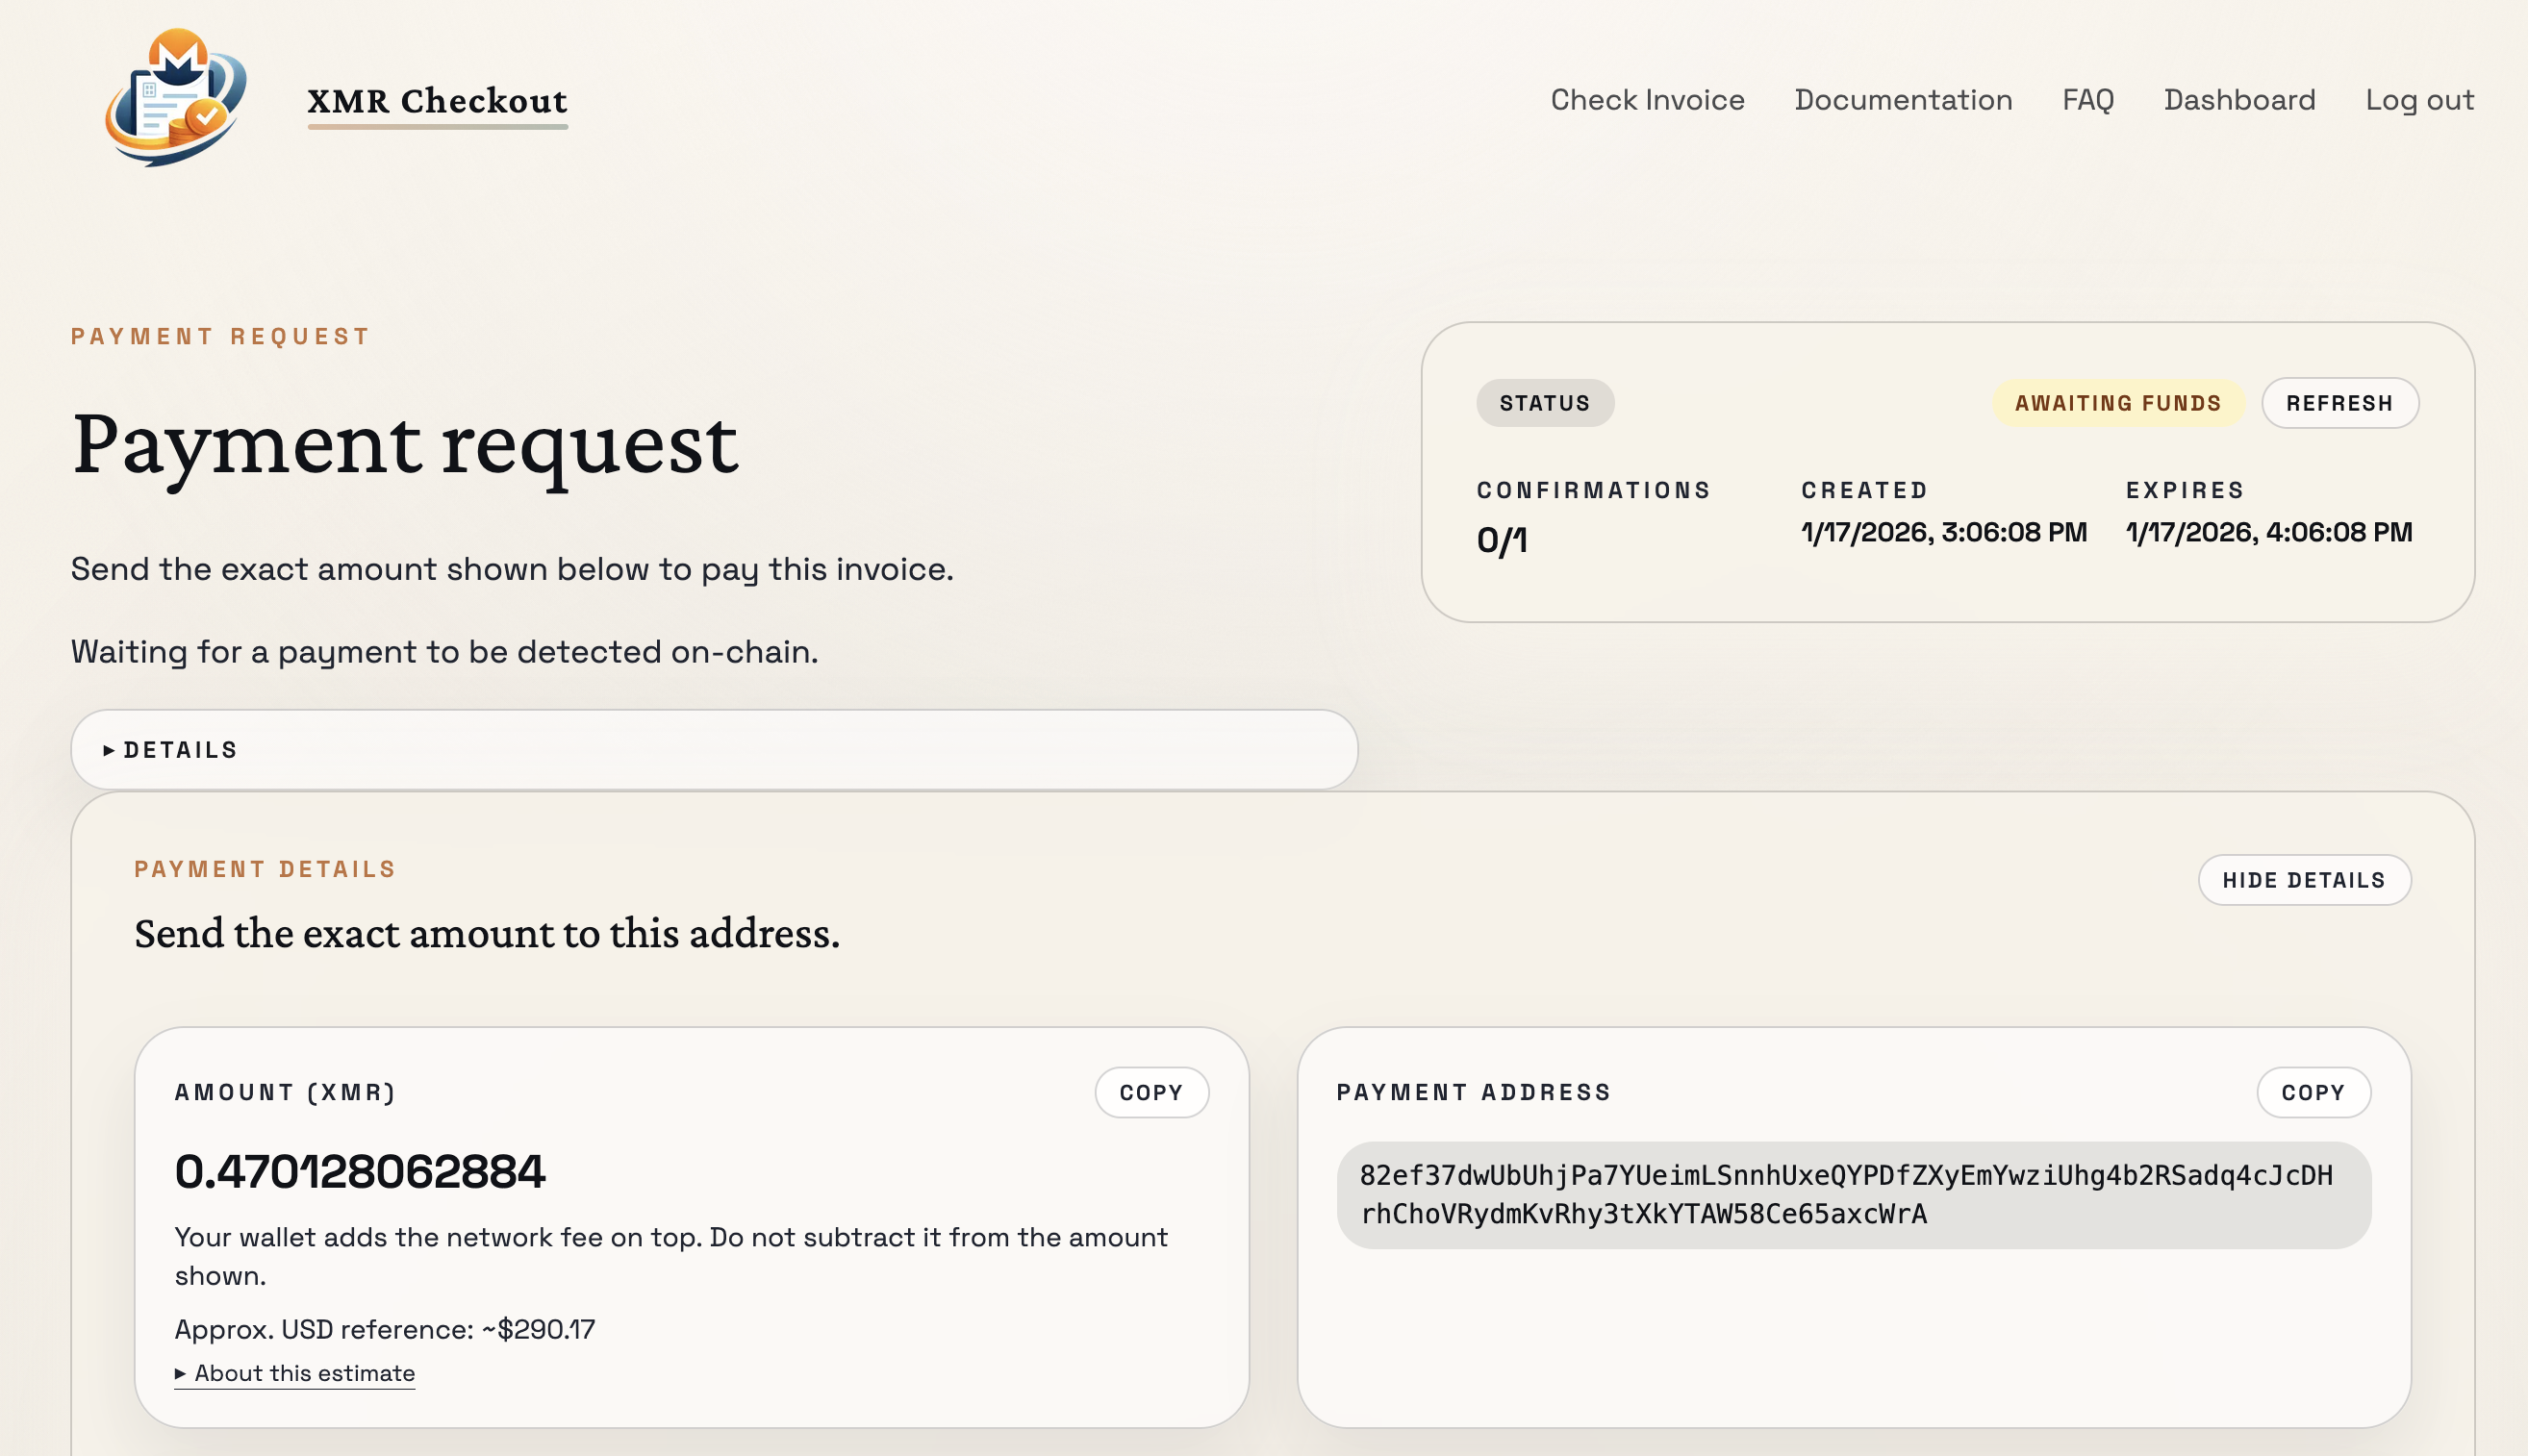 ## Quick start ### Homepage only (Docker) ``` docker build -t xmrcheckout-home . docker run --rm -p 8080:80 xmrcheckout-home ``` Open `http://localhost:8080`. ### Full stack (Docker Compose) ``` docker compose up --build ``` Open `https://localhost` for the UI (HTTP redirects to HTTPS). In the default Compose configuration, only `nginx` is published to the host. The API, Postgres, and wallet-rpc services are reachable only inside the Docker network. If you prefer not to run `nginx`, you can publish `ui` and `api` ports directly instead (you will also need to serve `qr/` at `/qr/` on your site URL). ## Self-hosted deployment (Docker Compose) 1. Copy the environment template and fill in required values: ``` cp .env.example .env ``` 2. Set required values in `.env`: - `POSTGRES_USER`, `POSTGRES_PASSWORD`, `POSTGRES_DB` - `API_KEYS`, `API_KEY_ENCRYPTION_KEY` - `SITE_URL` (public URL for the UI) - Monero view-only wallet settings (`MONERO_WALLET_RPC_*`) - `MONERO_DAEMON_URL` (choose one of the options below) 3. Choose a Monero daemon source: - **Use a third-party daemon (default):** - Leave `MONERO_DAEMON_URL` as-is (the default points at a public Monero daemon). - **Run your own daemon via Docker Compose:** - Set `MONERO_DAEMON_URL=http://monerod:18081` - Start the stack with the `local-daemon` profile (see step 5) - Note: initial sync can take a long time and uses significant disk; payment detection won’t be reliable until the daemon is synced. 4. Choose a wallet-rpc target and provision view-only wallets: - Use the bundled wallet-rpc containers: - Set `MONERO_WALLET_RPC_URLS=http://wallet-rpc-reconciler-1:18083,http://wallet-rpc-reconciler-2:18083,http://wallet-rpc-reconciler-3:18083` - Or point to an external wallet-rpc service: - Set `MONERO_WALLET_RPC_URLS`, `MONERO_WALLET_RPC_USER`, `MONERO_WALLET_RPC_PASSWORD`, and `MONERO_WALLET_RPC_WALLET_PASSWORD` 5. Start the stack: ``` docker compose up --build -d ``` If you’re running the bundled `monerod` service: ``` docker compose --profile local-daemon up --build -d ``` ### Troubleshooting first payment detection If an invoice stays at `0` confirmations or never moves out of `Awaiting funds`, check these in order: 1. Open the dashboard overview and confirm: - `Wallet RPC` shows `ok` - `Daemon` shows `connected` - `Current daemon height` is visible and keeps increasing - `Last successful reconcile` is recent 2. Open the public invoice page and confirm the same health indicators are present there. If block height is unavailable, the node path is broken before invoice detection can work. 3. If the bundled wallet-rpc containers keep restarting, inspect their logs: ``` docker compose logs wallet-rpc-reconciler-1 docker compose logs wallet-rpc-reconciler-2 docker compose logs wallet-rpc-reconciler-3 ``` Common causes: - wrong `MONERO_WALLET_RPC_WALLET_PASSWORD` - wallet cache file does not match the `.keys` file - daemon URL is unreachable from the wallet-rpc containers 4. If you are running the bundled `monerod`, check whether it is synced: ``` docker compose logs monerod ``` Initial sync can take a long time. Payment detection is not reliable until the daemon is caught up. 5. If the reconciler is not reporting a recent successful scan, inspect the API and reconciler logs: ``` docker compose logs api docker compose logs reconciler ``` The reconciler is what updates invoice detection and confirmations. If it is down, invoices will not advance even when wallet-rpc and the daemon are healthy. ### Optional: Postgres backups (disabled by default) This repository includes an optional `db-backup` service that runs `pg_dump` hourly and writes backups to `./backups/postgres` on the host. Enable it by starting Compose with the `db-backup` profile: ``` docker compose --profile db-backup up --build -d ``` Retention defaults to 7 days. To override: - Set `BACKUP_RETENTION_DAYS` in `.env` ### Optional: donations (disabled by default) Donation endpoints and UI are off by default for self-hosted deployments. To enable donations: - Set `DONATIONS_ENABLED=true` - Set `FOUNDER_PAYMENT_ADDRESS` and `FOUNDER_VIEW_KEY` The UI uses the same flag (via Compose), so `/donate` stays unavailable unless donations are explicitly enabled. ## Self-hosted deployment (no Docker) This section describes running the services directly on a host (or VMs) without Docker. You will run: - Postgres (external service) - API (`gunicorn` / `uvicorn`) - Reconciler worker (a separate process) - UI (Next.js) - A reverse proxy is optional, but strongly recommended for TLS, serving `/qr/`, and providing a single origin for UI + API. ### 1. Install prerequisites - Postgres 16+ - Python 3.12+ - Node.js 20+ (for the UI) - A Monero daemon endpoint (`MONERO_DAEMON_URL`) and at least one `monero-wallet-rpc` instance reachable by the API ### 2. Configure environment variables Start from `.env.example` and adjust for your host. For non-Docker deployments you will typically set: - `DATABASE_URL=postgresql://...@127.0.0.1:5432/...` - `QR_STORAGE_DIR` to a persistent directory on disk (for example `/var/lib/xmrcheckout/qr`) - `SITE_URL` to your public URL (for example `https://example.com`) - `API_BASE_URL` for the UI: - If using a reverse proxy that routes `/api/` to the API on the same origin, set `API_BASE_URL=https://example.com` - If not using a reverse proxy, set `API_BASE_URL=http://127.0.0.1:8000` (see the notes in step 6) If you need a new `API_KEY_ENCRYPTION_KEY` value: ``` python -c 'from cryptography.fernet import Fernet; print(Fernet.generate_key().decode())' ``` ### 3. Create the Postgres database Create a database and user matching your `DATABASE_URL`. On first startup, the API will create tables automatically. ### 4. Run the API ``` python -m venv api/.venv api/.venv/bin/pip install -r api/requirements.txt # Export env vars (or use your process manager to load them) set -a source .env set +a api/.venv/bin/gunicorn app.main:app -k uvicorn.workers.UvicornWorker -b 127.0.0.1:8000 -w "${GUNICORN_WORKERS:-2}" --chdir api ``` ### 5. Run the reconciler worker Run this as a separate long-running process (same environment variables as the API): ``` set -a source .env set +a api/.venv/bin/python -m app.reconciler ``` ### 6. Build and run the UI ``` cd ui npm ci # Optional but recommended to keep these explicit in non-Docker deployments export API_BASE_URL="${API_BASE_URL:-http://127.0.0.1:8000}" export NEXT_PUBLIC_SITE_URL="${SITE_URL:-http://127.0.0.1:3000}" export NEXT_PUBLIC_DONATIONS_ENABLED="${DONATIONS_ENABLED:-false}" npm run build npm run start -- -p 3000 -H 127.0.0.1 ``` Notes: - The UI makes some in-browser requests to `/api/...` on the same origin. In production, prefer a reverse proxy that serves the UI and forwards `/api/` to the API. - The QR PNGs are written to `QR_STORAGE_DIR` and must be reachable at `https://<your-site>/qr/<invoice_id>.png`. ### Optional: reverse proxy (Nginx) Nginx is optional. Any reverse proxy that can: - route `/api/` to the API, - route `/` to the UI, - and serve the QR directory at `/qr/` is fine. Example (adjust `server_name`, TLS, and paths to match your host): ``` server { listen 443 ssl; server_name example.com; # ssl_certificate ...; # ssl_certificate_key ...; location /api/ { proxy_pass http://127.0.0.1:8000/api/; proxy_set_header Host $host; proxy_set_header X-Forwarded-For $proxy_add_x_forwarded_for; proxy_set_header X-Forwarded-Proto $scheme; } location /qr/ { alias /var/lib/xmrcheckout/qr/; add_header Cache-Control "public, max-age=31536000, immutable"; try_files $uri =404; } location / { proxy_pass http://127.0.0.1:3000/; proxy_set_header Host $host; proxy_set_header X-Forwarded-For $proxy_add_x_forwarded_for; proxy_set_header X-Forwarded-Proto $scheme; } } ``` ## Development (API, Python) 1. Set environment variables (see `api/.env.example`): ``` export DATABASE_URL=postgresql://xmrcheckout:xmrcheckout@localhost:5432/xmrcheckout export API_KEYS=change-me-1 ``` 2. Install dependencies: ``` python -m venv .venv source .venv/bin/activate pip install -r api/requirements.txt ``` 3. Start the API: ``` cd api uvicorn app.main:app --reload ``` The API listens on `http://127.0.0.1:8000`.
