KO
|
EN
gitlite — search
Search
#python
#java
#python3
#arduino
#golang
#machine-learning
#rust
#html
#flask
#javascript
#seismology
#nodejs
kb1
★ 27
Open GitHub ↗
A fully custom DIY mechanical keyboard
Download README (.md)
Explore Similar Repositories
lean2wasm
:
Tool for compiling Lean to WASM
p1radup
:
Process URLs and remove duplicate query parameters.
huawei-playground
:
Various scripts and tools to tinker with Huawei devices
Attentive_DFPrior
:
[NeurIPS'23] Learning Neural Implicit through Volume Rendering with Attentive Depth Fusion Priors
AD9959_HAL_DRIVER
:
AD9959 Driver for STM32
// repository documentation
Was this content helpful?
★ 0
(0 ratings)
Select Rating:
★
★
★
★
★
Submit Feedback
Recent Feedback
×
Download README
Do you want to download the
README.md
file for
kb1
?
Download (.md)
# `kb1`: a fully DIY mechanical keyboard 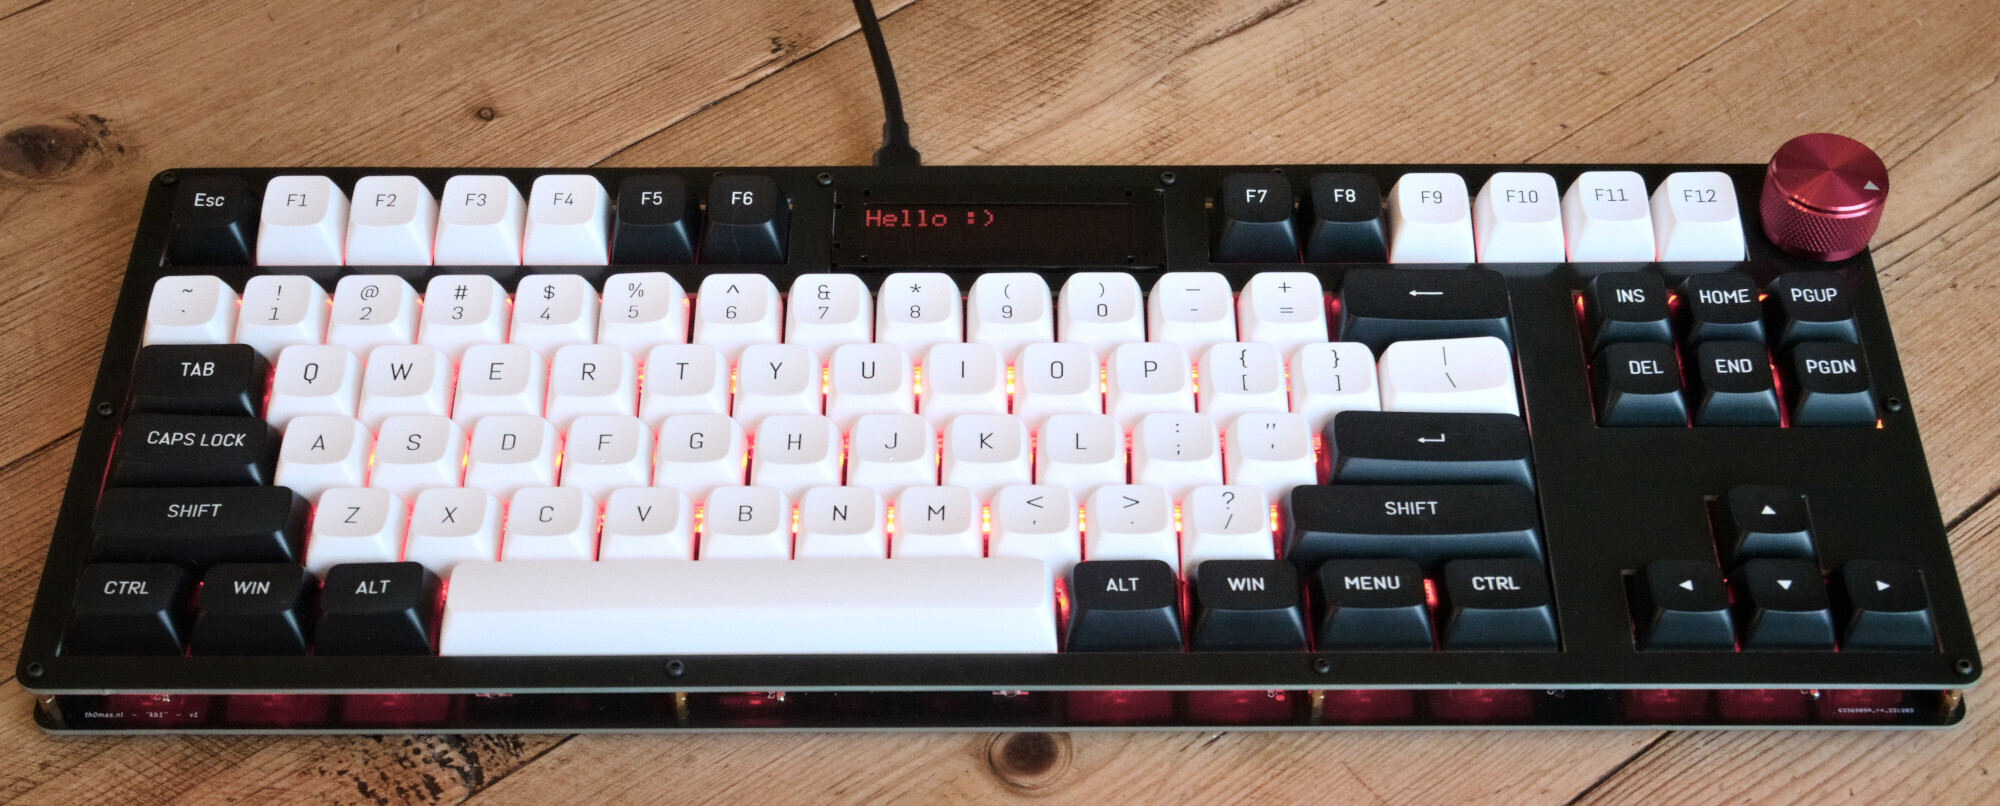 Features: - Mechanically built using two PCBs and a few screws and standoffs. - Proper "tenkeyless" layout, compatible with Cherry MX-style switches (mine with Kailh box crystal jades) - Per-key RGB backlight using reverse-mounted SK6812 neopixels - Featuring an old-school 16x2 character display - And of course a _knob_ (rotary encoder) - Based on the Raspberry Pi Pico and [KMK](https://github.com/KMKfw/kmk_firmware) ## Why? To challenge myself and practice PCB design! Is it tons of fun to design and build your own keyboard from scratch? Hell yeah. Would I recommend this board for daily use? Not really :^) ## PCB 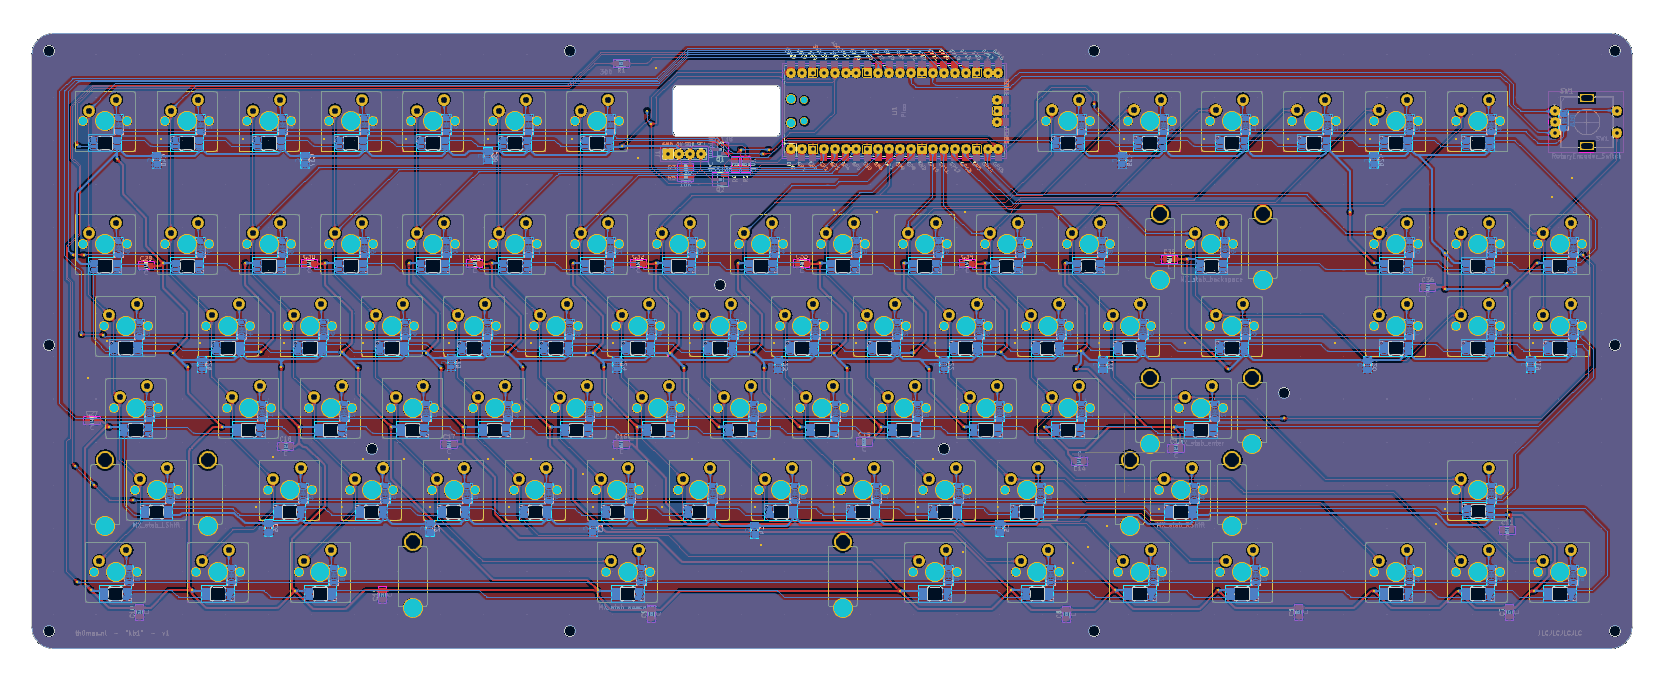 See `hardware/` for the KiCad files. There is a `gerbers/` folder with ZIP files ready to upload to a PCB fab. ## Firmware Installing: 1. Grab Circuitpython, the Adafruit Circuitpython Neopixel library, and the KMK base files 2. Copy `firmware/*.py` to your Circuitpython drive It's just a simple KMK setup with scaffolding code for the display and RGB. Actually doing something with the display is still TBD. As a demo there is currently a bit of logic to map individual RGB leds to keys so it can light up a key when pressed. Twisting the knob changes the overall backlight color. ## Pics | | | |:---:|:---:| |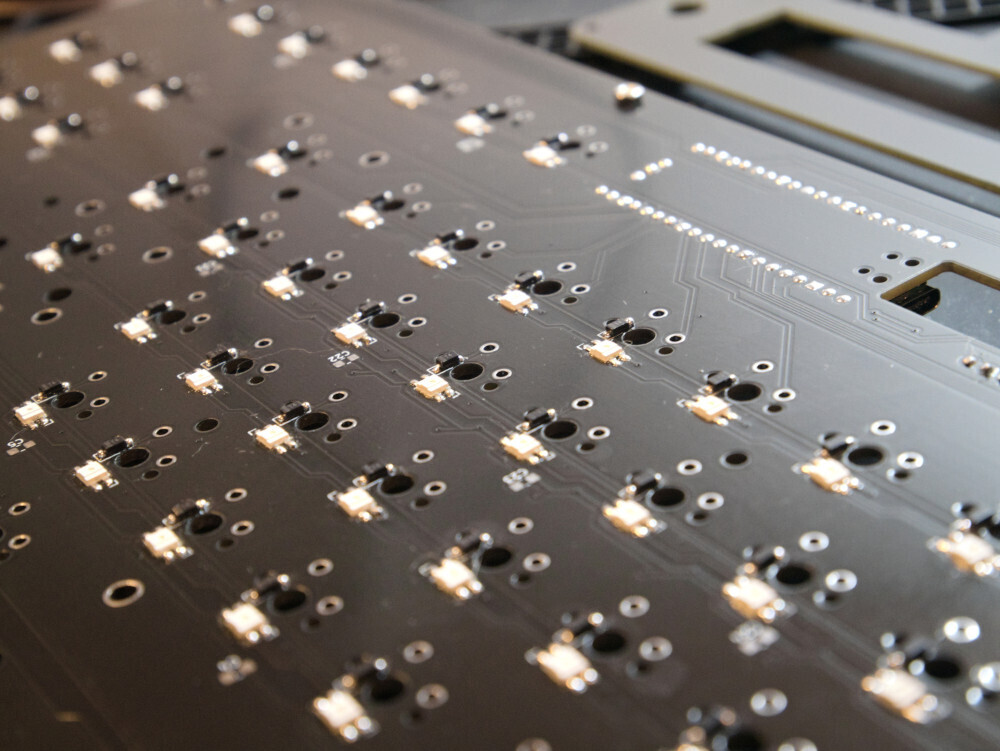|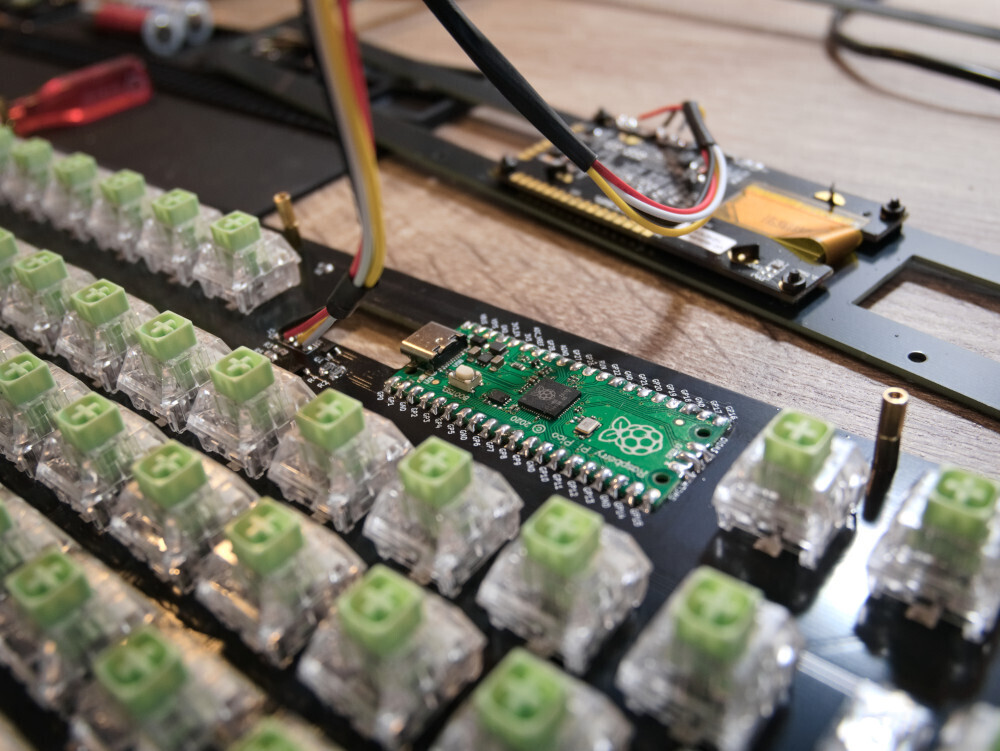| |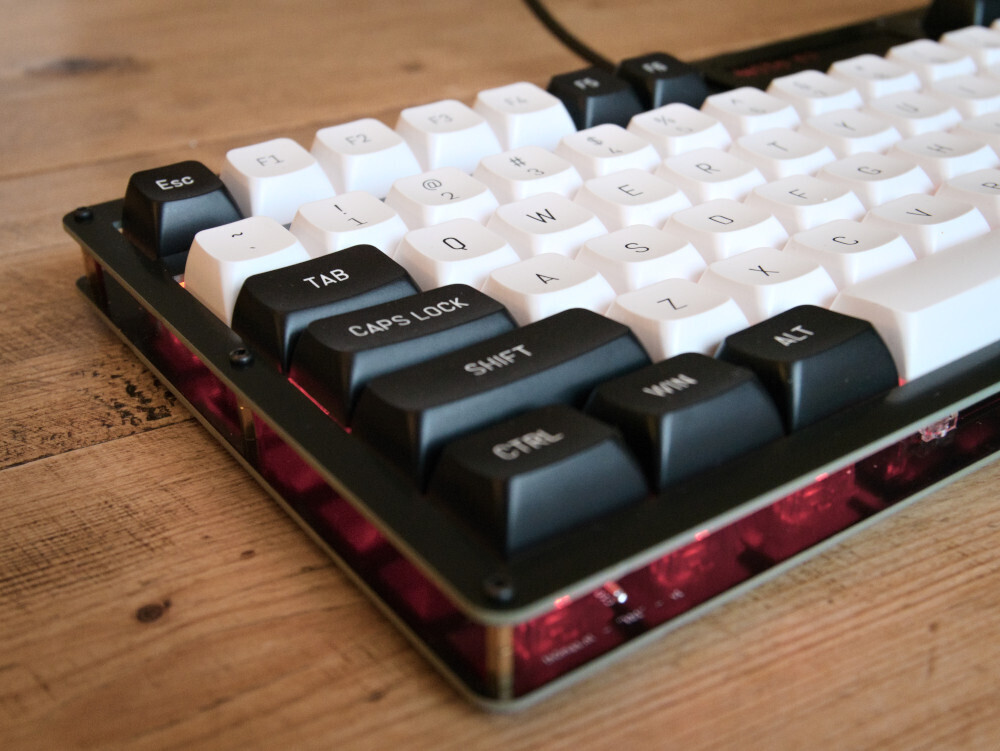|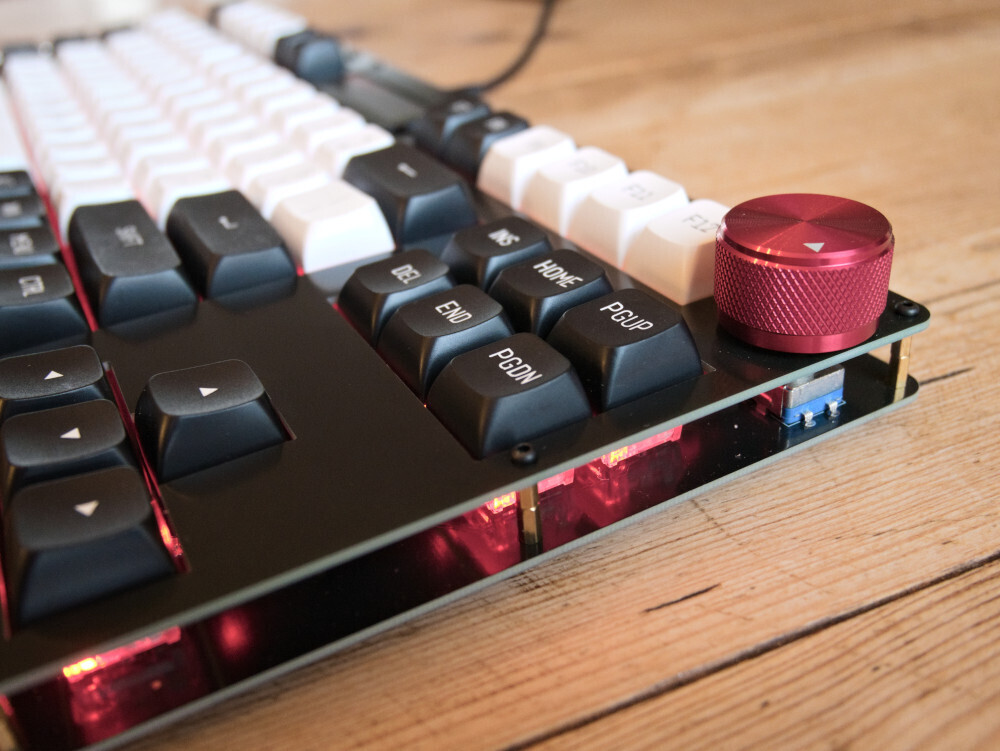| |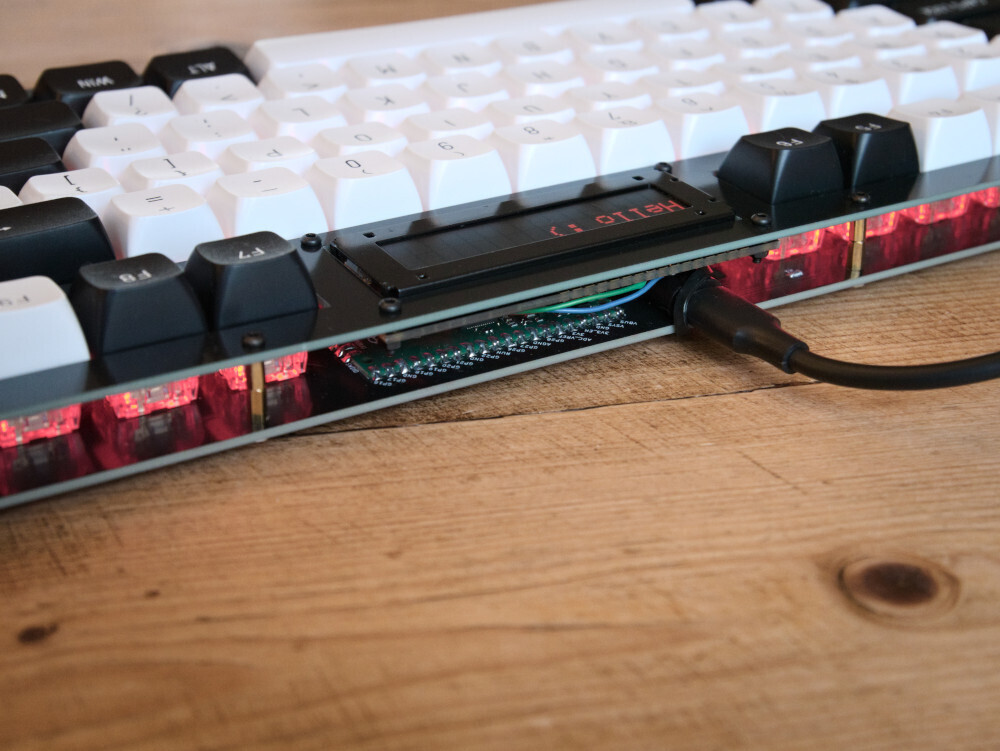|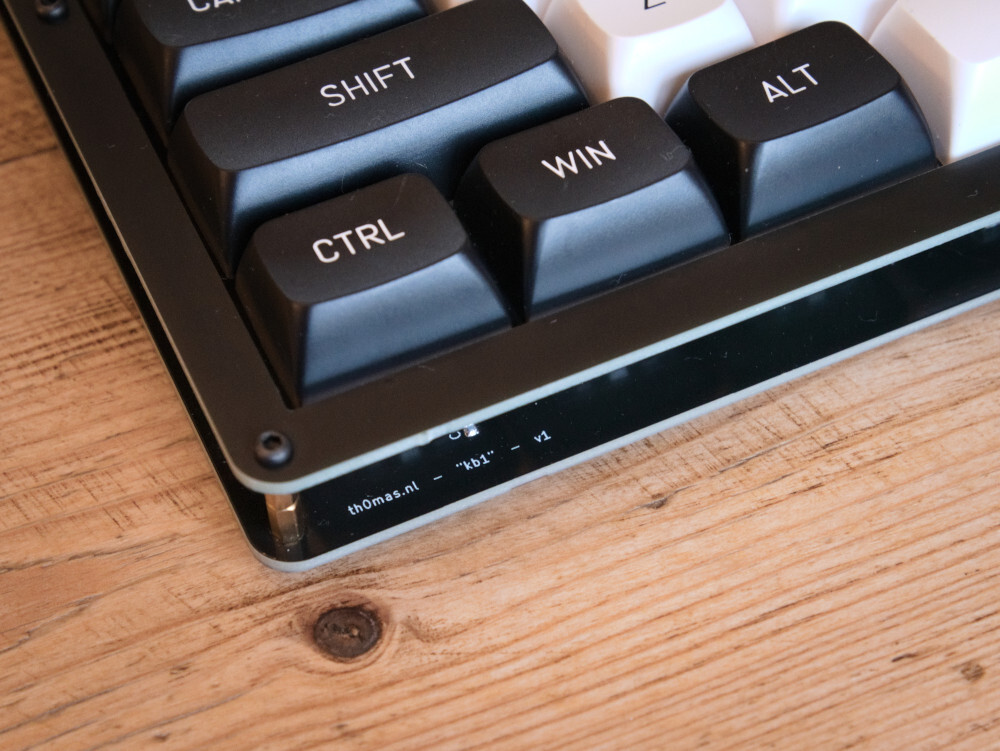| ## Errata / improvements for next version Latest version: v1 (but the gerbers say v2, sorry..) - Display pinout doesn't work well with a JST connector due to the orientation, requires manual soldering - Pico orientation is awkward, I needed a USB type-C 90 degree adapter - Several nuts nearly touch (covered) traces, doesn't appear to be a problem though - The top plate could have some more copper for rigidity ## BoM TODO ## Disclaimer This is my own hobby project and I'm a total PCB design newbie. Use the info and files provided here at your own risk.
