KO
|
EN
gitlite — search
Search
#python
#java
#python3
#arduino
#golang
#machine-learning
#rust
#html
#flask
#javascript
#seismology
#nodejs
lippia-mobile
★ 17
Open GitHub ↗
No description available.
Download README (.md)
Explore Similar Repositories
OpenKWS
:
开源自定义唤醒词
CMD
:
No description available.
WebGS
:
webgpu implementation of 3D/4D gaussian viewer
tide
:
Typst IDE
jupytergis-tiler
:
JupyterGIS - TiTiler integration
// repository documentation
Was this content helpful?
★ 0
(0 ratings)
Select Rating:
★
★
★
★
★
Submit Feedback
Recent Feedback
×
Download README
Do you want to download the
README.md
file for
lippia-mobile
?
Download (.md)
# LIPPIA Mobile Example Project ## Purpose: The following project has the purpose of demonstrate and let test automation developers to to test a Mobile App using Lippia Automation Framework and Docker Android stack https://github.com/budtmo/docker-android, based on Budi Utomo Docker Android project. ## System Requirements: + JDK: https://docs.oracle.com/en/java/javase/index.html + Android Studio & SDK tools: https://developer.android.com/studio + Maven: https://maven.apache.org/download.cgi + Git client: https://www.atlassian.com/git/tutorials/install-git + Docker 18.09+: https://docs.docker.com/install/linux/docker-ce/ubuntu/ _OPTIONAL_ + Docker compose 1.24+: https://docs.docker.com/compose/install/ _OPTIONAL_ # Getting started - Mobile physical & emulated solution only using Maven [`Getting started - Running only with Maven`](docs/README_Maven.md) - Mobile emulated solution using Docker [`Getting started - Running with Docker`](docs/README_Docker.md) # Reports integrations We believe that the reports should express the results of our tests in the most legible, detailed and pleasant way possible, so that in this way, our clients have at their disposal a report on the operation and behavior of their product, as well as the performance of the team. That is why Lippia, in addition to supporting the integration with **ExtentReport**, provides a **ReportServer** for each client. Next, we will see the structure of the project and from where we can access them. ### Reports are generated in the folder called **target**, which will be generated once the execution of the test suite is finished. Note that the following structure is part of the report generated with **ExtentReport** library. ``` ├── lippia-mobile-sample-project ├── docs | └── ... ├── src | └── ... ├── target | └── reports | └── index.html └── ... ``` ### index.html 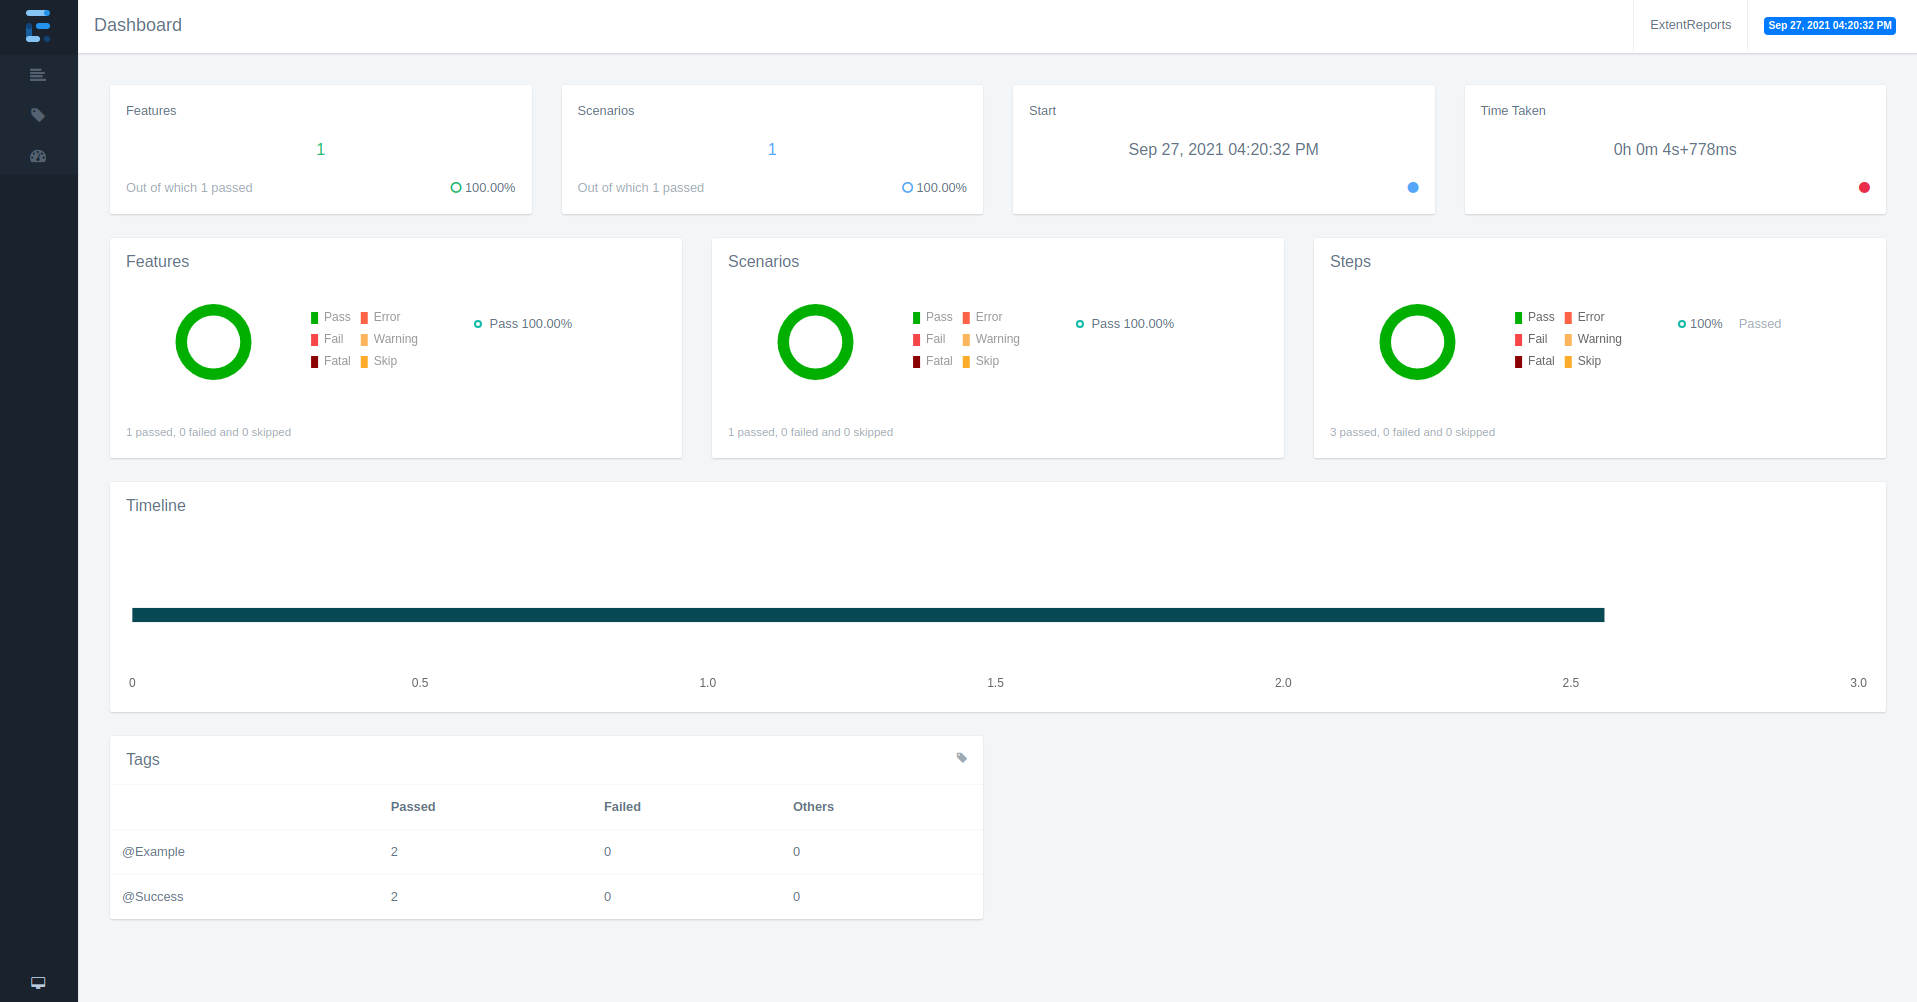 ## Project structure A typical Lippia Test Automation project usually looks like this ``` . ├── main │ ├── java │ │ └── com │ │ └── crowdar │ │ └── examples │ │ ├── constants │ │ │ └── HomeConstants.java │ │ │ └── LoginConstants.java │ │ │ └── SignUpConstants.java │ │ ├── services │ │ │ └── HomeService.java │ │ │ └── LoginService.java │ │ │ └── SignUpService.java │ │ │ │ │ └── steps │ │ └── HomeSteps.java │ │ └── LoginSteps.java │ │ └── SignUpSteps.java │ └── resources | ├── capabilities | | └── androidCapabilities | | └── browserStackCapabilities │ └── config.properties │ └── cucumber.properties └── test ├── java │ └── com │ └── crowdar │ └── Hooks.java └── resources └── features └── Demos.feature ``` Folder's description: |Path |Description | |-------|----------------| |main\java\\...\examples\services\\\*.java|Folder with all the **Services** matching steps with java code| |main\java\\...\examples\steps\\\*Steps.java|Folder with all the **steps** which match with Gherkin Test Scenarios | |main\java\\...\examples\constants\\\*.java|Folder with all the **locators** which match with services | |test\resources\features\\\*.feature|Folder with all the **feature files** containing **Test Scenarios** and **Sample Data** | |main\resources|Folder with all configuration needed to run Lippia | |main\resources\capabilities\\\*json|Folder with all the capabilities availables for the driver | In this example, *Demos* is the Apk the framework will interact with. The **steps** are defined to execute the *Test Scenarios* defined in Gherkin language. |File | Description | |-------|----------------| |HomeService.java | PageObject: between each element in the aplication *HomeService* you want to interact with. You need to add one new file for each page you want to navigate in your tests. | |HomeSteps.java | StepObject: Code to support the behaviour of each **step** coded into the feature files for the *HomeService*. This code executes the interaction between the Framework and the web application and match the steps with the code who run interactions. | |Demos.feature| Feature file: Definition of the **Test Scenarios** with all the **steps** written in Cucumber format| ## Services *** (Services) contains the business logic, we call the locators hardcoded here or, in this case,located in the constants class, and then, the action we need to do. ``` public class LoginService { public static void doLogin(String email, String password){ MobileActionManager.setInput(LoginConstants.EMAIL_INPUT_LOCATOR, email); MobileActionManager.setInput(LoginConstants.PASSWORD_INPUT_LOCATOR, password); MobileActionManager.click(LoginConstants.SIGN_IN_BUTTON_LOCATOR + DriverManager.getName()); } public static void isViewLoaded(){ MobileActionManager.waitVisibility(LoginConstants.SIGN_UP_BUTTON_LOCATOR); Assert.assertTrue(MobileActionManager.isVisible(LoginConstants.EMAIL_INPUT_LOCATOR), LoginConstants.VIEW_NOT_DISPLAYED_MESSAGE); } } ``` ## Step Object *** In the steps files we connect the gherkin with java code, and here is the connection with the services, in these classes there should not be logic ``` public class LoginSteps extends PageSteps { @Given("The app is loaded correctly") @Then("Login page is displayed") public void isLoginPageVisible() { LoginService.isViewLoaded(); } @When("The user goes to the Sign Up page") public void goToSignUp() { MobileActionManager.click(LoginConstants.SIGN_UP_BUTTON_LOCATOR); } @When("The user logs in the application with: (.*), (.*)") public void doLoginProcess(String email, String password) { LoginService.doLogin(email, password); } } ``` ## Constants *** The locators are defined in this folder which are used in services classes. ``` public class LoginConstants { public static final String EMAIL_INPUT_LOCATOR = "ACCESSIBILITY_ID:emailAddressInputLogin"; public static final String PASSWORD_INPUT_LOCATOR = "ACCESSIBILITY_ID:passwordInputLogin"; public static final String SIGN_IN_BUTTON_LOCATOR = "ACCESSIBILITY_ID:signInButtonLogin"; public static final String SIGN_UP_BUTTON_LOCATOR = "ACCESSIBILITY_ID:signUpButtonLogin"; public static final String VIEW_NOT_DISPLAYED_MESSAGE = "Login page is not displayed."; } ``` ## Feature File *** The Test Scenarios can be written using BDD metodology. This project includes Cucumber as BDD interpreter which is supported by Lippia by default. On each declared step you can insert the calls defined from service classes ``` Feature: As a potential client i want to interact with the mobile application Scenario Outline: The user starts the application, registers a new user, changes the language, log out of the app and log in to the app. Given The app is loaded correctly When The user goes to the Sign Up page And The user registers a new user with: <username>, <email>, <password> Then Home page is displayed When The user changes the language And The user log out of the app Then Login page is displayed When The user logs in the application with: <email>, <password> Then Home page is displayed @Demo Examples: | username | email | password | | automation | automation@gmail.com | 123456 | ``` ## Capabilities *** The capabilities are located in a json file. This file is mandatory. The values that are inside "{{}}" are replaced with the values located in config.properties and in that file, the key must be equal to the property to replace. For example, in config.properties: deviceName=Android ; Avd property must be empty in case of using a real device. ``` { "deviceName": "{{deviceName}}", "app": "{{app}}", "platformName": "Android", "avd": "{{avd}}", "resetKeyboard": "true", "unicodeKeyboard": "true" } ``` ## Runners *** ``` ├── lippia-mobile-sample-project │ ├── docs │ │ └── ... │ ├── src │ │ ├── main │ ├── java │ │ └── ... │ ├── resources │ │ └── ... │ ├── test │ │ ├── resources │ │ │ └── ... │ │ │ ├── pom.xml │ ├── testngParallel.xml │ ├── testng.xml │ │ ``` The test cases are executed using **TestNG** class. This class is the main entry point for running tests in the TestNG framework. By creating their own TestNG object and invoke it on a testng.xml. |**Attribute** | **Description** | |--------------|-----------------| |name | The name of this suite. It is a **mandatory** attribute. | |verbose | Whether TestNG should run different threads to run this suite. | |parallel | Whether TestNG should run different threads to run this suite. | |thread-count | The number of threads to use, if parallel mode is enabled (ignored other-wise). | |annotations | The type of annotations you are using in your tests. | |time-out | The default timeout that will be used on all the test methods found in this test. | ### testng.xml ``` <?xml version="1.0" encoding="UTF-8"?> <!DOCTYPE suite SYSTEM "http://testng.org/testng-1.0.dtd"> <suite name="BDD Test Suite" verbose="1" parallel="tests" thread-count="1" configfailurepolicy="continue"> <test name="Login and Update Profile Test" annotations="JDK" preserve-order="true"> <classes> <class name="com.crowdar.bdd.cukes.TestNGSecuencialRunner" /> </classes> </test> </suite> ``` ### testngParallel.xml ``` <?xml version="1.0" encoding="UTF-8"?> <!DOCTYPE suite SYSTEM "http://testng.org/testng-1.0.dtd"> <suite name="BDD Test Suite" verbose="1" parallel="methods" data-provider-thread-count="4" thread-count="4" configfailurepolicy="continue"> <test name="Test 1" annotations="JDK" preserve-order="true"> <classes> <class name="com.crowdar.bdd.cukes.TestNGParallelRunner"/> </classes> </test> </suite> ``` This file captures your entire testing and makes it easy to describe all your test suites and their parameters in one file, which you can check in your code repository or e-mail to coworkers. ### pom.xml A Project Object Model or POM is the fundamental unit of work in Maven. It is an XML file that contains information about the project and configuration details used by Maven to build the project. It contains default values for most projects. Examples for this is the build directory, which is target; the source directory, which is **src/main/java**; the test source directory, which is **src/test/resources**; and so on. When executing a task or goal, Maven looks for the POM in the current directory. It reads the POM, gets the needed configuration information, then executes the goal. ### How to select Sequential or Parallel Runner: **Sequential Runner:** - In the pom.xml file, it looks for the POM in the current directory and assign the value of **testng.xml**. - This would be as follows: ``` <cucumber.runner>testng.xml</cucumber.runner> ``` **Parallel Runner:** - In the pom.xml file, it looks for the POM in the current directory and assign the value of **testngParalel.xml** - This would be as follows: ``` <cucumber.runner>testngParallel.xml</cucumber.runner> ```
